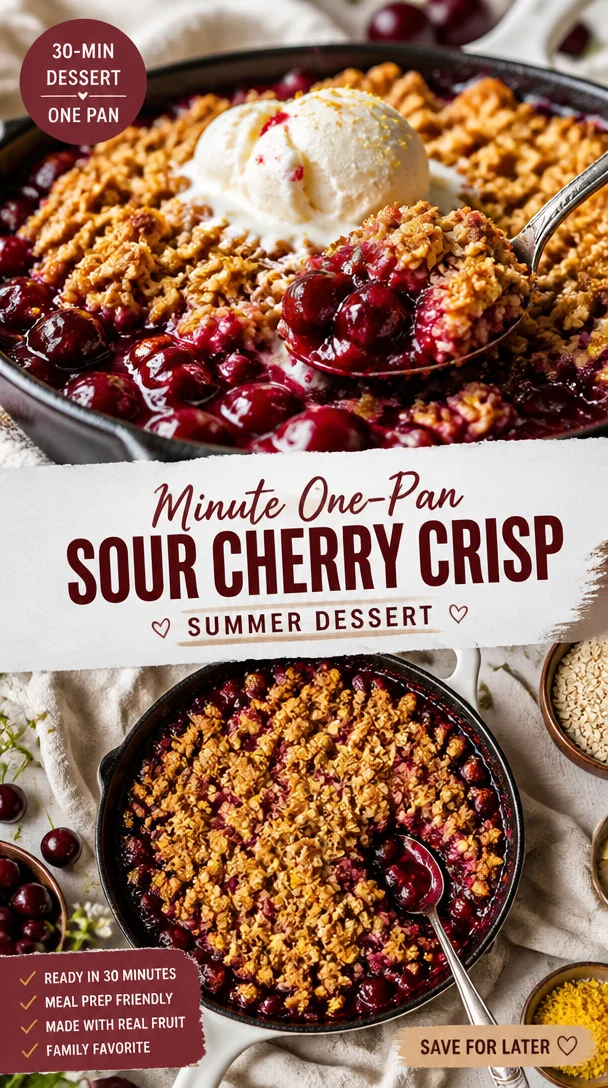
Minute One-Pan Sour Cherry Crisp (Summer Dessert)
Discovering Joy in a Tart: The Magic of Sour Cherry Crisp
Hey foodies! It’s Beau Collier here, and I’m so thrilled to dive into a dish that’s all about bringing warmth and happiness to your kitchen: Sour Cherry Crisp. If you ever needed a recipe that feels like a warm hug, this is it! Tart, sweet, and a bit nutty, this dessert is pure comfort in a bowl. Whether it’s a crisp fall evening or a bright summer day, a homemade crisp can turn any moment into a celebration.
Now, let me set the scene for you. Picture this: the air is filled with the sweet, tangy aroma of sour cherries baking in the oven, each juicy bite bursting with flavor. This dish isn’t just a scrumptious treat; it’s a mosaic of memories stitched together with love, laughter, and, of course, food.
Sour cherry season always feels like a mini-festival in my house. My family would head to the local orchard equipped with buckets the size of my eagerness to pick those bright red beauties. It became a cherished tradition—an opportunity to disconnect from the daily grind and reconnect with nature and each other. I can still hear my mother’s voice, laughter bubbling over as she recounted her favorite cherry-picking mishaps while my father expertly supervised our cherry collection efforts, ensuring we didn’t bite into too many along the way (not that I’d admit to snacking!).
Little did I know, those cherished cherries would often find their way into my kitchen, eventually leading to evenings spent making Sour Cherry Crisp. The laughter of family gatherings is woven through every spoonful, and I want to share that joyful experience with you!
Ingredients You’ll Need
Here’s a straightforward list of the ingredients you’ll need to whip up this delightful dish:
- 4 cups sour cherries, pitted: Fresh is best, but frozen can work in a pinch! Just be sure to thaw them completely.
- 1 cup rolled oats: These are crucial for that heartwarming crisp topping. If you need gluten-free, swap in gluten-free oats!
- 1 cup all-purpose flour: This gives structure to both the topping and filling. Substitute with almond flour for a nutty twist if you’re feeling adventurous!
- 1/2 cup brown sugar: It adds a lovely depth of flavor. You could use coconut sugar for a lighter option.
- 1/2 cup granulated sugar: This will sweeten up those tart cherries. If you’re watching your sugar, you can cut this down or use honey or maple syrup.
- 1/2 teaspoon cinnamon: A hint of spice brings out the fruitiness. Feel free to play with nutmeg or cardamom for a different flavor profile!
- 1/4 teaspoon salt: A little salt elevates all the sweet and tart notes.
- 1/2 cup unsalted butter, melted: This is the glue that brings that crumbly topping together. Margarine or coconut oil can work for a dairy-free alternative.
Step-by-Step Instructions
-
Preheat the Oven: Start by preheating your oven to 350°F (175°C). Getting your oven nice and warm ensures a perfectly baked crisp.
-
Prepare the Cherries: In a large bowl, combine your pitted sour cherries, 1/4 cup of granulated sugar, 1 tablespoon of flour (this will help thicken the juices), and a dash of cinnamon. Toss everything gently until the cherries are evenly coated. Let it sit while you prepare the topping.
Tip: If you find fresh cherries a bit tart, add another tablespoon of sugar. Taste-testing is key!
-
Make the Crisp Topping: In a separate bowl, whisk together the rolled oats, remaining flour, brown sugar, cinnamon, and salt. Add the melted butter, stirring until you see nice crumbly bits—this is where your crisp magic happens!
Little chef hack: Don’t overmix! We want to keep those crumbs golden and textured.
-
Assemble the Crisp: Fling those cherries into a greased baking dish (about 9×13 inches should do the trick!) and spread them evenly. Now, dust that glorious oat mixture over the top, ensuring you cover the cherries as evenly as possible.
-
Bake to Perfection: Pop your assembled crisp in the oven and bake for about 30-35 minutes, or until the topping is gorgeous and golden brown and the cherries are bubbling up around the edges.
Chef tip: If the topping gets too brown before the cherries are done, cover it loosely with foil.
-
Cool and Serve: Once baked, let your sour cherry crisp rest for a few minutes to cool slightly. This also helps those bubbly juices thicken a tad!
Important note: It’s always hard to wait, I know! Resist the urge to dig in right away; it’s worth it!
Serving Suggestions
Now that your kitchen smells like a cherry-laden dream, here’s how to serve this beauty! Scoop a generous portion into a lovely bowl (I recommend using a shallow one so you can get a good mix of topping and cherries in every bite). For a touch of decadence, add a scoop of vanilla ice cream or a dollop of whipped cream atop the warm crisp—this contrasts gorgeously with the tart cherries and crumbly topping.
Feeling a bit fancy? Drizzle a little balsamic reduction over your creation—seriously, it elevates the dish! Or sprinkle some chopped nuts for an extra crunch on top. Serve it family-style in the baking dish for a cozy, rustic presentation that encourages everyone to dig in!
Recipe Variations
Now, as much as I adore the classic sour cherry crisp, there are countless ways to mix things up! Here are a few variations to consider:
-
Mixed Berry Crisp: Swap half the sour cherries with blueberries or raspberries for an extra burst of flavor.
-
Nutty Crunch: For added texture, mix some chopped pecans or walnuts into your topping.
-
Tropical Twist: Add a splash of coconut in the topping and substitute some cherries with diced pineapple for a sunny vibe.
-
Gluten-Free Delight: Substitute the all-purpose flour with a mix of almond flour and gluten-free oats for a guilt-free indulgence.
-
Spice It Up: Experiment with different spices like ginger or cardamom mixed in with the cherries for a warm flavor profile.
Chef’s Notes
You know, this recipe has come a long way since those family orchard days! It started as just a way to deal with an abundance of cherries, and now it’s a staple in my home. I remember the first time I made it for friends; there was this gasp of excitement when they took their first bite.
Now, it’s my go-to dessert for potlucks, BBQs, and cozy nights in. The funny thing is, it’s so versatile! Most often, I find myself changing it depending on what’s in season or what I have on hand. That’s the beauty of a crisp—you can really make it your own!
FAQs and Troubleshooting
-
Can I use frozen cherries?
Absolutely! Just thaw them and drain excess liquid before mixing them with sugar and flour. -
Why does my topping burn during baking?
Your oven might be running hot, or your crisp is too close to the top heating element. Cover with foil if it browns too quickly! -
Can I make this ahead of time?
For sure! Assemble it the night before, cover with foil, and refrigerate. Just add a few extra minutes to your baking time. -
How should I store leftovers?
Store any leftovers in the fridge, covered. Reheat in the oven or microwave before serving; it’s just as delicious!
Nutritional Info
While I love comfort food, I also know many of you are conscious of your nutritional intake! So let’s break down the basic nutritional benefits of a serving of Sour Cherry Crisp (recipe serves about 8):
- Calories: ~250 (varies based on exact ingredients)
- Protein: 3g
- Fiber: 3g
- Carbohydrates: 40g
- Fat: 10g (varies based on butter and any added nuts)
Sour cherries are rich in antioxidants, and when you combine them with oats and a bit of whole grain flour, you’re indulging while still sneaking in some wholesome goodness.
Final Thoughts
There you have it, my dear foodies! Sour Cherry Crisp is more than just a dessert; it’s a link to tradition, a canvas for creativity, and a vehicle for joy! I hope you’ll create your own cherry-picking stories and share batches filled with love, laughter, and perhaps a little sticky-fingered mischief.
Remember, cooking is about exploration and connection. So grab your spatula, gather your loved ones, and dive into this delightful recipe! Can’t wait to see your takes on this favorite dish. Until next time, keep it delicious and soulful! 🍒✨
Print
Sour Cherry Crisp
- Total Time: 50 minutes
- Yield: 8 servings 1x
- Diet: Vegetarian
Description
A delightful and comforting dessert that blends tart sour cherries with a crunchy, nutty topping, perfect for any season.
Ingredients
- 4 cups sour cherries, pitted
- 1 cup rolled oats
- 1 cup all-purpose flour
- 1/2 cup brown sugar
- 1/2 cup granulated sugar
- 1/2 teaspoon cinnamon
- 1/4 teaspoon salt
- 1/2 cup unsalted butter, melted
Instructions
- Preheat the oven to 350°F (175°C).
- Combine sour cherries, 1/4 cup granulated sugar, 1 tablespoon flour, and a dash of cinnamon in a large bowl; toss gently.
- Whisk together rolled oats, remaining flour, brown sugar, cinnamon, and salt in a separate bowl.
- Add melted butter, stirring until crumbly.
- Spread cherries in a greased baking dish and cover with the oat mixture.
- Bake for 30-35 minutes, or until golden brown.
- Cool for a few minutes before serving.
Notes
For an extra touch, serve with vanilla ice cream or a drizzle of balsamic reduction.
- Prep Time: 15 minutes
- Cook Time: 35 minutes
- Category: Dessert
- Method: Baking
- Cuisine: American
Nutrition
- Serving Size: 1 serving
- Calories: 250
- Sugar: 20g
- Sodium: 200mg
- Fat: 10g
- Saturated Fat: 6g
- Unsaturated Fat: 4g
- Trans Fat: 0g
- Carbohydrates: 40g
- Fiber: 3g
- Protein: 3g
- Cholesterol: 30mg
Keywords: sour cherry crisp, dessert, baked, fruit crisp, family recipe