Your New Favorite Holiday Cookie Is Here: Red Velvet Crinkle Cookies
Hey friends, Beau here from Feastical! Is there anything more magical than the moment you pull a tray of cookies from the oven? That warm, sugary scent fills the entire kitchen, and you just know you’re about to create a core memory. Now, imagine that feeling, but amplified by a hundred. Imagine cookies that are not only incredibly delicious but also stunningly beautiful—deep, passionate red with a delicate, snowy white crackle on top. That, my friends, is the pure joy of a perfect Red Velvet Crinkle Cookie.
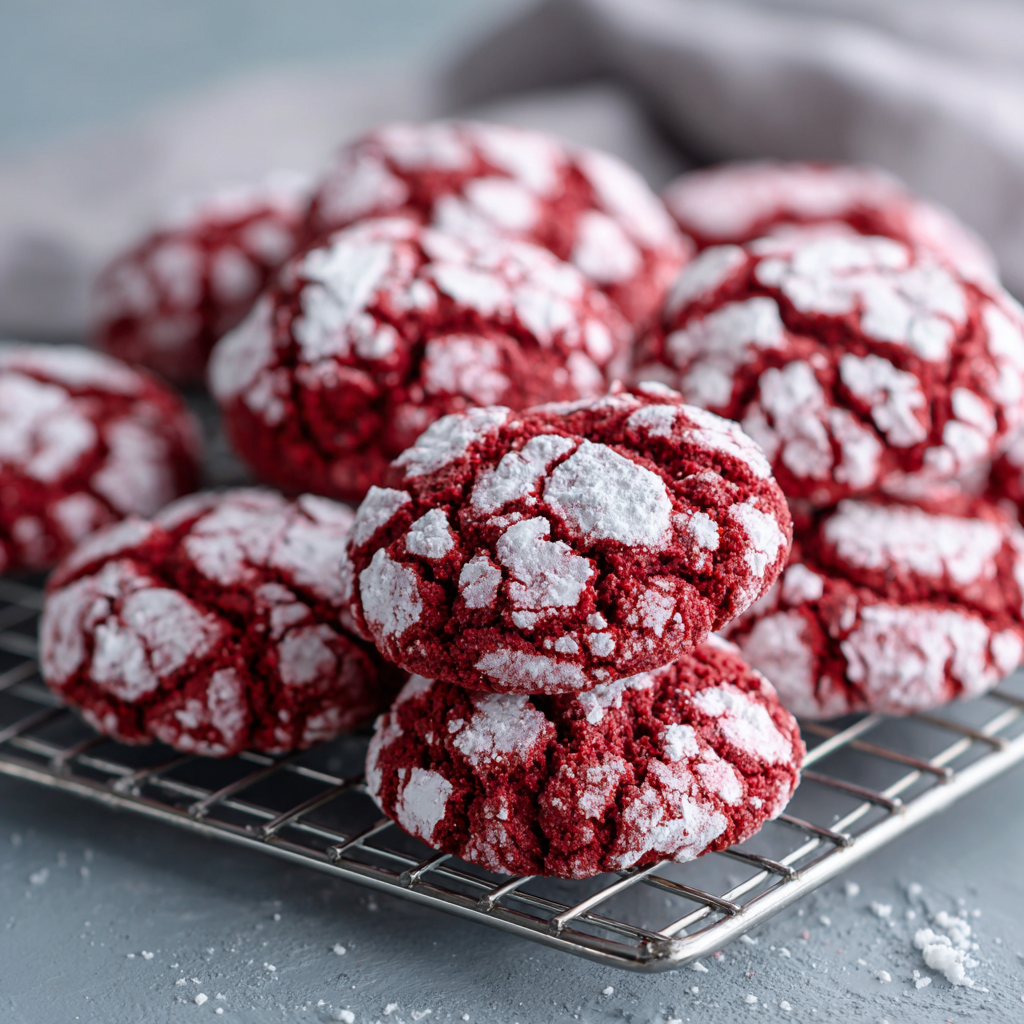
These aren’t just any cookies; they’re a festive experience. They’re soft, fudgy, and have that subtle cocoa tang that makes red velvet so irresistibly unique. And that iconic crinkled powdered sugar top? It’s like each cookie gets its own little winter sweater. They’re the superstar of any holiday cookie swap, the perfect homemade gift that says “I love you” in sugar and food coloring, and honestly, they’re just a downright fun bake. The best part? We’re starting with a boxed cake mix, which means we’re keeping things simple, approachable, and absolutely foolproof. Whether you’re a baking novice or a seasoned pro, these cookies are your ticket to holiday baking glory. So, preheat that oven, grab your favorite mixing bowl, and let’s make some magic together!
A Cookie That Tastes Like a Christmas Memory
I have to share a quick story about why these cookies hold a special place in my heart. It takes me right back to my first apartment after college. My kitchen was about the size of a postage stamp, and my baking tools consisted of one wonky-handed mixer and a single, warped baking sheet. But I was determined to host a proper holiday party. I wanted to impress my friends with a spread that looked like it came from a magazine, but my budget (and skills) were, let’s say, “humble.”
That’s when I discovered the magic of cake mix cookies. I whipped up a batch of these red velvet crinkles, and I’ll never forget the collective gasp when I brought the tray out. They looked so elegant and professional! My friend Sarah, who always had the most perfect homemade treats, asked, “Beau, did you really make these?” with total awe in her voice. I beamed with pride. That moment taught me a powerful lesson: the most impressive dishes aren’t always the most complicated. It’s about the love you stir in and the joy you share. These cookies have been my not-so-secret weapon for bringing people together ever since.
Gathering Your Cookie Crew: The Ingredients
Part of the beauty of this recipe is its simplicity. You only need a handful of pantry staples to create something truly spectacular. Here’s your shopping list:
- 1 box (15.25 oz) Red Velvet Cake Mix: This is our superstar and secret weapon! It’s perfectly pre-measured with flour, sugar, cocoa, and leavening agents, giving us that signature flavor and rich color without any fuss. Chef’s Insight: I typically grab the Duncan Hines or Betty Crocker varieties; they both have great color and flavor. For a from-scratch feel, you can use my homemade red velvet cake mix recipe!
- 2 large eggs: These are the binders of our cookie universe. They bring the dough together and provide structure, ensuring our cookies are chewy and fudgy instead of cakey. Pro Tip: Make sure your eggs are at room temperature! They incorporate into the thick dough much more easily, giving you a smoother, more uniform batter.
- ⅓ cup vegetable oil: Oil is our key to an ultra-moist and tender cookie. It creates a denser, richer texture than butter would, which is exactly what we’re going for with a fudgy crinkle cookie. Substitution Tip: You can easily swap in canola oil or even melted (and slightly cooled) coconut oil if you prefer.
- 1 tsp vanilla extract: A dash of vanilla is the flavor enhancer. It deepens the chocolate notes and adds a warm, comforting aroma that makes these cookies taste truly homemade. Chef’s Upgrade: For a next-level flavor, try using almond extract instead. It pairs beautifully with the cocoa and creates a more complex taste profile.
- ½ cup powdered sugar (for rolling): This is what creates that beautiful, classic snowy crackle effect. As the cookies bake and expand, the dough bursts through the powdered sugar coating, creating those gorgeous crinkles. Chef’s Hack: For an even more dramatic white finish, roll your dough balls twice! Once before you start shaping all the cookies, and then a quick second roll right before they go in the oven.
Let’s Get Baking: Your Foolproof Steps to Perfect Crinkles
Ready to see some magic happen? Follow these steps, and you’ll have a tray of perfect cookies in no time. I’ve sprinkled in all my best tips to ensure your success!
- Preheat and Prep. Fire up your oven to 350°F (175°C). This is our sweet spot for getting that perfect rise and crackle. Now, line a baking sheet with parchment paper. Trust me on this—it prevents sticking without adding extra grease and makes cleanup an absolute dream. No parchment? A silicone baking mat works wonders, too.
- Mix the Dough. In a large bowl, combine the red velvet cake mix, eggs, vegetable oil, and vanilla extract. I like to use a sturdy spatula or a wooden spoon for this. Your mixer will work, but it’s such a thick dough that a spoon often does the trick without overmixing. Mix until everything is just combined and a thick, slightly sticky dough forms. You’ll know it’s right when there are no dry streaks of cake mix left. Don’t overmix! We want tender cookies, not tough ones.
- Scoop and Roll. Now for the fun, slightly messy part! Pour your powdered sugar into a small, shallow bowl. Use a medium cookie scoop (about 1.5 tablespoons) or a tablespoon to portion out the dough. Roll each portion between your palms to form a smooth, 1-inch ball. Chef’s Hack: If the dough is too sticky to handle, pop it in the fridge for 15-20 minutes. This firms it up perfectly for rolling. Generously roll each ball in the powdered sugar until it’s completely coated. Remember my double-dip tip for an extra-white finish!
- Bake to Perfection. Place your beautiful, sugar-dusted dough balls about 2 inches apart on your prepared baking sheet. They need their space to spread and crinkle properly! Slide the tray into your preheated oven and bake for 10-12 minutes. You’re looking for the tops to have cracked beautifully and the edges to look set. The centers might still look a little soft and underdone—that’s exactly what we want! This is the secret to a fudgy, moist center. Overbaking is the enemy of a soft cookie.
- The All-Important Cool Down. Once out of the oven, let the cookies rest on the hot baking sheet for at least 5 minutes. This allows them to finish setting up without becoming hard. If you try to move them too soon, they might fall apart. After their rest, gently transfer them to a wire rack to cool completely. I know it’s hard, but try to let them cool before you dive in—the flavor and texture are worth the wait!
How to Serve These Show-Stopping Cookies
Presentation is part of the fun with these cookies! Here are a few of my favorite ways to serve them up:
The Classic Cookie Platter: Pile these red and white beauties high on a simple white or rustic wooden platter. They are so visually striking that they need no accompaniment, but they play nicely with other Christmas classics like gingerbread men and snowball cookies.
With a Side of Joy: For the ultimate cozy experience, serve these cookies slightly warm alongside a giant glass of cold milk. The combination of the fudgy, slightly warm cookie and the cold milk is pure bliss. They’re also incredible crumbled over a scoop of vanilla bean ice cream or even as a topping for a holiday milkshake.
Gifting from the Heart: These cookies make phenomenal gifts. Let them cool completely, then stack them in a cellophane bag tied with a pretty ribbon, or arrange them in a festive tin between layers of parchment paper. Add a handwritten tag, and you’ve got a heartfelt, homemade gift that anyone would be thrilled to receive.
Mix It Up! Fun Variations to Try
Once you’ve mastered the classic, the kitchen playground awaits! Here are a few delicious twists to keep things interesting:
- White Chocolate Chip Bliss: Fold ¾ cup of high-quality white chocolate chips into the dough before scooping. The creamy sweetness of the white chocolate is a match made in heaven with the tangy red velvet.
- Peppermint Twist: Add ½ teaspoon of peppermint extract to the dough along with the vanilla. After rolling in powdered sugar, press a crushed candy cane piece onto the top of each dough ball before baking for a festive and refreshing crunch.
- Cream Cheese Pocket: For the ultimate red velvet experience, take a small cube of cold cream cheese (about ¼-inch) and press it into the center of each dough ball, sealing the dough around it completely before rolling in sugar. You’ll get a surprise molten cream cheese center!
- Gluten-Free & Easy: This recipe is naturally adaptable! Simply use your favorite gluten-free red velvet cake mix (I love King Arthur’s mix) and ensure all your other ingredients are certified gluten-free. The method stays exactly the same.
- Orange Zest Zing: Add the zest of one large orange to the dough. The citrus note cuts through the sweetness and adds a bright, sophisticated flavor that will have everyone asking for your secret.
Beau’s Chef Notes & Kitchen Stories
This recipe has evolved in my kitchen over the years. I remember one hilarious holiday season where I ran out of regular vegetable oil and had to use extra-virgin olive oil. Let me tell you, those were… interesting. They had a uniquely herbal note that was not exactly “festive.” We now call them The Italian Christmas Cookies and it’s a family joke. So, learn from my mistake—stick with a neutral oil!
Another tip: if you want a more intense red color, don’t be afraid to add an extra teaspoon of red gel food coloring to the dough. Gel food colorings are more potent than liquid ones and won’t throw off the liquid balance in your dough. These cookies are forgiving and fun, so don’t stress. Embrace the mess, enjoy the process, and remember that even the slightly lopsided ones taste incredible.
Your Questions, Answered!
Q: My cookies didn’t crinkle much. What did I do wrong?
A: The most common culprit is not enough powdered sugar! You need a really thick, generous coating to force that beautiful crack. Also, make sure your oven is fully preheated. Putting dough into a cooler oven can prevent the rapid rise that creates crinkles.
Q: Can I make the dough ahead of time?
A: Absolutely! You can cover the bowl of dough and refrigerate it for up to 2 days. You can also roll the dough balls and keep them in a single layer in an airtight container in the fridge for a day. Roll them in the powdered sugar right before you bake them.
Q: Why are my cookies cakey and puffy instead of fudgy and dense?
A: This usually means the dough was overmixed. Once you add the eggs to the cake mix, you only want to stir until the dry ingredients are *just* incorporated. Overmixing develops the gluten in the flour and leads to a cakier texture.
Q: Can I freeze these cookies?
A> Yes, they freeze beautifully! Once baked and cooled completely, place them in a single layer in a freezer-safe bag or container. They’ll keep for up to 3 months. Thaw at room temperature. You can also freeze the unbaked, sugar-rolled dough balls on a tray before transferring to a bag. Bake straight from frozen, adding a minute or two to the baking time.

Red Velvet Crinkle Cookies – Festive and Fudgy
Description
Bring a little magic to your holiday baking with these Red Velvet Crinkle Cookies! Soft, fudgy, and topped with a snowy powdered sugar crackle, these cookies are easy to make with a boxed cake mix and deliver big flavor with minimal effort. Perfect for cookie swaps, gifts, or just a cozy treat with a glass of milk.
Ingredients
-
1 box (15.25 oz) Red Velvet Cake Mix
-
2 large eggs (room temperature)
-
⅓ cup vegetable oil (or canola/coconut oil)
-
1 tsp vanilla extract (or almond extract for a twist)
-
½ cup powdered sugar (for rolling)
Instructions
1. Preheat & Prep:
-
Preheat oven to 350°F (175°C).
-
Line a baking sheet with parchment paper or a silicone baking mat.
2. Mix the Dough:
-
In a large bowl, combine cake mix, eggs, oil, and vanilla extract.
-
Stir until just combined; the dough should be thick and slightly sticky.
3. Scoop & Roll:
-
Pour powdered sugar into a shallow bowl.
-
Scoop ~1.5 tablespoons of dough and roll into a 1-inch ball.
-
Roll each ball generously in powdered sugar. (Optional: double-roll for extra white crackles.)
-
If dough is too sticky, chill for 15–20 minutes.
4. Bake:
-
Place cookies 2 inches apart on the prepared sheet.
-
Bake for 10–12 minutes until tops crackle and edges are set.
-
Centers may look slightly soft—perfect for a fudgy texture.
5. Cool:
-
Let cookies rest on the baking sheet for 5 minutes, then transfer to a wire rack to cool completely.
Notes
-
White Chocolate: Fold in ¾ cup white chocolate chips before baking.
-
Peppermint: Add ½ tsp peppermint extract; top with crushed candy cane.
-
Cream Cheese Center: Insert a ¼-inch cube of cold cream cheese into each dough ball before rolling.
-
Orange Zest: Add zest of one orange for a bright flavor.
-
Make Ahead: Dough can be refrigerated up to 2 days or frozen for later.
Nutrition
- Calories: 120 kcal per cookie, approx
- Sugar: 11g
- Fat: 5g
- Carbohydrates: 18g
Nutritional Information*
*Please note: This is an estimated nutritional breakdown based on the ingredients used. Your specific values may vary depending on brands and exact portions.
Per Cookie (approx., recipe makes 24 cookies):
- Calories: 120 kcal
- Total Fat: 5g
- Saturated Fat: 1g
- Carbohydrates: 18g
- Fiber: 0g
- Sugar: 11g
- Protein: 1g
These are a treat, through and through! I believe in enjoying indulgent, feel-good food mindfully. Savor one or two of these with your coffee or milk as part of a balanced holiday season.
Final Thoughts from My Kitchen to Yours
Well, there you have it—my everything-I-know guide to the most perfect, fudgy, and festive Red Velvet Crinkle Cookies. This recipe is more than just a list of ingredients; it’s a passport to creating joy, sharing laughter, and making your kitchen the heart of the home this holiday season.
I hope you feel empowered to bake up a batch (or three!) of these stunning cookies. They’re proof that you don’t need to be a professional pastry chef to create something truly spectacular. So put on your favorite holiday playlist, dust everything in powdered sugar with wild abandon, and get ready to make some memories. I can’t wait for you to experience the magic.
If you make them, please share your creations with me! Tag @feastical on Instagram or Facebook so I can see your beautiful bakes. Happy holidays and happy baking, friends!
With love and a full cookie jar,