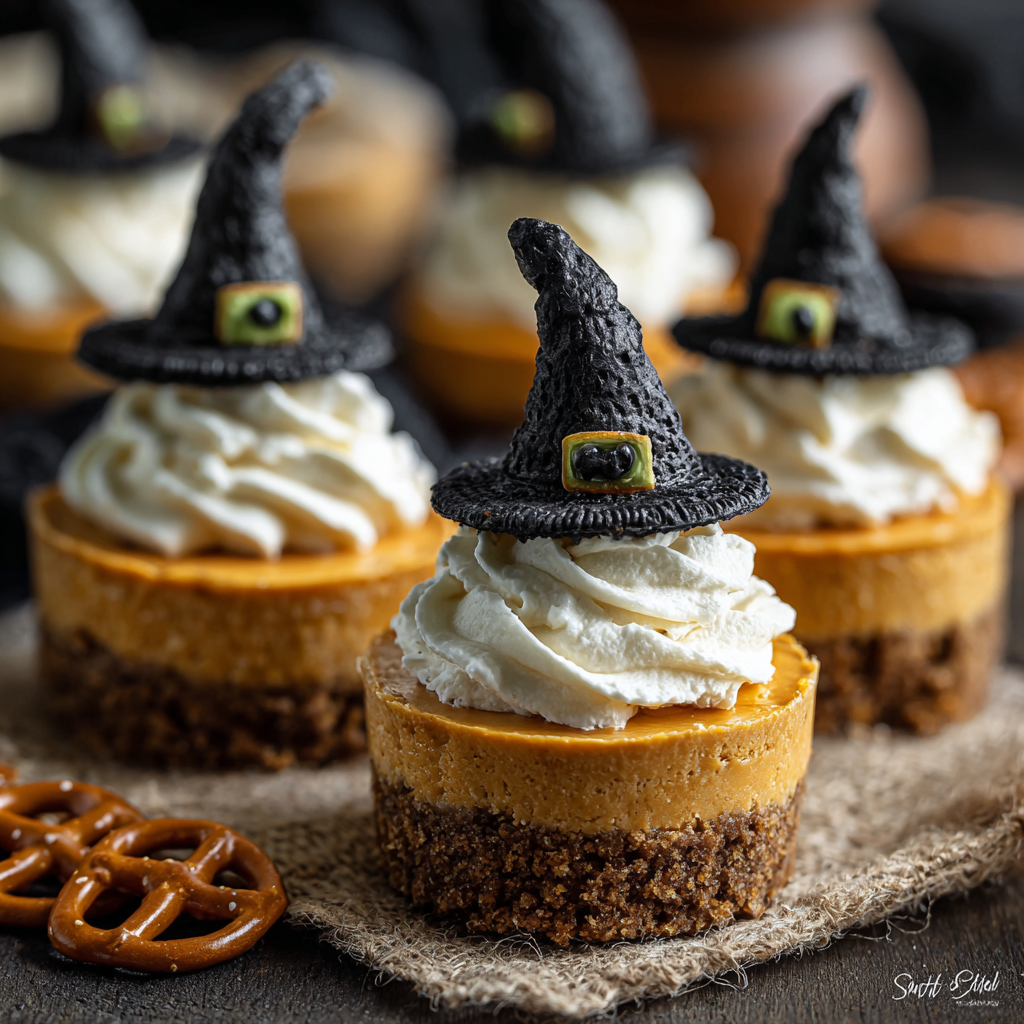
No-Bake Pumpkin Pie Cheesecake Witch Cauldrons: Your Spellbinding Halloween Treat!
Hey, dessert witches and kitchen wizards! Beau here from Feastical, ready to share the potion that’s been casting delicious spells at my Halloween parties for years. Picture this: creamy pumpkin cheesecake hugged by a graham cracker crust, all snuggled in a chocolate cauldron and bubbling with green “magic” – zero baking required. These adorable no-bake pumpkin pie cheesecake cauldrons are your golden ticket to becoming the Hogwarts Head Pastry Chef (without the stressful exams!).
Why do I adore this recipe? Because Halloween should be about fun, not frantic oven-watching while dressed as a zombie. Whether you’re hosting a monster mash, crafting with mini-wizards, or just treating yourself (you deserve it, broomstick commander!), these cauldrons deliver pure joy in every bite. They blend the cozy spice of pumpkin pie with the luscious creaminess of cheesecake – a combo that’ll make even the pickiest little goblin grin. So grab your imaginary wands (or real spatulas), and let’s turn simple ingredients into pure kitchen sorcery!
P.S. Got 20 minutes? That’s all the active magic time you need. The fridge handles the rest while you perfect your cackle. 🧙♀️
When a Kitchen Disaster Became My Magic Moment
Flashback to my first Halloween party as a “real adult” (read: terrified 22-year-old pretending to know how to host). I’d ambitiously planned a baked pumpkin cheesecake… which cracked more than a haunted house floorboard. Panicking, I scooped the filling into chocolate cups, topped it with hastily dyed green yogurt, and stuck in pretzel sticks shouting, “They’re mini-cauldrons, I swear!”
The result? Guests lost their minds. Kids giggled stirring their “potions,” adults snapped pics, and my “disaster” became the star. That’s when it hit me: imperfect food with personality beats flawless but fussy every time. These cheesecake cauldrons are a tribute to happy accidents – and proof that the best kitchen magic often comes from winging it with a smile (and maybe a dash of food dye).
Your Magical Potion Ingredients
Makes 12 spellbinding cauldrons
- 1 1/2 cups graham cracker crumbs – The earthy “cauldron floor.” Pro tip: Blitz whole crackers in a bag with a rolling pin for therapy and crumbs! Gluten-free? Swap in crushed gluten-free cookies or oats.
- 1/4 cup melted butter (salted or unsalted) – Our edible glue! Browned butter adds a nutty spell if you’re feeling fancy. Vegan? Coconut oil works beautifully.
- 1 tbsp brown sugar – A whisper of molasses richness. Skip it if you prefer a less sweet crust!
- 1 (8 oz) block cream cheese, softened – Non-negotiable softness! Leave it out 2 hours. Lazy hack? Microwave 10 seconds, flip, repeat until it gently dents when pressed. Vegan? Use plant-based cream cheese.
- 1/2 cup pure pumpkin purée – NOT pumpkin pie filling! Canned pure pumpkin is your friend here. Squeeze excess liquid in a paper towel for thicker filling.
- 1/2 cup powdered sugar – Dissolves seamlessly for silky spells. Sift it to avoid lumps!
- 1/2 tsp pumpkin pie spice – The cozy incantation. Make your own: 1/4 tsp cinnamon + 1/8 tsp each ginger & nutmeg.
- 1/2 tsp pure vanilla extract – The flavor enhancer. Bourbon vanilla? Yes please!
- 1 cup whipped topping (like Cool Whip), thawed – Our cloud-like secret! For homemade, whip 1/2 cup heavy cream + 1 tbsp powdered sugar until stiff.
- Black cupcake liners – Essential for cauldron vibes! Find them at party stores or online.
- For Decoration: Green icing (store-bought or mix powdered sugar+milk+green dye), candy eyes, broken pretzel sticks (“stirring rods”), chocolate sprinkles (“dirt”).
Conjuring Your Cheesecake Cauldrons: A Step-by-Spell!
- Crust Conjuring: In a bowl, stir graham crumbs, brown sugar, and melted butter until it resembles wet sand. Chef’s Hack: Test clumpiness – squeeze a bit; it should hold its shape! Press 1 heaping tablespoon firmly into each black liner. Use a shot glass or small spoon to compact it evenly. Chill 10 mins while you make filling. Why? A cold base prevents soggy cauldrons!
- Witchy Filling Whispers: Beat softened cream cheese in a bowl until smooth and creamy (1-2 mins). CRUCIAL: Scrape the bowl sides! Add pumpkin, powdered sugar, spice, and vanilla. Beat on medium until fully blended – no streaks! Taste: Want more spice? Add a pinch!
- Folding the Fluff (Gently!): Add 1/3 of the whipped topping to the pumpkin mix. Fold with a spatula using big, slow “J” motions – like tucking a cloud into bed! Add remaining topping and fold JUST until combined. Overmixing deflates the magic. Texture Check: Should be smooth, thick, and dreamy.
- Spooning the Spell: Divide filling among chilled crusts. Smooth tops with a damp finger or spoon. Pro Move: Tap liners gently on the counter to release air bubbles and level the filling.
- Chill Like a Cauldron Master: Cover loosely and refrigerate at least 3 hours, but overnight is spell-bindingly better! This sets the filling and melds flavors. Patience, young wizard!
- Decorate Your Dark Arts: Pipe or drizzle green icing like bubbling brew. Add candy eyes peeking out. Stick in pretzel “stir sticks.” Sprinkle chocolate “dirt” around edges. Let imaginations run wild!
Presenting Your Potion Masterpiece
Arrange cauldrons on a slate board, vintage tray, or bed of candy corn “embers.” Add spooky garnishes: dry ice for fog (handle carefully!), plastic spiders, or cinnamon stick “logs.” For parties, set up a DIY decorating station with icing tubes and toppings – let guests brew their own! Serve chilled straight from the fridge. The contrast of cool, creamy filling and crunchy crust is pure magic. Pair with hot apple cider or a shot of espresso for grown-up ghouls!
Halloween Food Presentation – Turning Treats into a Showstopper
A great Halloween dessert isn’t just about taste—it’s about drama. Here’s how to make your cheesecake cauldrons the centerpiece of your spooky spread:
1. The Cauldron Effect
-
Black Liners = Instant Atmosphere – If you can’t find them, paint regular liners with melted dark chocolate for a DIY cauldron look.
-
Edible “Bubbles” – Pipe green icing in swirls, then add clear sanding sugar for a glittery, magical effect.
2. Themed Serving Platters
-
Haunted Forest – Arrange cauldrons on a tray with moss, plastic spiders, and twig “logs.”
-
Witch’s Pantry – Use vintage bottles (filled with colored syrup), apothecary jars of candy, and a faux “spellbook” menu.
3. Interactive Dessert Stations
-
“Brew Your Own Potion” Bar – Set out toppings like crushed Oreos (“dragon scales”), gummy worms, and Pop Rocks (“fairy dust”).
-
Dry Ice Fog – Place a small bowl of hot water + dry ice behind the tray for eerie mist (handle with gloves!).
4. Lighting Matters
-
Purple/Gel LED Lights – Cast an otherworldly glow.
-
Flickering Tea Lights – Nestle battery-operated candles around the platter for a haunted vibe.
With these tricks, your cheesecake cauldrons won’t just taste magical—they’ll look like they were conjured straight from a witch’s lair.
Brew Your Own Twist: Cauldron Variations
- Chocolate Coven: Swap graham crumbs for Oreo crumbs. Add 2 tbsp cocoa powder to the filling.
- Nutty Necromancer: Add 1/4 cup finely chopped pecans or walnuts to the crust. Sprinkle candied pecans on top.
- Fruity Phantom: Fold 1/4 cup dried cranberries soaked in orange juice into the filling.
- Lighter Enchantment: Use reduced-fat cream cheese, light Cool Whip, and skip crust sugar. Still delicious!
- Gingergread Ghouls: Use crushed gingersnaps for the crust. Add 1/4 tsp ground ginger to filling.
Beau’s Cauldron Chronicles
These little guys have evolved! Year 1, I used plain yogurt dyed green (too tangy!). Year 2, I added a layer of melted chocolate inside the liner before the crust (next-level cauldron texture, but fussy). This version? The Goldilocks “just right.” The pretzel stir sticks were my nephew’s idea – he insisted real witches need tools! One year, my cat Mr. Whiskers “helped” by stealing a pretzel… chaos ensued. Lesson: Guard your potions from feline familiars!
The biggest win? Seeing kids’ faces light up decorating these. Food isn’t just fuel; it’s play, memory, and connection. So if your icing blobs or an eye goes wonky? Embrace it! Wabi-sabi witches are the coolest.
Your Cauldron Conundrums Solved!
Q: My filling is runny! What went wrong?
A: Three likely culprits: 1) Cream cheese wasn’t soft enough (lumps = uneven mixing). 2) Pumpkin purée had too much liquid (always blot it!). 3) Overmixed after adding whipped topping (be gentle!). Fix: Pop filled cauldrons in the freezer for 1 hour, then fridge. They’ll firm up!
Q: Can I make these ahead?
A: Absolutely! They’re perfect make-ahead magic. Assemble (without decor) up to 2 days in advance. Add toppings within 2 hours of serving to keep pretzels crisp and icing tidy.
Q: Help! I can’t find black liners!
A: No panic potion needed! Use regular liners and paint the insides with melted dark chocolate. Chill 5 mins before adding crust. Bonus: Adds a chocolatey cauldron wall!
Q: Any nut-free decoration ideas?
A> Skip pralines! Use seeds (pumpkin, sunflower), dairy-free chocolate chips, or fruit leather “worms.” Ensure candy eyes are nut-free (check labels!).
No-Bake Pumpkin Pie Cheesecake Witch Cauldrons
- Total Time: 3 hrs 20 mins
Description
Halloween magic in every bite! These spellbinding mini cauldrons combine the cozy spices of pumpkin pie with the creamy dreaminess of cheesecake—all nestled inside a graham cracker crust and dressed up with bubbling green “potion.” No oven needed, just a little fridge time. Whether you’re throwing a monster mash, entertaining little ghouls, or just indulging in some spooky self-care, these treats promise both fun and flavor.
Ingredients
-
1 ½ cups graham cracker crumbs
-
¼ cup melted butter
-
1 tbsp brown sugar
-
8 oz cream cheese, softened
-
½ cup pure pumpkin purée (well-drained)
-
½ cup powdered sugar
-
½ tsp pumpkin pie spice
-
½ tsp vanilla extract
-
1 cup whipped topping (or homemade whipped cream)
-
Black cupcake liners
Decorations: green icing, candy eyes, pretzel sticks, chocolate sprinkles
Instructions
-
Crust Magic: Mix graham crumbs, sugar, and melted butter until sandy. Press firmly into liners. Chill 10 mins.
-
Filling Spell: Beat cream cheese smooth. Add pumpkin, powdered sugar, spice, and vanilla. Mix until creamy.
-
Fold the Fluff: Gently fold in whipped topping—don’t overmix!
-
Assemble: Spoon filling into crusts, smooth tops, and tap lightly to settle.
-
Chill: Refrigerate at least 3 hours (overnight best).
-
Decorate: Pipe green icing like potion, add eyes, pretzels, and sprinkles.
Notes
Prep them a day ahead—the fridge deepens the flavors while you focus on your witchy cackle!
Nutrition
- Calories: 210 Cal Per Cauldron
- Sugar: 12g
- Fat: 14g
- Carbohydrates: 18g
- Protein: 3g
Witchy Bite-Sized Nutrition (Per Cauldron)
Calories: ~210 | Protein: 3g | Fat: 14g | Carbs: 18g | Sugar: 12g
Note: Estimates include crust, filling, and basic decor (green icing + 2 candy eyes). Using light ingredients reduces calories/fat significantly.
Final Thoughts: Why This Recipe is a Halloween Must-Make
These No-Bake Pumpkin Pie Cheesecake Cauldrons aren’t just a dessert—they’re an experience. They capture the playful spirit of Halloween while delivering rich, creamy flavor. Whether you’re a busy parent, a last-minute party host, or just a pumpkin spice enthusiast, this recipe is forgiving, fun, and downright delicious.
So, embrace the imperfections (leaning pretzel sticks? “Rustic charm!”), involve your mini monsters in decorating, and most importantly—enjoy the magic you’ve created. After all, the best Halloween memories aren’t just about the treats… it’s about the joy of making them together.