Your New Favorite Bite: Mini Sourdough Bread Rolls
Hey friends, Beau here! Tell me if this sounds familiar: you’ve caught the sourdough bug. You’re nurturing your starter like a proud plant parent, you’ve mastered a gorgeous, crackly-crusted loaf, and you’re feeling pretty darn accomplished. But then… a craving hits. You want that incredible, tangy, chewy sourdough experience, but you don’t want to commit to a whole loaf. Maybe it’s just you and your partner for dinner, or you’re planning a cozy get-together and want everyone to have their own perfect little bread bundle.
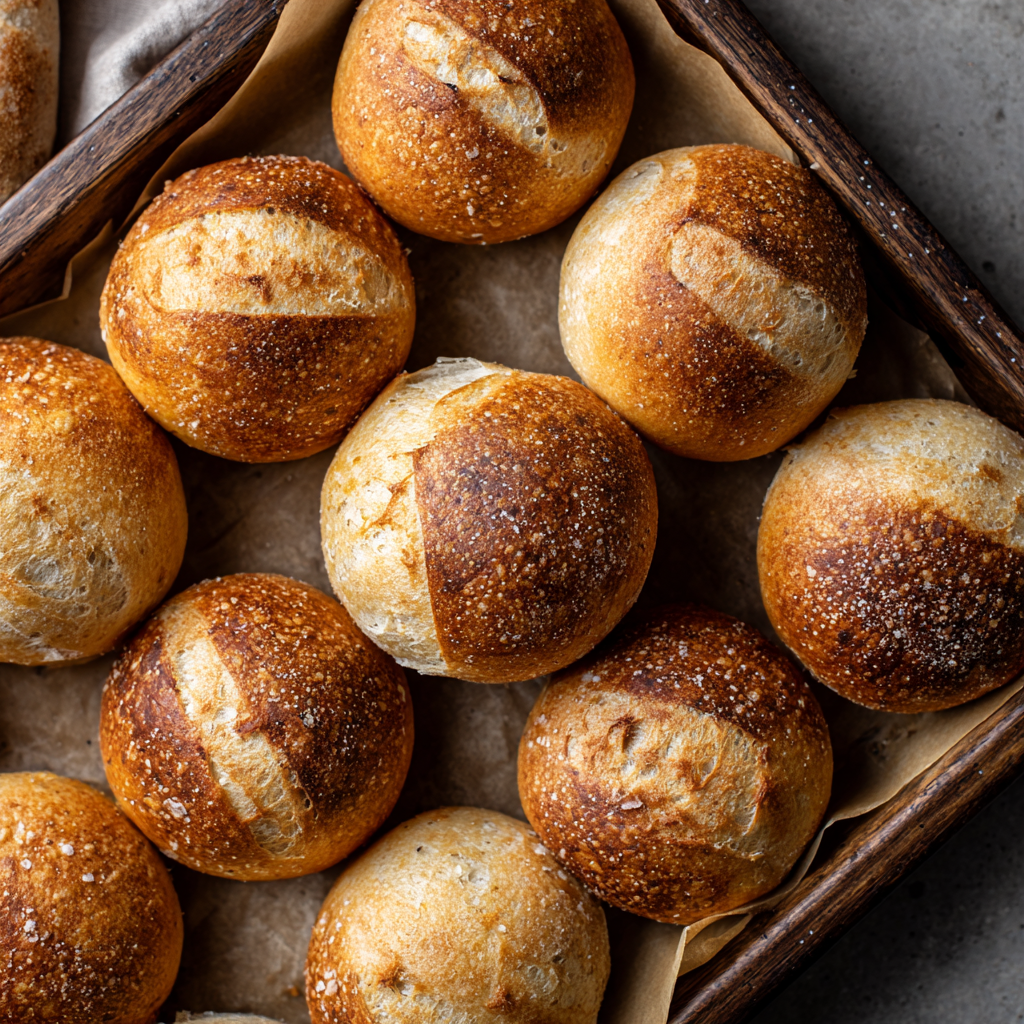
Well, my fellow food-lover, I have the most delightful, game-changing solution for you: Mini Sourdough Bread Rolls. We’re taking all the magic of a classic artisan loaf—the blistered, crisp crust, the soft, airy crumb, that satisfying tang—and shrinking it down into adorable, single-serving packages. Baked right in a standard muffin pan, these little guys are the ultimate in portion control, party perfection, and pure, unadulterated bread joy.
And the best part? No fancy Dutch oven required! We’re using a simple chef’s hack with a baking tray and some water to create that professional-grade steam oven environment right in your kitchen. So, whether you’re a sourdough sage or just getting your hands floury, these mini rolls are about to become your new baking obsession. Let’s get this dough party started!
The Little Loaf That Could: A Sourdough Story
This whole mini-roll obsession started in my kitchen a few Christmases ago. I was hosting my family, and my mom, the queen of holiday dinners, had outdone herself with the menu. I was on bread duty, and I’d baked my usual stunning sourdough boule. But when it came time to serve, we had to slice and pass it around, which, while lovely, felt a little… formal. I watched as my niece, little Lily, tried to wrestle a giant slice onto her small plate, and I had a lightbulb moment.
The next day, with some leftover dough from my weekly bake, I decided to experiment. I shaped a few little dough balls and plopped them into a muffin tin, thinking, “Worst case, we have some interesting bread nuggets.” What came out of the oven was pure magic. They were like individual pieces of art, each with its own tiny, perfect ear and a crust that shattered when you tore it open. Lily got her own personal “baby loaf,” and her face lit up. That’s when I knew—this wasn’t just a hack; it was a new tradition. It’s about making food that’s not only delicious but also fun, personal, and a little bit magical.
What You’ll Need for These Mini Marvels
We’re keeping it classic here, using a straightforward sourdough bread dough. A hydration of around 70-75% is the sweet spot—it’s manageable to shape but still gives us that beautiful, open crumb. Here’s the breakdown:
- Active Sourdough Starter (100g): This is the heart and soul of the operation! Make sure your starter is ripe, bubbly, and has recently been fed. It should have a pleasant, slightly sweet, and tangy aroma. If it smells like acetone or vinegar, it’s a bit past its prime—give it a fresh feed and wait a few hours.
- Bread Flour (350g): I love bread flour for its higher protein content (usually 12-13%), which gives our rolls that fantastic chew and structure. Chef’s Insight: If you only have all-purpose flour, you can use it! Your rolls will be a touch softer and less chewy, but still absolutely delicious.
- Water (235g, lukewarm): Lukewarm water, around 75-80°F (24-27°C), is ideal. It gently coaxes the fermentation along without shocking the yeast. Substitution Tip: Feel free to swap up to 50g of the water for whole milk for a slightly richer, softer roll.
- Salt (7g): Don’t you dare forget the salt! It’s not just for flavor; it also tightens the gluten structure and helps control fermentation. I use fine sea salt for even distribution.
Shaping & Baking Your Mini Masterpieces
Okay, team! You’ve mixed your dough, done your stretches and folds, and let it bulk ferment until it’s nicely risen and bubbly. Now for the fun part—let’s turn that beautiful dough into rolls!
- Divide with Love: Gently turn your dough out onto a very lightly floured surface. Using a bench scraper or a sharp knife, divide the dough into 12 equal pieces. I aim for about 77g each for standard muffin cups—it’s the perfect size! Chef’s Hack: Weigh your pieces for uniformity. This ensures they all bake at the same rate and look like a professional set.
- The Pre-Shape & Rest: Lightly shape each piece into a loose round. Don’t go for tightness yet—we’re just creating a basic shape. Cover them with a clean kitchen towel and let them rest for 20-30 minutes. This relaxes the gluten, making the final shaping much easier.
- Final Shaping: Now, let’s create some surface tension! Take one dough piece. Pull the edges of the dough down and toward the center, creating a smooth, taut “skin” on top. Pinch the seams together at the bottom. Cup your hand around the dough and drag it in a small, tight circle on the counter to seal the bottom and tighten the ball. You should feel a little resistance. This tension is what helps them rise up, not just out, in the oven.
- Proofing in the Pan: Lightly grease your standard 12-cup muffin pan. No liners needed! Place each shaped dough ball, seam-side down, into a cup. Cover the entire pan loosely with a large plastic bag or damp tea towel. Let them proof until they look puffy and have risen slightly. Because they’re small, this might be quicker than a whole loaf, so keep an eye on them! The poke test works well here—a gentle poke should leave a slight indent that slowly springs back.
- Preheat & Create Steam: Place a baking sheet or roasting pan on the very bottom rack of your oven. Preheat your oven to a scorching 450°F (232°C). This high heat and the steam we’re about to add are the secrets to that blistered, professional crust.
- Score for Style: Right before baking, it’s time to get artistic! Using a lame, a very sharp razor blade, or even a meticulously clean utility knife, make a shallow slash on top of each roll. A simple “X,” a single slash, or even a leaf pattern works beautifully. This isn’t just for looks; it controls where the steam escapes, allowing the roll to expand evenly.
- Bake to Golden Perfection: Carefully place the muffin pan on a rack in the center of the oven. THEN, quickly pour about 4 cups of hot water into the preheated baking sheet on the bottom rack and shut the oven door immediately. This blast of steam is our Dutch oven replacement! Bake for 15-17 minutes until the rolls are deeply golden brown and sound hollow when tapped on the bottom.
- Cool (The Hardest Part!): As soon as they’re out, transfer the rolls from the muffin pan to a wire rack. I know it’s tempting, but you must let them cool for at least 20 minutes! This allows the crumb to set properly. If you tear into them too soon, the inside can be gummy.
How to Serve These Adorable Bread Balls
Honestly, one of these rolls, still slightly warm from the oven and slathered in good salted butter, is a meal in itself. But let’s get creative!
For a dinner party, pile them high in a rustic wooden bowl or a linen-lined basket. They’re the perfect elegant companion to a big pot of soup, a hearty stew, or a fancy pasta dish. For a holiday meal or brunch, they are absolutely show-stopping. Imagine a Thanksgiving table where everyone gets their own miniature, artisan-style roll—it’s a detail guests will remember.
And don’t forget the dippers! Serve them alongside a small dish of high-quality olive oil mixed with balsamic glaze and herbs. Or, turn them into the world’s best mini-slider buns! They’re sturdy enough to hold a juicy burger or some pulled pork without getting soggy.
Mix It Up! Fun Flavor Twists
Once you’ve mastered the basic roll, the flavor world is your oyster! Here are a few of my favorite ways to jazz them up:
- Everything Bagel Bliss: After shaping, brush the tops lightly with water or an egg wash and generously sprinkle with everything bagel seasoning before the final proof. Savory, seedy, and irresistible.
- Garlic & Herb Heaven: During the initial mixing, add 2-3 finely minced garlic cloves and 2 tablespoons of your favorite chopped fresh herbs (rosemary, thyme, and chives are a killer combo).
- Cheesy Pull-Apart Dream: Add ½ cup of finely grated sharp cheddar or parmesan cheese to the dry ingredients. For extra cheesy goodness, you can even fold in another ¼ cup of small cheese cubes during the final shaping.
- Whole Wheat Wonder: Substitute up to 50% of the bread flour with whole wheat flour. You’ll get a nuttier flavor and a denser, heartier crumb. Just note, you may need to add a touch more water as whole wheat flour is thirstier.
- Sweet Cinnamon Swirl: For a breakfast treat, after the pre-shape rest, roll each dough piece into a small rectangle, brush with melted butter, and sprinkle with a cinnamon-sugar mix. Roll it up like a tiny log, tuck the ends, and then shape into a ball. You’ll get a lovely swirl inside!
Beau’s Baker’s Notes
This recipe has truly evolved in my kitchen. I’ve learned that the muffin pan isn’t just a mold; it’s a support system. It guides the rolls to rise upwards, giving them a beautiful, uniform shape that’s perfect for sandwiches. I once tried baking them free-form on a sheet pan, and while they were tasty, they spread out into more of a “roly-poly” shape. Cute, but not the elegant little boules we’re going for here.
My biggest “aha!” moment was realizing I could skip the stressful transfer of a pre-heated Dutch oven. The steam tray method is foolproof and less intimidating for new bakers. It just goes to show that sometimes, the best kitchen tricks are the simplest ones. Don’t be afraid to make this recipe your own—that’s where the real magic happens!
Your Sourdough Roll Questions, Answered!
Q: My rolls didn’t get a very crispy crust. What happened?
A: The most common culprit is not enough steam! Make sure your oven is fully preheated and that you’re using a HOT baking sheet (a cold one could warp). Pour the water in quickly and shut the door immediately to trap all that beautiful steam. Also, ensure your oven is properly calibrated—an oven thermometer is a baker’s best friend.
Q: Can I make these with discard for a less tangy flavor?
A> You absolutely can, but the process changes! Using unfed “discard” starter won’t provide enough leavening power on its own. For a discard version, you’d want to treat this more like a yeasted roll and add about ½ teaspoon of instant yeast to the recipe to ensure a good rise. The flavor will be milder, which some people prefer!
Q: My dough is really sticky and hard to shape. Help!
A> Don’t panic! Wet your hands with a little water instead of using flour. It will prevent the dough from sticking to you without incorporating too much extra flour, which can make the rolls dense. A bench scraper is also your best friend for handling sticky dough.
Q: How long do these keep, and what’s the best way to reheat them?
A> They are best enjoyed the day they’re baked. After that, store them in a paper bag at room temp for a day to keep the crust crisp. To revive them, a 5-7 minute warm-up in a 350°F (175°C) oven works wonders. For longer storage, they freeze beautifully for up to 3 months.

Mini Sourdough Bread Rolls (Muffin Pan Baked, Small-Batch Friendly)
Description
Love sourdough but don’t want a whole loaf? These Mini Sourdough Bread Rolls capture all the tangy, chewy, crackly magic of a classic loaf in adorable, single-serving rolls. Perfect for weeknight dinners, brunch, or impressing guests with minimal fuss.
Ingredients
-
100g active sourdough starter (ripe and bubbly)
-
350g bread flour (or all-purpose)
-
235g lukewarm water (optionally swap up to 50g with milk for a softer crumb)
-
7g fine sea salt
Optional Flavor Twists:
-
Everything Bagel seasoning
-
Garlic & herbs (2–3 cloves garlic + 2 tbsp fresh herbs)
-
Cheddar or parmesan (½ cup grated cheese + optional ¼ cup small cubes)
-
Cinnamon-sugar swirl for breakfast rolls
Instructions
-
Mix & Autolyse:
Combine flour and water, mix until no dry spots remain. Let rest 20–30 min. -
Add Starter & Salt:
Incorporate sourdough starter and salt, knead until smooth and elastic (8–10 min by hand or stand mixer). -
Bulk Fermentation:
Cover and let dough rise 3–4 hours at room temp, performing 2–3 stretch & folds during the first 2 hours. -
Divide & Pre-Shape:
Turn dough onto lightly floured surface. Divide into 12 equal pieces (~77g each). Pre-shape into loose rounds, cover, rest 20–30 min. -
Final Shaping:
Create surface tension by pulling edges under to form tight balls. Place seam-side down in a lightly greased 12-cup muffin pan. Cover loosely and proof until slightly puffy (poke test: indent springs back slowly). -
Preheat & Steam Prep:
Preheat oven to 450°F (232°C) with a baking sheet on the bottom rack for steaming. -
Score & Bake:
Make a shallow slash on each roll. Place pan in oven, quickly pour ~4 cups hot water into the bottom sheet, and close door. Bake 15–17 min until golden brown and hollow-sounding. -
Cool:
Transfer to a wire rack; cool at least 20 min before serving to set crumb.
Notes
-
Fluffier rolls: Wet your hands slightly when shaping instead of adding flour.
-
Cheesy rolls: Fold in cheese during shaping for gooey pockets.
-
Sweet rolls: Add cinnamon-sugar swirl inside the dough before shaping.
-
Herb rolls: Mix garlic and fresh herbs into dough for savory flavor.
-
Everything Bagel rolls: Brush tops lightly with water or egg wash and sprinkle seasoning before final proof.
Nutrition
- Calories: 130 Cal Per Serving
- Carbohydrates: 26 g
- Protein: 4 g
A Quick Bite on Nutrition
Now, I’m not a nutritionist, I’m a “make-it-taste-good-ist,” but I know many of you are curious about what you’re eating! Since these are made with just four simple, whole ingredients, they’re a pretty wholesome choice.
As a rough estimate, each of these mini sourdough rolls comes in at around 130 calories. You’re looking at about 26g of carbohydrates, a solid 4g of protein from the bread flour, and less than 1g of fat. The real benefit of sourdough is the fermentation process, which can make the bread easier to digest and can lead to a lower glycemic index compared to commercial yeast breads. So, you can feel good about enjoying one (or two!) of these delicious, handmade rolls.
Your New Go-To Bread Recipe
And there you have it! Your guide to creating the most charming, delicious, and impressively easy mini sourdough rolls. This recipe is a testament to what I truly believe here at Feastical: that incredible, soul-satisfying food doesn’t have to be complicated or intimidating. It’s about taking a classic technique and adapting it to fit your life, your kitchen, and your cravings.
These little rolls have brought so much joy to my table, from holiday feasts to simple weeknight soups, and I truly hope they do the same for yours. So, feed that starter, get your muffin pan ready, and bake a batch of happiness. I can’t wait for you to tear into your first one. Happy baking!
Final Thoughts: Your New Go-To Bread Recipe
And there you have it! Your complete guide to creating the most charming, delicious, and impressively easy mini sourdough rolls. This recipe is a testament to what I truly believe: that incredible, soul-satisfying food doesn’t have to be complicated or intimidating.
We’ve taken the grand, sometimes daunting, art of the sourdough boule and transformed it into something approachable, personal, and downright fun. These little rolls are proof that a simple shift in perspective—from one big loaf to twelve perfect little ones—can open up a world of culinary possibilities. They’ve brought so much joy to my table, from holiday feasts to simple weeknight soups, and I truly hope they do the same for yours.
So, feed that starter, dust off that muffin pan, and get ready to fill your kitchen with the unbeatable aroma of baking bread. You’re not just making rolls; you’re creating edible joy, one mini masterpiece at a time.