Spooky Sweets & Spatula Stories: Let’s Make Meringue Bones & Ghosts!
Hey friends, Beau here from Feastical! Picture this: Crisp autumn air, jack-o’-lanterns grinning on porches, and the smell of something sweetly sinister wafting from your kitchen. Halloween isn’t just about costumes—it’s about edible magic that makes kids (and let’s be real, adults too) gasp with delight. That’s where these Meringue Bones & Ghosts float in! Light as cobwebs, hauntingly crisp, and ridiculously fun to pipe, they’re the zero-guilt treat that’ll vanish faster than a vampire at sunrise. No fancy skills needed—just a bowl, a whisk (or mixer!), and your inner spooky artist. Whether you’re hosting a monster mash or bribing tiny goblins, these cuties are your edible jackpot. Ready to whip up some ghoulish giggles? Let’s turn egg whites into enchantment!
Ghosts of Kitchens Past: My First Meringue Meltdown
Okay, confession time: My first meringue attempt? Total horror show. I was 12, armed with Grandma’s hand mixer and Olympic-level confidence. Instead of stiff peaks, I got… soup. Deflated, sugary soup. Turns out, I’d used a tiny smidge of egg yolk (rookie mistake!). Fast-forward to culinary school, where my chef-instructor—a wizard with a whisk—showed me the sacred rules: spotless bowls, room-temp eggs, patience. The day I piped my first glossy ghost? Pure magic. Now, every Halloween, my kitchen becomes a meringue haunted house. My kids duel with piping bags (“My ghost is fatter, Dad!”), and we laugh remembering my egg-white disaster. These bones and ghosts? They’re crunchy little bookmarks in my kitchen-story scrapbook. Your turn to make memories!
Gather Your Ghoulish Gear: What You’ll Need
- 4 large egg whites, room temperature – Cold eggs won’t whip properly! Pro tip: Separate eggs straight from the fridge, then let whites sit covered for 30 mins. No yolk traces allowed—they’re the phantom killers of fluffy meringues!
- 1 cup granulated sugar – Superfine sugar dissolves faster, but regular works fine (just beat longer!). For deeper flavor, swap 2 tbsp with brown sugar—it’ll give ghosts a “dusty” look.
- ½ tsp cream of tartar – This stabilizes your meringue so ghosts don’t “melt”! No cream of tartar? Use ½ tsp lemon juice or white vinegar instead.
- 1 tsp vanilla extract – Pure vanilla adds warmth. Feeling adventurous? Try almond extract (½ tsp) for an eerie twist!
- Black decorating gel or melted chocolate (for eyes) – Gel is mess-free; chocolate tastes dreamy. Chef hack: Use a toothpick for pinpoint ghost pupils!
Why room-temp eggs? Cold proteins tighten up—room temp lets them stretch into cloud-like peaks! And yes, you can use carton egg whites (½ cup = 4 whites), but fresh eggs give better structure.
Conjuring Crispy Spirits: Let’s Pipe!
Step 1: Preheat oven to 225°F (110°C). Line two baking sheets with parchment paper. (No silicone mats—meringues stick!) Pro tip: Dab a bit of meringue under parchment corners to anchor them—no spooky sliding!
Step 2: In a scrupulously clean, dry bowl, beat egg whites and cream of tartar on medium until foamy (1-2 mins). Then crank speed to high! Beat until soft peaks form—they’ll droop slightly when you lift the beaters. Patience pays: Rushing = flat ghosts.
Step 3: With mixer on high, add sugar 1 tablespoon at a time, letting each spoonful dissolve before adding more (about 10 sec between). This takes 5-7 mins total. Stop when you have stiff, glossy peaks that stand straight up. Rub a bit between fingers—if it’s gritty, keep beating! Chef’s test: Turn bowl upside down (briefly!). If meringue doesn’t move, it’s ready.
Step 4: Gently fold in vanilla with a spatula—don’t deflate those peaks! Now, spoon meringue into a piping bag fitted with a round tip (#12 or #10 works). No piping bag? Snip the corner of a heavy-duty Ziploc!
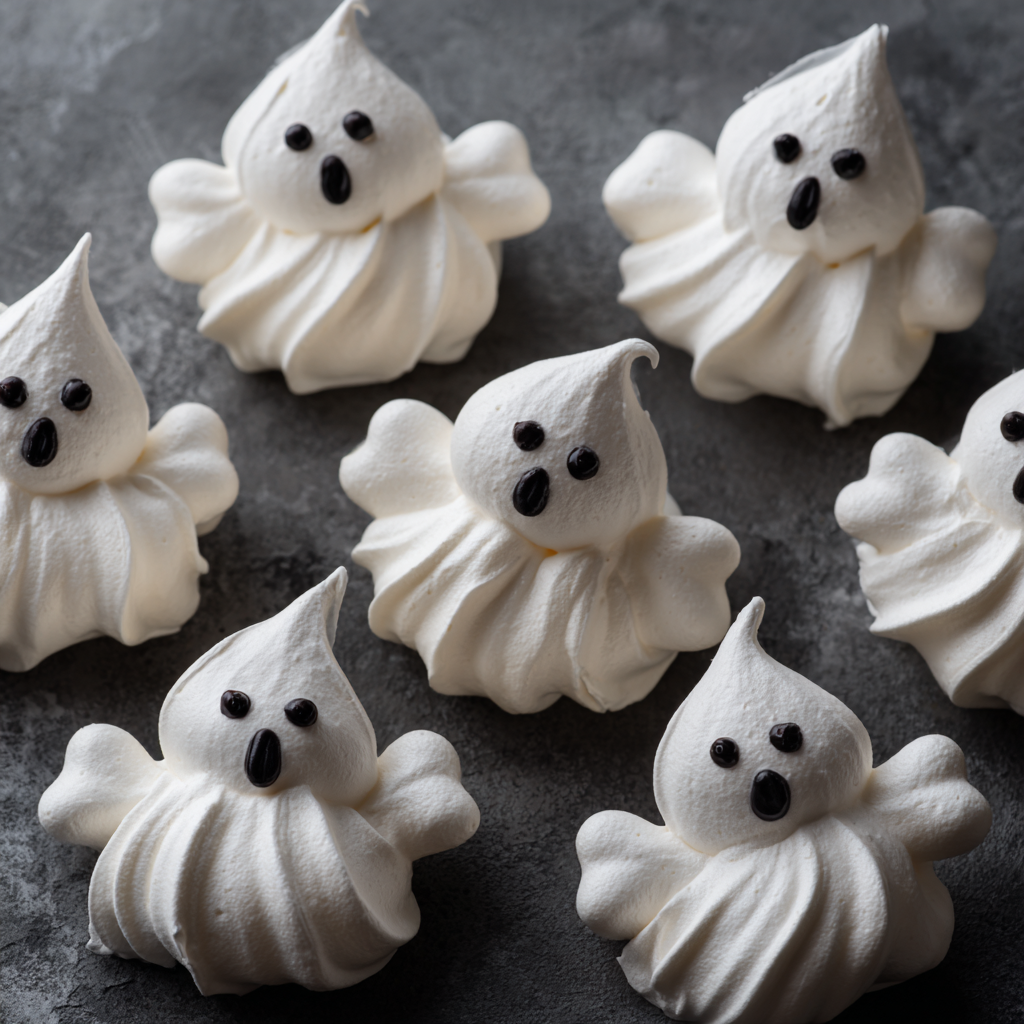
Step 5: Pipe ghosts and bones! For ghosts: Hold bag perpendicular to the sheet. Squeeze, then lift slightly while easing pressure to create a wispy point. For bones: Pipe two small blobs (joints) connected by a thin line. Mess up? Scoop meringue back into the bag—no one knows!
Step 6: Bake 1 hour. DO NOT OPEN OVEN! Turn off heat, crack the door with a wooden spoon, and let meringues dry inside for 1 more hour. This prevents cracks and ensures crispiness. Resist peeking—sudden temp drops cause haunting…ly sad collapses.
Step 7: Cool completely on sheets. Then, dot ghost eyes with black gel or melted chocolate. Store in an airtight container for up to 2 weeks (if they last that long!).
Boo-tiful Presentation Ideas
Pile these spirits onto a black cake stand for a “graveyard gathering.” Spear bone meringues onto licorice sticks as edible skewers. Or, nestle ghosts beside mugs of hot cocoa—their melt-in-your-mouth texture pairs perfectly! For parties, set out edible “blood” (raspberry jam) for dunking bones. Want drama? Dry ice “fog” under the serving tray makes ghosts float eerily… just don’t touch the ice!
Spooky Twists & Dietary Ghost-ers
1. Chocolate Phantoms: Fold 2 tbsp cocoa powder into meringue for brown ghosts—pipe as bats!
2. Matcha Monsters: Add 1 tsp matcha powder for green “slime” ghosts.
3. Vegan Spirits: Use aquafaba (liquid from canned chickpeas)! Swap 4 egg whites for ½ cup aquafaba + ¼ tsp xanthan gum.
4. Spicy Skeletons: Add ¼ tsp cayenne to sugar for sweet-heat bones.
5. Gluten-Free Ghouls: Already naturally GF—just check labels on decorating gel!
The Science Behind Perfect Meringues – Why These Ghosts Won’t Wilt
Meringues might seem like pure kitchen magic, but they’re actually a delicious lesson in food science. Understanding the why behind the steps makes these spooky sweets even more fun to create.
Egg Whites: The Foundation of Fluff
Egg whites are about 90% water and 10% protein. When you beat them, you’re unraveling those proteins (think of them as tiny coiled springs). As they unwind, they trap air bubbles, creating foam. But here’s the catch: any fat—like stray egg yolk or grease in your bowl—will sabotage this process. Fat molecules coat the proteins, preventing them from forming a stable structure. That’s why spotless tools and yolk-free whites are non-negotiable!
Sugar: Not Just Sweetness
Adding sugar isn’t just for taste—it’s a stabilizer. When you gradually beat in sugar, it dissolves into the egg white’s moisture, forming a glossy, thick syrup that reinforces the air bubbles. Superfine sugar works best because it dissolves faster, but regular sugar works with patience (undissolved sugar = gritty meringues). Brown sugar adds a hint of caramel flavor but can darken your ghosts—great for “aged” specters!
Cream of Tartar: The Unsung Hero
This acidic powder (a byproduct of winemaking) lowers the pH of egg whites, making the proteins bond more tightly. No cream of tartar? Lemon juice or vinegar does the same job. Without acid, meringues are more prone to collapsing or “weeping” (releasing sticky syrup).
Baking Low & Slow: The Key to Crispiness
Meringues bake at a low temperature (around 225°F) to dry them out without browning. High heat would expand the air bubbles too fast, causing cracks. The final “rest” in the turned-off oven ensures they dry evenly. Humidity is the arch-nemesis—if your kitchen feels like a swamp, add 10–15 minutes to the drying time.
Fun Experiment: Try whipping one batch with and one without cream of tartar. The difference in stability is spookily obvious!
Spooky Shapes & Creative Twists – Beyond Ghosts and Bones
Once you’ve mastered basic piping, the haunting possibilities are endless! Here’s how to level up your meringue artistry.
Advanced Piping Techniques
-
Witch Hats: Pipe a flat circle, then build a cone on top. Use black gel to add a buckle.
-
Spiderwebs: Pipe concentric circles, then drag a toothpick from center to edge.
-
Mini Tombstones: Pipe rectangles, then use melted chocolate to scrawl “RIP” or funny epitaphs (“Here lies Dave’s Diet”).
Flavored Phantoms
-
Pumpkin Spice Ghosts: Add ½ tsp pumpkin spice to the sugar for a fall twist.
-
Espresso Specters: Fold in 1 tsp instant espresso powder for “haunted coffee shop” vibes.
-
Cotton Candy Clouds: A few drops of cotton candy flavoring + pink gel dye = ethereal “fairy ghosts.”
Spooky Dioramas
-
Graveyard Scene: Arrange bones and tombstones on a cake smeared with chocolate “dirt” (crushed cookies).
-
Floating Ghosts: Hang ghosts from clear fishing line over a punch bowl.
-
Meringue “Cobwebs”: Pipe thin, tangled strands onto parchment—they’ll crisp into edible webs.
Savory Surprise
For a Halloween appetizer, pipe savory meringues with:
-
1 tsp grated Parmesan + ¼ tsp garlic powder (bone shapes).
-
½ tsp smoked paprika + 1 tsp finely chopped rosemary (great for “witch fingers”).
Pro Tip: Use stencils under parchment to guide your piping. Kids love tracing simple shapes like bats or cats!
The History of Meringue – From Swiss Castles to Halloween Parties
Meringues might feel modern, but their roots stretch back centuries—with a few ghostly tales along the way.
The Swiss Legend
One story claims meringue was invented in the Swiss village of Meiringen in the 1600s. A local baker whipped up egg whites and sugar to impress a visiting noble. The name “meringue” may derive from the town’s name—or from the German word mürbe (tender).
French Flair
French chef François Massialot documented meringue recipes in 1692, calling them “Meringues” in his cookbook. Versailles chefs later piped them into elaborate shapes for royal banquets. Marie Antoinette allegedly adored piping them herself!
The “Forgotten” Connection
Some historians link meringues to an even older technique: “forgotten cookies.” These were left in cooling ovens overnight (hence “forgotten”), evolving into today’s slow-baked meringues.
Halloween’s Sweet Haunt
Meringue ghosts and bones became popular in 20th-century America as home bakers embraced themed treats. Their snow-white color and light texture made them ideal for “spectral” desserts. The rise of food coloring and piping tools in the 1950s cemented their spooky status.
Fun Fact: The world’s largest meringue weighed 1,200 pounds and was shaped like a castle. Maybe next Halloween, we aim for a life-size skeleton?
Bone Appétit & Bloopers!
True story: Last year, my dog snatched a “bone” off the counter. Cue a 10-minute chase with a very confused pup (don’t worry—meringues are dog-safe!). Over the years, I’ve learned: Humidity is the enemy. Bake on dry days, or add 5 mins to drying time. And if your ghosts crack? Call them “zombies” and lean into it! Originally, I piped these freehand—now I sometimes use stencils for uniform spirits. But imperfect ghosts have more character… just like us! Pro tip: Double the batch. These disappear faster than candy corn at a pumpkin patch.
Meringue Mysteries Solved!
Q: Why did my meringues weep (get sticky or leak syrup)?
A: Sugar didn’t fully dissolve! Next time, beat longer after adding sugar, and ensure bowls/beaters are grease-free. Humidity can also cause weeping—bake on drier days.
Q: Can I color the meringue?
A: Absolutely! Use gel food coloring (not liquid—it adds moisture). Fold in after vanilla. Pale colors work best: think lavender ghosts or grey bones!
Q: My peaks won’t stiffen! Help!
A> Three culprits: 1) Yolk contamination, 2) Greasy tools, or 3) Adding sugar too fast. Start over—and wipe bowls with lemon juice first!
Q: Can I make these ahead?
A: Yes! They keep 2 weeks airtight. Freeze unbaked piped shapes on sheets, then bag once frozen—bake straight from freezer (add 10 mins).

Meringue Bones & Ghosts
- Total Time: 2 hrs 20 mins
Description
These airy meringues are the ultimate Halloween trick and treat—crunchy, melt-in-your-mouth sweets shaped into bones and ghosts. No butter, no guilt, just pure spooky delight. Perfect for party platters, cocoa toppers, or edible Halloween décor. Ready to whip up some edible spirits? Let’s get whisking!
Ingredients
-
4 large egg whites, room temp
-
1 cup granulated sugar
-
½ tsp cream of tartar (or ½ tsp lemon juice)
-
1 tsp vanilla extract
-
Black decorating gel or melted chocolate (for eyes)
Instructions
-
Prep: Heat oven to 225°F (110°C). Line baking sheets with parchment.
-
Whip: In a clean bowl, beat egg whites + cream of tartar until foamy. Increase to high, whipping to soft peaks.
-
Sweeten: Add sugar 1 tbsp at a time, beating until glossy stiff peaks form (5–7 mins). Rub between fingers—no grit!
-
Flavor: Fold in vanilla gently.
-
Pipe: Spoon into piping bag. Pipe ghost mounds (pull upward for wispy tops) or bones (two blobs linked by a line).
-
Bake: 1 hour, then turn off oven. Leave meringues inside with door cracked for another hour.
-
Finish: Cool fully, then dot ghost eyes with gel or chocolate.
Notes
-
Humidity is the enemy—bake on dry days.
-
Color with gel food coloring for green “slime” or cocoa for chocolate phantoms.
-
Vegan swap: ½ cup aquafaba + ¼ tsp xanthan gum instead of egg whites.
- Prep Time: 20 mins
Nutrition
- Calories: 20 Cal
- Carbohydrates: 5g
- Protein: 0.5g
Nutritional Boo-sts (per piece)
Calories: 20 • Carbs: 5g • Sugar: 5g • Protein: 0.5g • Fat: 0g
Basically guilt-free spookiness! Vegan variation cuts cholesterol to zero.
Final Thoughts: Why Meringues Are the Perfect Halloween Treat
Meringue bones and ghosts aren’t just delicious—they’re a experience. They’re:
-
Easy but Impressive: No fancy skills needed, just a mixer and imagination.
-
Customizable: Fit any theme, flavor, or dietary need (vegan? aquafaba works!).
-
Nostalgic: Remembering kitchen fails (like Beau’s first runny batch) is part of the fun.
-
Interactive: Kids and friends can pipe their own creations, turning baking into a party.
So grab that whisk, embrace the mess, and let’s make some edible magic. After all, the best Halloween treats aren’t just eaten—they’re remembered. Happy haunting, bakers!