Let’s Bake Some Holiday Magic!
Hey there, friend! Beau here, welcoming you back to my kitchen at Feastical. Can you smell it? That unmistakable aroma of butter, sugar, and warm spice that seems to hug the whole house the moment you turn on the oven? It’s the scent of happiness, if you ask me, and it’s exactly what we’re whipping up today.
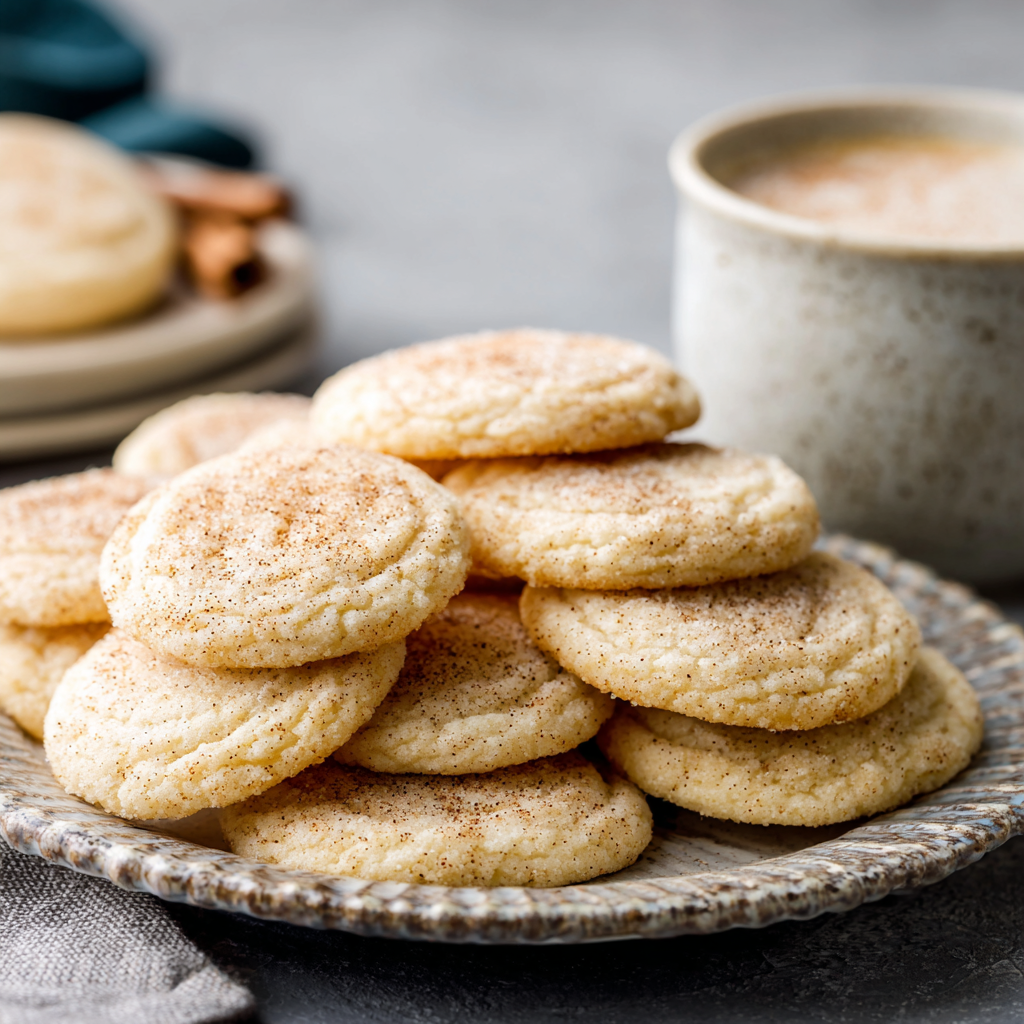
I’m a firm believer that some recipes are more than just a list of ingredients—they’re a feeling. And these Melt-in-Your-Mouth Eggnog Sugar Cookies? They are the very essence of a cozy, joyful, and utterly delicious holiday season. We’re taking the classic sugar cookie, that blank canvas of pure potential, and giving it a full-on festive glow-up. We’re infusing it with the rich, creamy, and gently spiced soul of your favorite holiday drink.
Imagine a cookie that’s soft without being cakey, buttery without being greasy, and spiced with just the right amount of nutmeg to make it taste like Christmas, without shouting it from the rooftops. The texture is pure magic—they truly do live up to their “melt-in-your-mouth” name. They’re the kind of cookie you sneak a second of before they’ve even cooled, the kind you pack into tins for neighbors, and the kind that disappears from the platter before the carols have even finished playing. So, tie on your favorite apron, my friend. We’re about to create some serious kitchen magic together.
A Cookie That Tastes Like My Grandma’s Laugh
This recipe always takes me right back to my grandma’s kitchen, a place that always smelled like cinnamon and unconditional love. Every Christmas Eve, she’d make a huge batch of homemade eggnog, whipping it by hand until her arm nearly fell off. It was a production, and we all got a small, precious glass. But without fail, she’d always have a little leftover—just about a cup’s worth—sitting in a mason jar in the fridge.
One year, I caught her sneaking that last cup into her sugar cookie dough. I was scandalized! “Grandma, you’re wasting the good stuff!” I cried. She just winked, dusted a little extra nutmeg on top of the dough balls, and said, “Beau, honey, we’re not wasting it. We’re preserving the magic.” When those cookies came out of the oven, I understood. They tasted like her eggnog, but in a soft, portable, buttery form. They tasted like her laugh—warm, a little spicy, and full of joy. That’s the spirit I’ve tried to bottle in this very recipe.
Gathering Your Cookie Crew: The Ingredients
Here’s the dream team that’s going to make these cookies legendary. I’ve included a few of my chef-y insights and easy swaps to make this recipe work for you, no matter what’s in your pantry.
- 2 cups (4 sticks) unsalted butter, softened: This is the foundation of our melt-in-your-mouth texture. Using unsalted lets you control the salt level. Chef’s Tip: “Softened” is key! It should be cool to the touch but leave a slight indent when you press it. Don’t melt it! If you’re in a pinch, cut the sticks into tablespoons and let them sit out for 20-30 minutes.
- 3 cups granulated sugar: For that classic sweetness and helps create a slightly crisp edge while keeping the center tender.
- 2 large eggs: Our binding agents, bringing everything together. Make sure they’re at room temperature to prevent the butter from seizing up.
- 1 cup eggnog: The star of the show! Use store-bought for convenience or homemade for that extra-special touch. The richer the eggnog, the richer the cookie. Substitution Tip: No eggnog? Combine 1 cup of whole milk with 1 extra teaspoon of vanilla extract and 1.5 teaspoons of ground nutmeg.
- 1 tsp ground nutmeg: This is what gives it that signature “eggnog” spice. Feel free to add an extra 1/4 tsp if you’re a nutmeg fanatic like me!
- 2 tsp vanilla extract: The warm, floral notes of vanilla are the perfect partner for the nutmeg. Use pure vanilla extract for the best flavor.
- 6 cups all-purpose flour: The structure of our cookie. Chef’s Hack: For the most accurate measurement, fluff your flour with a spoon, spoon it into your measuring cup, and level it off. Don’t pack it in!
- 2 tsp baking powder: This is our leavening agent, giving the cookies a lovely, soft lift.
- 1 tsp salt: The secret weapon! Salt balances the sweetness and makes all the other flavors pop. If you only have salted butter, reduce this to a 1/2 teaspoon.
- Optional Topping (Cinnamon-Sugar Mix): Just combine 1/4 cup sugar with 1 tsp of cinnamon. It adds a delightful sparkle and crunch.
- Optional Topping (Eggnog Glaze): Whisk together 1 cup of powdered sugar with 1-2 tablespoons of eggnog until you reach a drizzling consistency.
Let’s Get Baking: The Step-by-Step Magic
Alright, team, let’s fire up the oven and get our hands dusty. Follow these steps, and you’ll be a cookie hero in no time.
- Preheat and Prep. Get that oven preheating to a cozy 350°F (175°C). This is your first step for an even bake. Line your baking sheets with parchment paper. Trust me on this—it prevents sticking, makes cleanup a dream, and is my number one kitchen hack for perfect cookies every single time.
- Creaming is Key. In a large bowl, beat the softened butter and granulated sugar together. Now, don’t rush this! We’re not just mixing; we’re “creaming.” Beat it on medium-high speed for a solid 2-3 minutes until it becomes pale, fluffy, and almost whipped. This step incorporates air into the dough, which is a big part of achieving that perfect, tender texture. If you skip it, your cookies will be dense.
- Incorporate the Wet Team. Beat in the eggs, one at a time, letting each one fully incorporate before adding the next. This helps create an emulsion. Then, pour in that glorious eggnog, the vanilla, and the nutmeg. Mix until it’s a smooth, fragrant, liquid dream. It might look a little curdled at this point—don’t you worry one bit. That’s totally normal and will fix itself when we add the flour.
- Whisk the Dry Goods. In a separate bowl, grab a whisk and give the flour, baking powder, and salt a good whisking. This does two things: it combines everything evenly, and it aerates the flour one more time, making for a lighter cookie. No one wants a pocket of baking powder in their bite!
- The Grand Union. Now, with your mixer on low speed, gradually add the dry ingredients to the wet mixture. I add it in about three parts to avoid a flour blizzard in my kitchen. Mix just until the flour disappears and a soft dough forms. Do not overmix! Overmixed dough = tough cookies. You’ll know it’s ready when there are no more dry streaks.
- Scoop and Space. Using a tablespoon or a small cookie scoop (my personal favorite for uniform cookies), drop rounded tablespoons of dough onto your prepared baking sheets. Give them about 2 inches of space to spread and become the beautiful, puffy cookies they’re destined to be.
- Bake to Perfection. Pop them into your preheated oven and bake for 8-10 minutes. You’re looking for the edges to be just lightly golden. The centers should still look soft and might even seem a tiny bit underdone—that’s perfect! They will continue to cook on the hot baking sheet. This is the secret to a soft, melt-in-your-mouth center.
- The Patient Cool-Down. Let the cookies rest on the hot baking sheet for 5 full minutes. This allows them to set up so they don’t fall apart when you move them. Then, ever so gently, transfer them to a wire rack to cool completely. This step ensures they don’t get soggy on the bottom.
- The Finishing Touch. If you’re using the cinnamon-sugar topping, sprinkle it on while the cookies are still warm so it sticks. If you’re going for the eggnog glaze, wait until they are completely cool, then drizzle that creamy goodness over the top with a spoon or a piping bag.
Sharing the Joy: How to Serve These Beauties
Okay, the hard part is over (waiting for them to cool is always the hardest part for me!). Now, let’s talk presentation. These cookies are stars all on their own, piled high on a rustic wooden board or a vintage cake stand. But why stop there?
For the ultimate holiday experience, serve them alongside a cold glass of milk, a warm mug of spiced hot chocolate, or—you guessed it—a creamy glass of eggnog. They are the perfect companion to your coffee break, a wonderful addition to any cookie swap, or a sweet little gift packed in a cellophane bag with a festive ribbon.
I love setting out a platter of these with small bowls of the optional glazes and some extra sprinkles, letting my friends and family decorate their own. It’s a fun, interactive, and delicious way to get everyone involved in the holiday spirit!
Make It Your Own: Delicious Recipe Variations
Feel like playing around? This dough is a fantastic base for all sorts of festive fun. Here are a few of my favorite twists:
- The Spiced Cider Twist: Replace the eggnog with an equal amount of spiced apple cider and swap the nutmeg for a blend of 1 tsp cinnamon and 1/4 tsp allspice. It’s like autumn and winter had a delicious cookie baby.
- Boozy & Bold: For an adult-only version, replace 2 tablespoons of the eggnog with dark rum, spiced rum, or bourbon. The alcohol bakes out, leaving behind an incredible, deep flavor.
- Gluten-Free Goodness: You can easily make these gluten-free! Simply substitute the all-purpose flour with a 1:1 gluten-free baking blend. I’ve had great success with brands like Bob’s Red Mill or King Arthur.
- Brown Butter Bliss: Take the flavor to a whole new level by browning the butter first. Let it cool completely and solidify again before creaming it with the sugar. It adds a nutty, caramel-like depth that is absolutely unforgettable.
- Chewy Cranberry Delight: Fold in 1 cup of dried cranberries into the dough at the very end. The tart bursts of fruit are a fantastic contrast to the sweet, spiced cookie.
Beau’s Kitchen Chronicles: A Few Parting Thoughts
This recipe has been a living, evolving thing in my kitchen. The first time I made them, I was so nervous about the dough being soft that I added nearly an extra cup of flour. Let’s just say we ended up with hockey pucks that year—deliciously spiced hockey pucks, but hockey pucks nonetheless. I learned my lesson: trust the dough! Its softness is its power.
Over the years, I’ve found that a cookie scoop is my best friend for uniformity, and that letting the dough chill for just 15-20 minutes if my kitchen is particularly warm helps prevent overspreading. But mostly, I’ve learned that the best ingredient you can add to any recipe is a dash of joy and a willingness to get a little flour on your nose. It’s all part of the fun.
Your Questions, Answered!
I’ve gotten a lot of questions about these cookies over the years, so I’ve compiled the most common ones right here for you.
Q: My cookies spread too much! What happened?
A: This is usually a temperature issue. The most common culprits are butter that was too warm or melted, or an oven that wasn’t fully preheated. Make sure your butter is just softened, not greasy, and always let your oven come to full temp. If your kitchen is hot, a 15-minute chill of the dough balls on the baking sheet can work wonders.
Q: My cookies are cakey and puffy, not flat and soft. Why?
A: This often points to too much flour. Remember my tip about spooning and leveling! Overmixing the dough after adding the flour can also develop too much gluten, leading to a cakier texture. Mix just until combined.
Q: Can I make the dough ahead of time?
A> Absolutely! You can scoop the dough into balls, freeze them solid on a baking sheet, and then transfer them to a freezer bag. When you’re ready to bake, just place the frozen dough balls on a parchment-lined sheet and add 1-2 minutes to the baking time. Fresh-baked cookies anytime!
Q: Can I use low-fat eggnog?
A> You can, but the flavor and texture won’t be as rich and luxurious. The fat in the eggnog contributes to that melt-in-your-mouth quality. For the best results, I always recommend full-fat eggnog.

Melt-in-Your-Mouth Eggnog Sugar Cookies: Buttery, Spiced & Holiday-Perfect
Description
These cookies are the edible embodiment of the holiday season: buttery, soft, lightly spiced with nutmeg, and infused with creamy eggnog. They’re soft without being cakey, rich without being greasy, and absolutely irresistible. Perfect for cookie swaps, gift tins, or a cozy treat with a mug of cocoa.
Ingredients
Cookie Dough:
-
2 cups (4 sticks) unsalted butter, softened
-
3 cups granulated sugar
-
2 large eggs, room temperature
-
1 cup eggnog (full-fat recommended)
-
1 tsp ground nutmeg
-
2 tsp vanilla extract
-
6 cups all-purpose flour
-
2 tsp baking powder
-
1 tsp salt (or ½ tsp if using salted butter)
Optional Toppings:
-
Cinnamon-sugar: 1/4 cup sugar + 1 tsp cinnamon
-
Eggnog glaze: 1 cup powdered sugar + 1–2 tbsp eggnog
Instructions
1. Preheat & Prep
-
Preheat oven to 350°F (175°C).
-
Line baking sheets with parchment paper.
2. Cream Butter & Sugar
-
In a large bowl, beat butter and granulated sugar on medium-high for 2–3 minutes until pale and fluffy.
3. Add Wet Ingredients
-
Beat in eggs, one at a time, fully incorporating each.
-
Add eggnog, vanilla, and nutmeg; mix until smooth.
4. Combine Dry Ingredients
-
Whisk together flour, baking powder, and salt in a separate bowl.
5. Make the Dough
-
Gradually add dry ingredients to wet on low speed in 3 parts.
-
Mix just until no dry streaks remain; do not overmix.
6. Scoop Cookies
-
Using a tablespoon or cookie scoop, drop dough onto prepared sheets, spacing 2 inches apart.
7. Bake
-
Bake 8–10 minutes until edges are lightly golden; centers may appear slightly underdone.
-
Cool on sheet 5 minutes, then transfer to wire racks to cool completely.
8. Optional Toppings
-
While warm: sprinkle cinnamon-sugar.
-
Once cooled: drizzle eggnog glaze.
Notes
-
Spiced Cider Twist: Replace eggnog with spiced apple cider; swap nutmeg for 1 tsp cinnamon + 1/4 tsp allspice.
-
Boozy Upgrade: Add 2 tbsp dark or spiced rum in place of some eggnog.
-
Gluten-Free: Use a 1:1 gluten-free baking blend.
-
Brown Butter Cookies: Brown the butter first for a nutty depth, then let cool before mixing.
-
Cranberry Addition: Fold in 1 cup dried cranberries at the end for tart bursts.
Nutrition
- Calories: 140 Cal Per Serving
- Sugar: 9g
- Fat: 7g
- Carbohydrates: 18g
Nutritional Info (For My Curious Foodies)
I’m all about balance, and that includes knowing what’s in the food we love to share. Here’s a rough nutritional breakdown per cookie (without glaze), based on a yield of 48 cookies. Remember, this is an estimate and can vary based on specific ingredients used.
- Calories: ~140
- Fat: 7g
- Carbohydrates: 18g
- Sugar: 9g
- Protein: 2g
These are a treat, through and through, and they’re meant to be savored and shared with people you love. So enjoy every single buttery, spiced bite without an ounce of guilt!
Final Thoughts from My Kitchen to Yours
Well, my friend, we’ve done it. We’ve taken a simple idea and turned it into a platter full of holiday joy. I hope these Eggnog Sugar Cookies become a cherished part of your traditions, just like they are in mine. I hope your kitchen fills with that incredible smell, that you get to see the smile on someone’s face when they take that first bite, and that you feel that warm, fuzzy feeling that only comes from baking something with love.
Thank you for spending this time with me in my Feastical kitchen. If you make these (and I really hope you do!), tag me on social @Feastical so I can see your beautiful creations! Now, go forth and bake something wonderful.
With a full heart and an even fuller cookie jar,
Beau