Brew Up Some Magic with These Hocus Pocus Halloween Cookies!
Hey friends, Beau here from Feastical! Can you feel it? That crisp, autumn air is starting to whisper, the leaves are putting on their final fiery show, and you know what that means—Halloween is just around the corner. And for me, Halloween isn’t just about the costumes and the candy; it’s about the feeling. It’s about cozying up on the couch with a big, fluffy blanket, the smell of something spooky-sweet baking in the oven, and the iconic opening credits of Hocus Pocus rolling on the screen.
If your family is anything like mine, this movie is a non-negotiable annual tradition. It’s the official kickoff to the holiday season! So this year, I decided our movie night needed a snack that was just as full of personality, charm, and a little bit of witchy magic as the Sanderson Sisters themselves. Enter these absolutely spellbinding Hocus Pocus Halloween Cookies!
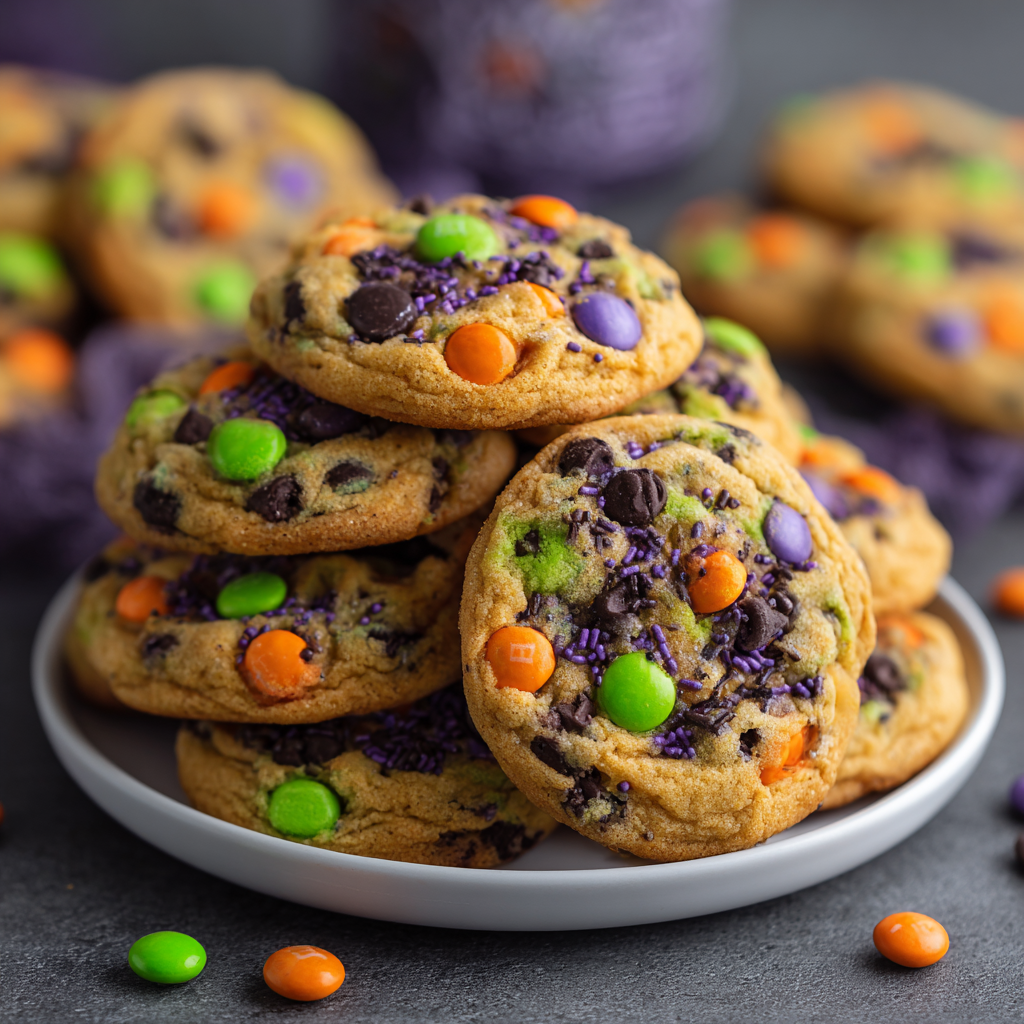
We’re not just talking any ordinary chocolate chip cookie here. Oh no. We’re creating a cookie that looks like it was plucked right from a cauldron in the Sanderson sisters’ cottage. They’re soft, they’re chewy, and they’re absolutely loaded with colorful Halloween M&Ms, rich chocolate chips, and a generous sprinkle of spooky sprinkles in all the right shades of purple, green, orange, and black. One bite, and you’ll be saying “Boo-ook!” instead of “Book!” These cookies are that good. So, grab your favorite mixing bowl, put on your apron (the one with the cute ghosts on it, you know the one), and let’s turn our kitchens into a little bakery of magical mischief!
A Cookie That Brings Back Every Halloween
You know, every time I bake these, the smell alone sends me right back to being a kid. I remember one Halloween, I must have been about ten, and my mom decided we were going to have a full-blown Hocus Pocus marathon. She went all out—decorations, themed snacks, the whole nine yards. But the thing I remember most vividly was her pulling a batch of chunky, colorful cookies out of the oven just as Winifred Sanderson started belting out “I Put a Spell on You.”
They weren’t called “Hocus Pocus Cookies” back then; they were just “Mom’s Halloween Cookies.” But to me, they were pure magic. We all sat there, munching on these warm, melty cookies, completely engrossed in the movie, and I remember feeling so unbelievably happy and content. That’s the power of food, isn’t it? It’s a time machine. It’s a comfort blanket. It’s the star of the memory. That’s the feeling I’ve tried to bottle up in this recipe. It’s my grown-up, slightly more chef-fied version of my mom’s legendary cookies, and I am so excited to share that magic with you and your family.
Gathering Your Magical Ingredients
Alright, let’s get our potion-making station—I mean, our kitchen—prepped! Here’s everything you’ll need to conjure up two dozen of these delightful cookies. Remember, baking is part science, part art, so I’ve included my little chef insights to help you understand the “why” behind the “what.”
- 2 1/4 cups all-purpose flour: This is the foundation of our cookie structure. For a slightly chewier cookie, you can swap out 1/4 cup of the all-purpose flour for bread flour. It makes a world of difference!
- 1/2 tsp baking soda: Our leavening agent! This is what gives the cookies their perfect rise and that lovely, craggy top. Make sure yours isn’t expired for maximum lift.
- 1/2 tsp salt: Do not skip this! Salt is the flavor enhancer that makes all the sweetness pop and balances the chocolate perfectly. I use fine sea salt.
- 3/4 cup unsalted butter, softened: The key word here is softened, not melted. Leave it on the counter for an hour or two before you start. It should be cool to the touch but yield easily when you press it. This creams with the sugar to create air pockets for a perfect texture.
- 3/4 cup brown sugar & 1/2 cup granulated sugar: The dynamic duo! Brown sugar brings that deep molasses flavor and moisture for chewiness, while white sugar helps with spread and crispness. This combo is cookie perfection.
- 2 large eggs: They bind everything together and add richness. Make sure they’re at room temperature to emulsify properly with the butter and sugar. Just pop them in a bowl of warm water for 5 minutes if you forgot!
- 2 tsp vanilla extract: The secret weapon! Use the real stuff, not imitation. It adds a warm, complex flavor base that makes the cookies taste bakery-level amazing.
- 1 cup semi-sweet chocolate chips: I love the rich, not-too-sweet flavor of semi-sweet here. But feel free to use milk chocolate or dark chocolate chunks if that’s your potion of choice!
- 1 cup Halloween M&Ms (purple, green, orange): The star of the show! These give our cookies that iconic Sanderson Sisters color scheme. If you can’t find the Halloween mix, just buy the separate colors and mix your own!
- 1/4 cup Halloween sprinkles: This is where the real magic (and color!) happens. The sprinkles bake into the dough, creating little bursts of color and a fun, crunchy texture. Go for the jimmies or quins, not nonpareils, as they hold their color better.
Brewing Your Cookie Spell: Step-by-Step
Okay, team! It’s go time. Follow these steps, and you’ll have a kitchen that smells like a witch’s cottage (in the best way possible) in no time. I’ve packed this section with all my favorite kitchen hacks to ensure your cookies are absolutely foolproof.
Step 1: Preheat & Prep
Preheat your oven to 350°F (175°C). Line your baking sheets with parchment paper. Chef’s Hack: Don’t have parchment? A silicone baking mat is even better for even browning and no sticking. This little step is a game-changer and makes cleanup a breeze.
Step 2: The Dry Potion
In a medium-sized bowl, whisk together your all-purpose flour, baking soda, and salt. Chef’s Insight: Whisking is crucial here! It evenly distributes the baking soda and salt so you don’t get a bitter bite in one cookie and a bland one in another. We’re aiming for consistent magic in every single bite.
Step 3: The Wet Potion
In a large bowl, using a hand mixer or a stand mixer fitted with the paddle attachment, beat the softened butter, brown sugar, and granulated sugar together on medium speed for a good 2-3 minutes. Chef’s Hack: You want this mixture to become light, pale, and fluffy. This is called “creaming,” and it incorporates air into your dough, which is the secret to a cookie with the perfect texture. Don’t rush this step!
Step 4: Bring It Together
Add the eggs one at a time, beating well after each addition. Then beat in the vanilla extract. Scrape down the sides of the bowl with a spatula to make sure everything is homogenous. Now, with your mixer on low speed, gradually add the dry flour mixture to the wet ingredients. Chef’s Insight: Mix just until the flour disappears. Overmixing at this stage is the number one cause of tough, cakey cookies. A few streaks of flour are okay—they’ll get incorporated in the next step.
Step 5: The Grand Finale (Mix-Ins!)
This is the fun part! Take your spatula and gently fold in the chocolate chips, Halloween M&Ms, and Halloween sprinkles. Chef’s Hack: I like to reserve a handful of the M&Ms and sprinkles to press onto the tops of the cookie dough balls right before baking. This makes the finished cookies look professionally decorated and extra colorful!
Step 6: Scoop & Space
Using a medium cookie scoop (about 1.5 tablespoons of dough), drop rounded balls of dough onto your prepared baking sheets, spacing them about 2 inches apart. They need room to spread their magical wings! Chef’s Hack: For an even thicker, chewier cookie, pop the entire baking sheet of scooped dough into the refrigerator for 15-20 minutes before baking. This chills the butter, preventing the cookies from spreading too much.
Step 7: Bake to Perfection
Bake for 9-11 minutes. Now, listen closely, because this is the most important part: THE COOKIES WILL LOOK UNDONE. You want the edges to be lightly golden and set, but the centers should still look soft, puffy, and underbaked. They will continue to cook on the hot baking sheet out of the oven. This is the secret to an irresistibly soft and chewy center!
Step 8: The Cool Down
Let the cookies cool on the baking sheet for a full 5 minutes. This allows them to set up so they don’t fall apart when you move them. Then, transfer them to a wire rack to cool completely… or, you know, grab a glass of cold milk and enjoy one (or two) warm. I won’t tell.
How to Serve These Spellbinding Sweets
Presentation is part of the fun! Pile these magical cookies high on a rustic wooden board or a vintage cake stand for a real “Welcome to the Coven” vibe. For your Hocus Pocus movie night, serve them alongside mugs of rich hot chocolate or spiced apple cider. They’re the ultimate hand-held treat for passing around during the best scenes. Want to really go all out? Place a few cookies on a small, black plate and dust them with a little edible green or purple glitter for that extra touch of Sanderson sister sorcery. Abracadabra, you’ve got a show-stopping dessert!
Brew Your Own Twist: Recipe Variations
Feel like playing mad scientist? This recipe is a fantastic base for all kinds of magical creations!
- Gluten-Free Ghouls: Swap the all-purpose flour for a 1:1 gluten-free baking blend. Bob’s Red Mill or King Arthur Flour blends work wonderfully here.
- Salty & Sweet Sorcery: Fold in 1/2 cup of crushed pretzel pieces along with the chocolate chips. The salty crunch is a spellbinding contrast to the sweet dough.
- Candy Cauldron: Swap the chocolate chips for other Halloween candies! Chopped-up Reese’s Peanut Butter Cups, Rolos, or even candy corn (for the brave!) would be delicious.
- White Witch Version: Use white chocolate chips and vanilla M&Ms for a “lighter” magic cookie that’s just as enchanting.
- Double, Double Toil & Trouble: Make it a double chocolate cookie by replacing 1/4 cup of flour with 1/4 cup of unsweetened cocoa powder.
Beau’s Chef Notes & Kitchen Stories
This recipe has evolved so much since that first batch my mom made all those years ago. I’ve tweaked the sugar ratios, perfected the bake time, and learned the hard way that yes, you really do need to let the butter soften properly (I once tried to microwave it and ended up with cookie puddles—tasty, but not pretty!).
The funniest kitchen fail I ever had with these was the year I decided to use black cocoa powder to make them “spookier.” I added a bit too much and didn’t adjust the liquid. Let’s just say the cookies came out looking like little lumps of coal and had the texture of a dry brownie. My friends still call them my “Witch’s Charcoal” cookies. We laughed about it while eating them anyway, because even a “failed” cookie is still a cookie! The moral of the story? Don’t be afraid to experiment, but maybe test your potions on a small batch first.
FAQs & Spell Troubleshooting
Q: My cookies spread too much and became flat. What happened?
A: The usual suspects are butter that was too warm or melted, an oven that wasn’t hot enough, or not enough flour. Make sure your butter is softened but still cool, accurately measure your flour (spoon it into the measuring cup and level it off, don’t scoop!), and always preheat your oven. Chilling the dough balls for 15-20 minutes before baking is your best defense against flat cookies!
Q: My cookies are cakey and puffy, not chewy. How can I fix that?
A: Cakey cookies are often caused by overmixing the dough once the flour is added, which develops too much gluten. Remember to mix on low and only until the flour is just incorporated. Using more brown sugar than white sugar also promotes chewiness, so double-check your measurements.
Q: Can I make the dough ahead of time?
A: Absolutely! This dough is fantastic for make-ahead magic. Scoop the dough balls onto a baking sheet, freeze them solid, then transfer them to a freezer bag. They’ll keep for up to 3 months. You can bake them straight from the freezer; just add 1-2 minutes to the baking time.
Q: The bottoms of my cookies are burning! Help!
A: This is almost always an oven issue. Ovens can run hot, and dark-colored baking sheets absorb more heat. Try doubling up your baking sheets (place one inside the other) to insulate the bottom, or move your rack to a higher position in the oven. Using parchment paper or a silicone mat also helps create a buffer.

HOCUS POCUS HALLOWEEN COOKIES
- Total Time: 25 min
Description
Soft, chewy, and packed with chocolate chips, colorful Halloween M&Ms, and spooky sprinkles—these cookies are pure Sanderson Sister magic. Perfect for a cozy movie night, Halloween party, or anytime you want a little festive fun.
Ingredients
-
2 ¼ cups all-purpose flour
-
½ tsp baking soda
-
½ tsp salt
-
¾ cup unsalted butter, softened
-
¾ cup brown sugar
-
½ cup granulated sugar
-
2 large eggs, room temperature
-
2 tsp vanilla extract
-
1 cup semi-sweet chocolate chips
-
1 cup Halloween M&Ms (purple, green, orange)
-
¼ cup Halloween sprinkles
Instructions
-
Preheat oven to 350°F (175°C). Line baking sheets with parchment or silicone mats.
-
Mix dry: In a medium bowl, whisk flour, baking soda, and salt.
-
Cream butter & sugars: Beat butter, brown sugar, and granulated sugar 2–3 min until light and fluffy.
-
Add eggs & vanilla: Beat in eggs one at a time, then vanilla. Scrape sides of bowl.
-
Combine: Slowly mix in dry ingredients until just combined (don’t overmix!).
-
Stir in mix-ins: Fold in chocolate chips, M&Ms, and sprinkles. Reserve a few for topping.
-
Scoop dough into 1.5 tbsp balls, spacing 2 inches apart. Press extra M&Ms on top.
-
Bake 9–11 minutes, until edges are set but centers look slightly soft.
-
Cool 5 min on sheet, then transfer to wire rack.
Notes
-
For thicker cookies, chill scooped dough 15–20 minutes before baking.
-
Use a mix of purple, green, orange, and black sprinkles for the ultimate Hocus Pocus vibe.
-
Store in an airtight container at room temp up to 5 days.
- Prep Time: 15 min
- Cook Time: 10 min
Nutrition
- Calories: 200Calo per cookie
- Carbohydrates: 28g
- Protein: 2g
Nutritional Information (Approximate, Per Cookie)
Calories: 200 | Protein: 2g | Carbohydrates: 28g | Fat: 9g | Saturated Fat: 5g | Sugar: 18g
Note: This is an estimate provided by an online nutrition calculator. Values will vary based on ingredient brands and sizes.
Prep Time: 15 min | Cook Time: 10 min | Total Time: 25 min
Final Thoughts: Share the Magic
And there you have it! Your kitchen is now officially a portal to Salem, and you’ve just baked a batch of pure, nostalgic joy. These cookies are more than just a treat; they’re an experience. They’re the crunchy sprinkle between your teeth, the melty chocolate on your tongue, and the shared smile with someone you love as you both watch Winifred, Mary, and Sarah cause their iconic chaos.