Easy Sloppy Joe Sliders: Your New Secret Weapon for Happy Crowds
Hey friends, Beau here from Feastical! Let’s talk about a universal truth: nothing brings people together like a truly great, slightly messy, utterly delicious bite of food. You know the kind I mean. The dish that makes everyone’s eyes light up, the one that disappears from the platter faster than you can say, “Wait, did you try one?” For me, that magic is perfectly captured in a tray of warm, gooey, Easy Sloppy Joe Sliders.
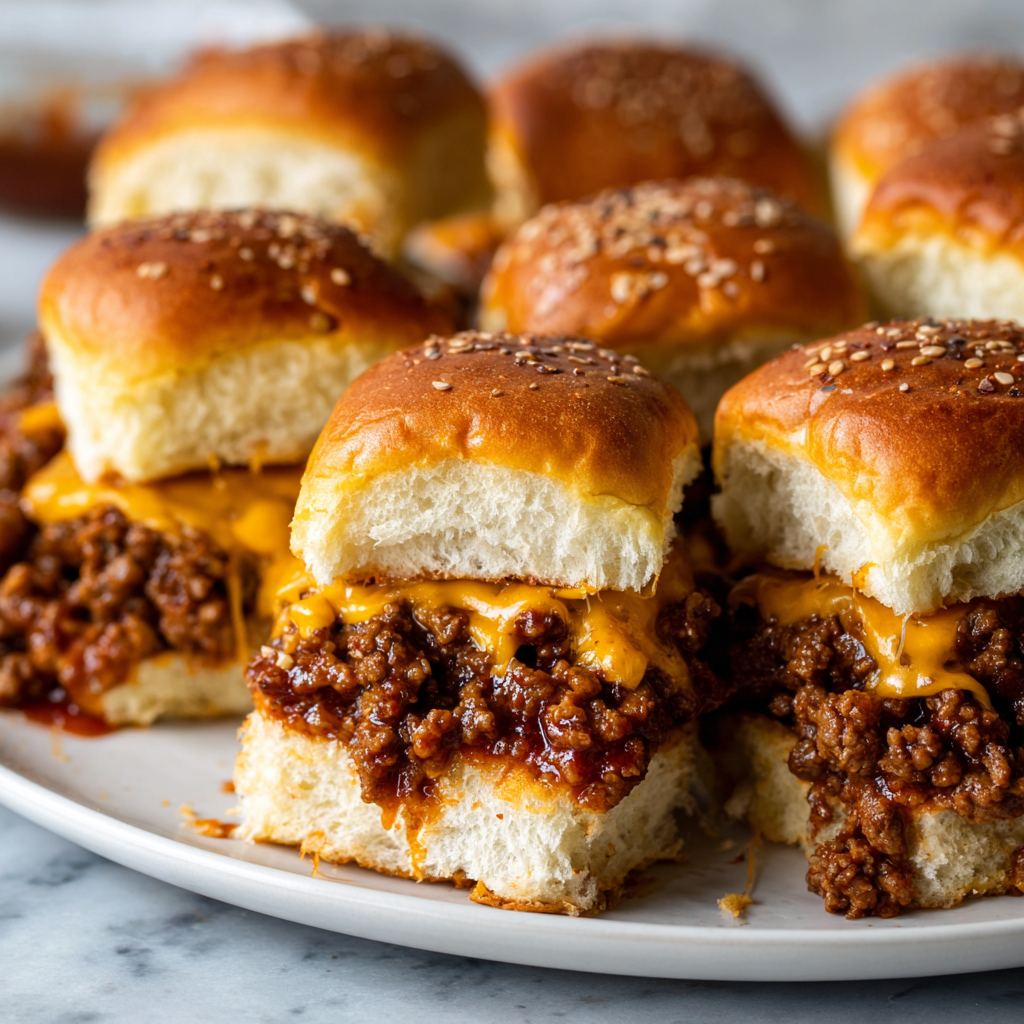
We’re taking the classic, nostalgic flavor of a Sloppy Joe—that tangy, sweet, savory, meaty sauce we all loved as kids—and leveling it up for any gathering. Imagine: soft slider buns, a hearty scoop of that iconic filling, and a blanket of melted cheddar cheese, all baked until the tops are golden and the cheese is bubbling. It’s comfort food, perfected for sharing.
Whether you’re feeding your family on a busy weeknight, hosting the big game, or need a surefire hit for a potluck, this recipe is your trusty sidekick. It’s incredibly simple, wildly satisfying, and guaranteed to earn you those “oh-my-gosh-this-is-so-good” compliments. So, preheat your oven and grab your favorite skillet. We’re about to make your kitchen the most popular room in the house.
More Than Just a Messy Sandwich: A Saucy Childhood Memory
My love for Sloppy Joes runs deep, straight back to my dad’s “Saturday Special.” He wasn’t a fancy cook, but man, could he master the art of the one-skillet wonder. He’d brown the beef, glug in the ketchup and Worcestershire with a confident hand, and let it all simmer into this glorious, glistening mess.
The rule was simple: you had to eat it over the plate because at least one bite was escaping the bun. My brother and I would sit there, grinning with sauce on our cheeks, comparing who had the sloppier “Joe.” It wasn’t just dinner; it was an event. It was laughter, zero pretension, and the joyful understanding that some foods are meant to be a little unruly. That’s the spirit I wanted to bottle up with these sliders—all that fun, nostalgia, and flavor, but in a format perfect for passing around with friends. It’s my dad’s Saturday Special, all grown up and ready for a party.
Gathering Your Flavor Arsenal: The Ingredients & Why They Work
This is where the magic starts! The beauty of this recipe is in its simple, powerful ingredients. Each one plays a key role in building that signature Sloppy Joe flavor. Here’s what you’ll need (and my insider tips for each):
- 1 lb ground beef (80/20 blend is ideal): The star! The 80/20 blend gives you enough fat for incredible flavor and juiciness without being greasy. Chef’s Insight: For a lighter twist, ground turkey or chicken works beautifully—just add a tablespoon of olive oil to the pan.
- ½ small onion, finely diced & 1 clove garlic, minced: Our aromatic base. They add a sweet, savory depth that makes the sauce taste homemade and complex. Sub Tip: No fresh onion? A teaspoon of onion powder in a pinch will do.
- ¾ cup ketchup: The sweet-tangy backbone. It gives the sauce body and that familiar, beloved taste. Chef’s Hack: For a richer flavor, swap out ¼ cup of the ketchup for barbecue sauce.
- 1 tablespoon tomato paste: The flavor booster! It concentrates the tomatoey goodness and helps thicken the sauce beautifully.
- 1 tablespoon brown sugar: Balances the acidity from the tomatoes and ketchup with a touch of molasses-rich sweetness. Sub Tip: Honey or maple syrup are great in a 1:1 swap.
- 1 tablespoon Worcestershire sauce: The secret umami weapon. It adds a savory, slightly tangy depth you can’t quite place but would definitely miss. Insight: If you’re gluten-free, check the label or use a certified GF brand like Lea & Perrins.
- 1 teaspoon yellow mustard: Don’t skip it! It’s not for heat, but for a bright, tangy note that cuts through the richness.
- Salt and black pepper to taste: Season in layers! Taste after simmering and adjust.
- 12 slider buns: Soft, pillowy potato rolls or classic Hawaiian sweet rolls are my top picks. They hold up to the sauce without getting tough.
- 6 slices cheddar cheese, halved: For that glorious, melty finish. Fun Twist: Pepper jack, provolone, or even Swiss are fantastic alternatives.
- 1 tablespoon butter & Sesame seeds (optional): The bakery-style finish! Brushing the tops with melted butter and a sprinkle of seeds gives a gorgeous color and a hint of toasty flavor.
Building Your Slider Masterpiece: A Step-by-Step Journey
Ready to cook? Let’s do this together. I’ll walk you through each step with my favorite kitchen hacks to ensure slider perfection.
- Brown the Beef: Grab a large skillet and place it over medium heat. Add your ground beef. Use a wooden spoon or spatula to break it up into crumbles as it cooks. We’re looking for a nice, even brown here—no gray meat! Once it’s fully cooked, this is the most important step: drain the excess grease. Tip it carefully into a bowl (I save an old can). This keeps your sliders saucy, not greasy.
- Sauté the Aromatics: With the beef still in the pan, add your finely diced onion. Cook for 2-3 minutes, stirring often, until they turn soft and translucent. Now, add the minced garlic. Ah, that smell! Cook it for just 30 seconds until fragrant. Garlic burns fast, so keep it moving.
- Create the Signature Sauce: Here’s where flavor town pops off! To the beef and onion mixture, add the ketchup, tomato paste, brown sugar, Worcestershire sauce, mustard, salt, and pepper. Stir everything until it’s one happy, cohesive, saucy family.
- The Flavor-Infusing Simmer: Reduce the heat to low and let the mixture simmer gently for 8-10 minutes. Don’t rush this! The simmering thickens the sauce and lets all those flavors get to know each other deeply. You’ll know it’s ready when it’s thick enough to mound on a spoon. Give it a taste and do a final seasoning check. More pepper? A pinch more sugar? Make it yours.
- Assemble with Love: Preheat your oven to 350°F (175°C). Take your package of slider buns and, without separating them, slice the whole sheet in half horizontally, creating a top “lid” and a bottom base. Place the bottom halves in a greased 9×13 baking dish. Spoon that glorious Sloppy Joe mixture evenly over the buns. Now, layer on your halved cheese slices—cover every saucy inch!
- The Buttery Finish: Place the top bun “lid” back on. If you’re using the butter (highly recommended!), melt it and gently brush it over the top of the buns. Sprinkle with sesame seeds for that professional bakery look.
- Bake to Golden, Bubbly Perfection: Slide the dish into your preheated oven. Bake for 10-12 minutes. You’re waiting for the cheese to be fully melted and the top of the buns to turn a beautiful golden brown.
- Slice & Serve the Joy: Carefully remove the tray from the oven. Let it cool for just a minute or two—the cheese will be lava-hot! Use a sharp knife to slice between the buns, creating individual sliders. Transfer to a platter, grab some napkins (trust me), and serve immediately!
How to Serve These Saucy Sensations
Presentation is part of the fun! I love serving these right in the baking dish for a rustic, family-style feel. Pile them high on a big wooden board or platter for a crowd. The key is to keep things casual and finger-friendly.
What to serve on the side? You need something to cut through that rich, savory goodness. A big, crunchy green salad with a sharp vinaigrette is perfect. For a classic combo, go for dill pickle spears and a bowl of crispy potato chips or oven-baked sweet potato fries. And for the ultimate comfort meal, a simple creamy coleslaw is a match made in heaven. Don’t forget a mountain of napkins—the sloppier, the better!
Make It Your Own: 5 Flavorful Twists to Try
Love the base recipe? Awesome! Now let’s play. Here are some of my favorite ways to mix it up:
- The “Cowboy” Style: Add ½ cup of finely diced bell peppers (any color) when you cook the onions. For a smoky kick, stir in a tablespoon of chipotle in adobo (minced) with the sauce ingredients.
- Italian-Inspired Sliders: Swap the cheddar for mozzarella or provolone. Add a teaspoon of dried oregano and a ¼ cup of grated Parmesan cheese to the meat sauce. Divine!
- Turkey & Veggie Boost: Use ground turkey and add ½ cup of finely grated zucchini or carrots to the skillet with the onion. They’ll cook down and add moisture and nutrients without anyone noticing.
- Spicy Kick: Like it hot? Add a diced jalapeño (seeds removed for less heat) with the onion. A dash of cayenne pepper or a few shakes of your favorite hot sauce in the simmering step will do the trick.
- Hawaiian Sweet Twist: Use Hawaiian sweet rolls. Swap the cheddar for Swiss cheese, and add a 8-oz can of drained, crushed pineapple to the meat sauce in the last 2 minutes of simmering. Sweet, savory, and utterly addictive.
Beau’s Kitchen Notes & Stories
This recipe has been a Feastical workhorse for years, and it’s evolved from my dad’s simple stovetop version. The baking step was a game-changer I discovered by accident when I made too much filling and decided to pile it onto rolls and melt the cheese in the oven. The way the buns get slightly toasted on top while staying soft underneath? *Chef’s kiss*.
A funny story: I once brought these to a potluck and a friend’s toddler, completely covered in sauce, declared them “happy sandwiches.” I think that’s the best review I’ve ever gotten. The name stuck in our friend group. So remember, you’re not just making sliders; you’re making “happy sandwiches.”
Your Sloppy Joe Slider Questions, Answered
- Q: Can I make these ahead of time?
A: Absolutely! You can prepare the Sloppy Joe meat sauce up to 2 days in advance and store it in the fridge. When you’re ready, reheat the sauce gently, assemble the sliders, and bake as directed. You can also assemble the entire tray (unbaked) a few hours ahead, cover, and refrigerate. Just add 2-3 extra minutes to the bake time if starting from cold. - Q: How do I prevent the bottom buns from getting soggy?
A: Great question! The key is ensuring your meat sauce has thickened properly during the simmering step. It should be thick, not runny. Also, don’t let the assembled, unbaked tray sit for too long before going in the oven. Baking them right away helps toast the bottom bun and prevent sogginess. - Q: Can I freeze these?
A: The cooked meat sauce freezes wonderfully for up to 3 months. Thaw overnight in the fridge and reheat. I don’t recommend freezing the fully assembled and baked sliders, as the buns can become mushy upon reheating. - Q: My sauce tastes a little too tangy/sweet. How can I fix it?
A> No problem! Taste as you cook. If it’s too tangy, add a teaspoon more brown sugar. If it’s too sweet, a splash of apple cider vinegar or a squeeze of yellow mustard will balance it back out. Remember, seasoning is personal!

Easy Sloppy Joe Sliders (Cheesy, Saucy & Crowd-Pleaser Mini Sandwiches)
Description
There’s something irresistible about a warm, saucy, slightly messy sandwich. These Easy Sloppy Joe Sliders take that classic sweet-and-savory flavor you love and turn it into the perfect shareable bite. Soft slider buns, rich beef filling, and melty cheddar cheese baked until golden—this is comfort food made party-ready.
Ingredients
-
1 lb ground beef (80/20 recommended)
-
½ small onion, finely diced
-
1 clove garlic, minced
-
¾ cup ketchup
-
1 tablespoon tomato paste
-
1 tablespoon brown sugar
-
1 tablespoon Worcestershire sauce
-
1 teaspoon yellow mustard
-
Salt and black pepper, to taste
-
12 slider buns (Hawaiian rolls or potato rolls work great)
-
6 slices cheddar cheese, halved
-
1 tablespoon melted butter (optional)
-
Sesame seeds (optional)
Instructions
In a large skillet over medium heat, cook the ground beef, breaking it into crumbles. Cook until fully browned. Drain excess grease.
Add the diced onion to the skillet and cook for 2–3 minutes until softened. Stir in the garlic and cook for 30 seconds until fragrant.
Stir in the ketchup, tomato paste, brown sugar, Worcestershire sauce, mustard, salt, and pepper. Mix well.
Reduce heat to low and let simmer for 8–10 minutes, until thickened. The mixture should be thick—not runny.
Preheat oven to 350°F (175°C).
Slice the slider buns in half horizontally without separating them individually. Place the bottom halves in a greased 9×13-inch baking dish.
Spread the Sloppy Joe mixture evenly over the buns. Layer the halved cheddar slices on top. Place the top buns back on.
Brush with melted butter and sprinkle with sesame seeds if desired.
Bake for 10–12 minutes, until the cheese is melted and the tops are lightly golden.
Let cool slightly, then slice into individual sliders and serve warm.
Notes
-
Use fresh cheese slices – They melt more smoothly than pre-shredded cheese.
-
Make ahead option – Prepare the meat mixture up to 2 days in advance and refrigerate.
-
Add crunch – Serve with pickles or coleslaw for contrast.
-
Spice it up – Add diced jalapeños or a dash of hot sauce for heat.
Nutritional Information*
*Please note: The following is an approximate estimate calculated using a standard online nutrition calculator and based on the specific ingredients listed. Values can vary based on exact brands and portion sizes.
- Prep Time: 10 minutes
- Cook Time: 20 minutes
- Total Time: 30 minutes
- Yield: 12 sliders
- Serving Size: 1 slider
- Calories: ~210
- Protein: 11g
- Carbohydrates: 18g
- Fat: 11g
Final Thoughts
Easy Sloppy Joe Sliders: Your New Secret Weapon for Happy Crowds
Hey friends, Beau here from Feastical! As we wrap up this culinary adventure together, I want to leave you with one final thought: cooking for the people you love doesn’t have to be complicated to be memorable. In fact, it’s often the simplest dishes that create the deepest connections.
These Easy Sloppy Joe Sliders embody everything I believe about food—they’re approachable, adaptable, and absolutely packed with flavor. They’re the kind of recipe that becomes a legend in your friend group, the one people start requesting before you even ask what to bring to the party. “Are you making those slider things?” they’ll text. And you’ll smile, because you know exactly what they mean.
What I love most about this recipe is its beautiful duality. On one hand, it’s weeknight-easy—a thirty-minute meal that transforms ground beef and pantry staples into something the whole family gets excited about. On the other hand, it’s party-perfected—a platter of golden, cheesy, saucy goodness that commands attention at any gathering. It’s comfort food that dresses up or down, depending on your mood.
I think my dad would get a kick out of seeing his Saturday Special evolve into this. The same saucy joy we experienced as kids, now shared around potluck tables and game day spreads. That’s the beautiful thing about recipes—they’re living stories. They grow and change as we do, carrying forward the best parts of our memories while creating new ones.
So whether you’re making these for a chaotic Tuesday night dinner with your little ones (who will absolutely have sauce on their cheeks—embrace it!) or as the star of your holiday appetizer spread, know that you’re doing something wonderful. You’re creating a moment. A “happy sandwich” moment, as my friend’s toddler so perfectly put it.
A few parting thoughts before you head to the kitchen:
Don’t stress about perfection. If your onions are a little chunkier than mine, if you use a different cheese, if you forget the sesame seeds—it’s going to be delicious anyway. The magic is in the making.
Taste as you go. This is the number one secret to becoming a better cook. Your palate knows what it likes, so trust it. Add a little more brown sugar if you’re craving sweetness, an extra dash of Worcestershire if you want that savory depth.
Make it yours. I’ve given you a foundation, but the best recipes are the ones you adapt. Maybe your family’s version becomes the “Cowboy Style” with bell peppers and chipotle. Maybe your signature twist is the Hawaiian sweet version with pineapple. Wherever this recipe takes you, I’d love to hear about it.
And remember: The sloppier, the better. Life’s too short for tidy food that doesn’t make you smile. These sliders are an invitation to let go, to lean into the mess, to laugh with sauce on your chin. That’s real connection. That’s what Feastical is all about.
Thank you for spending time in my virtual kitchen. Now go preheat that oven, grab your favorite skillet, and make some memories. Your people are waiting.
Happy cooking, and even happier eating!