Your New Favorite Christmas Dessert is Cool, Creamy, and No-Bake!
Hey friends, Beau here from Feastical! Can you smell that? It’s officially that time of year—the air is crisp, the twinkle lights are going up, and the unmistakable scent of peppermint and chocolate is beginning to waft through kitchens everywhere. If your holiday season feels as busy as Santa’s workshop on December 24th, I’ve got the perfect dessert solution for you. Forget slaving over a hot oven; this year, we’re keeping things cool, creamy, and utterly stress-free with my legendary Easy Christmas Peppermint Pie.
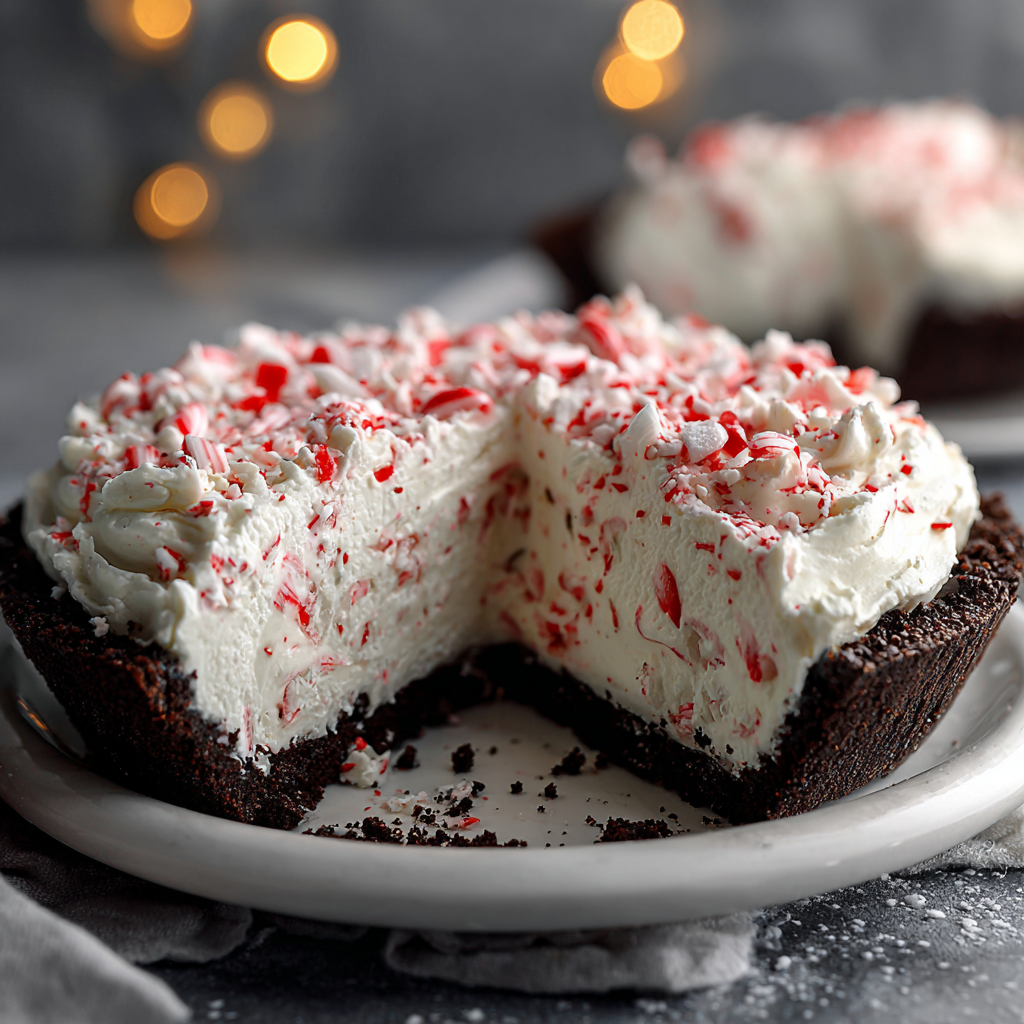
Imagine this: a rich, crunchy chocolate cookie crust that gives way to an impossibly fluffy, minty, and sweet filling that tastes like a candy cane cloud. It’s cool, it’s refreshing, and it’s bursting with festive cheer in every single bite. This pie is the hero your holiday table deserves, whether you’re hosting a big family feast, heading to a potluck, or just treating yourself to a little slice of magic after a long day of wrapping presents. It’s the kind of dessert that gets people talking, asking for the recipe, and sneaking back into the kitchen for just one more sliver. So, let’s put on our favorite holiday playlist, tie on our aprons, and create something magical together. This isn’t just a recipe; it’s a delicious, memory-making moment waiting to happen.
A Slice of Christmas Past
This pie recipe holds a special place in my heart, and it all goes back to my Grandma Ellie’s kitchen. Grandma Ellie believed Christmas desserts should be joyful, not joyless, and she was the queen of no-fuss, maximum-flavor treats. One particularly chaotic Christmas Eve, her oven decided to take an unscheduled vacation right as her famous Yule Log was supposed to go in. Panic? Not Grandma Ellie. She just smiled, wiped her hands on her flour-dusted apron, and declared, “Well, guess we’re making a refrigerator pie instead!”
With what seemed like kitchen wizardry, she whipped together a chocolate crust, a creamy peppermint filling, and a mountain of whipped topping. She let us kids crush the candy canes with a rolling pin (a task we took very, very seriously). That pie, born from a potential disaster, became the star of the night. It was cool, refreshing, and felt like a modern, exciting twist on our traditional spread. Every time I make it now, I’m transported back to that linoleum floor, the sound of laughter mixing with Christmas carols, and the taste of a dessert that saved the day. It’s a reminder that sometimes the best holiday memories come from the unplanned, imperfect, and incredibly delicious moments.
Gathering Your Festive Ingredients
The beauty of this pie is its simplicity. You likely have most of these items in your pantry already! Here’s what you’ll need to create this winter wonderland in a pie dish.
- 1 (9-inch) chocolate cookie crust: I’m a big fan of the store-bought kind for ultimate ease (no judgment here!), but if you’re feeling fancy, a homemade crust from chocolate wafer cookies or even Oreos (filling removed) is absolutely divine.
- 1 (8-ounce) package cream cheese, softened: This is the structural backbone of our filling. Chef’s Tip: Let it sit on the counter for a good 30-45 minutes before you start. A soft cream cheese blends into a silky-smooth filling; a cold one will leave you with lumpy frustration.
- 1 cup powdered sugar: It sweetens everything beautifully and dissolves instantly, unlike granulated sugar which can stay gritty.
- ½ teaspoon peppermint extract: A little goes a long way! This is where that classic, cool mint flavor comes from. You can use 1 teaspoon of vanilla extract if you’re in a pinch, but you’ll lose that signature holiday taste.
- 1½ cups whipped topping (like Cool Whip), plus extra for topping: This is the secret to that light, airy, mousse-like texture. Make sure it’s thawed according to the package directions.
- ½ cup crushed peppermint candies or candy canes: The festive crunch! I use a zip-top bag and a rolling pin to crush them. You want a mix of fine powder and a few small chunks for texture.
- Optional: red food coloring (for a festive pink hue): A drop or two gives it that beautiful, blushing pink color that just screams “Christmas!” Gel food coloring works best as it won’t thin out your filling.
- Extra crushed peppermint, for garnish: Don’t skip this! It makes the pie look professionally decorated with zero effort.
Let’s Build the Magic: Step-by-Step
Ready to make some holiday magic? Follow these simple steps, and you’ll have a show-stopping dessert in no time flat.
Step 1: The Creamy Base
In a large mixing bowl, beat your softened cream cheese with the powdered sugar. Use an electric hand mixer or a stand mixer fitted with the paddle attachment on medium speed. Beat it for a good 2-3 minutes, scraping down the sides of the bowl once or twice, until the mixture is completely smooth, lump-free, and slightly fluffy. This is the most important step—getting this base smooth ensures your entire pie will be luxurious.
Step 2: The Flavor Infusion
Now, add your ½ teaspoon of peppermint extract. If you’re using the red food coloring, add a single drop now and mix it in. You can always add more to reach your desired shade of pink, but you can’t take it out! Mix on low speed until the extract and color are fully incorporated.
Step 3: Lighten It Up
Here’s where we get that cloud-like texture. Take your 1½ cups of thawed whipped topping and add it to the bowl. Now, put the mixer away! For this step, you need to fold gently with a spatula. We worked hard to get air into that whipped topping, and aggressive mixing will deflate it. Use a sweeping motion, turning the bowl as you go, until no white streaks remain.
Step 4: The Festive Crunch
Sprinkle in your ½ cup of crushed peppermint candies. Gently fold these in just until they’re distributed. Don’t overmix, or the color from the candies might start to bleed and turn the whole filling a light pink (which is still tasty, just less visually striking if you were going for a white filling).
Step 5: The Grand Finale
Scoop all that beautiful, fluffy, minty filling into your waiting chocolate crust. Use the back of a spoon or an offset spatula to smooth the top into an elegant, even layer.
Step 6: The Patience Game
This is the hardest part! Carefully place the pie in the refrigerator. It needs to chill for at least 4 hours, but honestly, overnight is even better. This waiting time is non-negotiable—it allows the filling to set firmly so you get clean, beautiful slices.
Step 7: Dress to Impress
Right before you serve, crown your masterpiece! Dollop or pipe on the extra whipped topping and give it a generous shower of the remaining crushed peppermint. This final touch adds texture, flavor, and that wow factor.
How to Serve Your Peppermint Masterpiece
Presentation is part of the fun! For picture-perfect slices, I like to dip my sharp knife in hot water and wipe it dry before each cut. This gives you those incredibly clean, professional-looking edges. This pie is rich, so a modest slice is usually plenty. I love serving it on a simple white plate with a small sprig of fresh mint or a tiny dusting of cocoa powder for contrast. It’s the perfect finale to a heavy holiday meal because it’s so light and refreshing. Pair it with a cup of strong coffee, a glass of cold milk, or even a mug of rich hot chocolate for the ultimate chocolate-mint experience. It’s also a stunning addition to a dessert buffet—just be prepared for it to disappear first!
Make It Your Own: Delicious Variations
This recipe is a fantastic canvas for your creativity. Here are a few of my favorite ways to mix it up:
- Chocolate Lover’s Dream: Fold ½ cup of mini chocolate chips into the filling along with the peppermint. You could also drizzle the finished pie with a simple chocolate ganache before adding the final peppermint sprinkle.
- DIY Crust Adventure: Instead of a chocolate crust, try a gingersnap crust for a warm, spicy note that pairs amazingly with the cool mint. Just swap the chocolate wafers for crushed gingersnaps mixed with butter.
- Boozy Twist (For the Adults!): Replace the peppermint extract with 1-2 tablespoons of peppermint schnapps or crème de menthe. Just note that adding liquid might make the filling a bit softer, so you might need to reduce the whipped topping slightly or add a pinch of cornstarch to help it set.
- Dairy-Free Delight: You can easily make this vegan! Use a store-bought or homemade vegan chocolate crust, a plant-based cream cheese alternative, and coconut whipped topping. It works like a charm.
- Peppermint Bark Pie: Create layers! Press half the filling into the crust, then sprinkle a layer of chopped dark chocolate and more crushed peppermint. Gently spread the remaining filling on top. It’s a surprise inside!
Beau’s Chef Notes & Kitchen Stories
This recipe has evolved a bit since that first Christmas with Grandma Ellie. She used sweetened condensed milk in her version, which is also delicious but much denser and sweeter. I love this whipped topping method because it stays so light and fluffy. One year, I was in a huge rush and tried to mix the filling with the stand mixer on high speed instead of folding. Big mistake. It turned the filling into a runny, soupy mess that never set properly. We ended up calling it “Peppermint Pie Dip” and serving it with graham crackers! It was a hit, but it taught me a valuable lesson: gentle folding is key. Don’t be like a rushed Beau—take your time and fold with love.
FAQs & Troubleshooting Your Pie
Q: My filling is runny. What did I do wrong?
A: The most common culprits are: 1) The cream cheese wasn’t soft enough, leading to overmixing as you tried to beat the lumps out, which then broke down the structure. 2) The whipped topping was overmixed and deflated. 3) It simply didn’t chill long enough. If it’s still runny, pop it back in the fridge for another few hours. If it’s a total disaster, see my note above about turning it into a delicious dip!
Q: Can I make this pie ahead of time?
A: Absolutely! This pie is a make-ahead dream. You can assemble it completely and keep it covered in the fridge for up to 2 days. I’d wait to add the final whipped topping and garnish until just before serving to keep everything looking fresh.
Q: Can I use real whipped cream instead of whipped topping?
A: You can, but be aware that real whipped cream is less stable and may weep or soften more quickly. If you go this route, whip 1 cup of heavy cream with 2 tablespoons of powdered sugar until you get stiff peaks, and use that in place of the 1½ cups of whipped topping. The pie will be delicious but might not hold its shape for multiple days.
Q: My crushed candy canes melted into the filling and turned it pink. Is that okay?
A: Totally okay! It will still taste amazing. The visual might just be a soft pink instead of white with red specks. To prevent this, make sure your filling is very cold before you fold in the candy, and fold as gently and quickly as possible.

Easy Christmas Peppermint Pie
Description
Easy Christmas Peppermint Pie
Cool, creamy, and no-bake—holiday magic in every bite!
Ingredients
-
1 (9-inch) chocolate cookie crust (store-bought or homemade)
-
1 (8-ounce) package cream cheese, softened
-
1 cup powdered sugar
-
½ tsp peppermint extract
-
1½ cups whipped topping (like Cool Whip), thawed, plus extra for topping
-
½ cup crushed peppermint candies or candy canes
-
Optional: 1–2 drops red gel food coloring
-
Extra crushed peppermint for garnish
Instructions
Step 1 – Make the Creamy Base:
-
Beat softened cream cheese with powdered sugar 2–3 minutes until smooth and fluffy.
Step 2 – Add Flavor:
-
Mix in peppermint extract and optional food coloring until evenly combined.
Step 3 – Fold in Whipped Topping:
-
Gently fold in 1½ cups whipped topping with a spatula until no streaks remain.
Step 4 – Add Peppermint Crunch:
-
Fold in crushed peppermint candies carefully to avoid color bleeding.
Step 5 – Assemble the Pie:
-
Spread filling evenly into the chocolate crust using a spoon or spatula.
Step 6 – Chill:
-
Refrigerate at least 4 hours (overnight is best) to set the filling.
Step 7 – Garnish & Serve:
-
Top with extra whipped topping and crushed peppermint just before serving.
-
Tip: Dip a sharp knife in hot water and wipe dry for clean slices.
Notes
-
For smooth filling, cream cheese must be soft.
-
Fold whipped topping gently to keep it airy.
-
Chill long enough to ensure firm, sliceable bars.
-
If candy melts and colors the filling pink, don’t worry—it tastes amazing!
Nutrition
- Sugar: 28g
- Saturated Fat: 10g
- Carbohydrates: 36g
- Fiber: 0.5g
- Protein: 3g
- Cholesterol: 30mg
Nutritional Information*
*Please note: This is an estimated nutritional breakdown based on the specific ingredients listed. Values can vary based on specific brands and ingredient choices.
Servings: 8 | Prep Time: 10 min | Chill Time: 4 hours | Total Time: 4 hours 10 min
Approximate values per serving:
Calories: 320 | Fat: 18g | Saturated Fat: 10g | Carbohydrates: 36g | Fiber: 0.5g | Sugar: 28g | Protein: 3g | Cholesterol: 30mg | Sodium: 180mg
This is a decadent dessert, and that’s exactly what the holidays are for! Because it’s so rich and satisfying, a little goes a long way. Enjoy it mindfully as a special treat during the festive season.
Final Thoughts from My Kitchen to Yours
Well, there you have it, my friends—the easiest, most festive dessert that’s guaranteed to bring smiles to every face at your table. This Easy Christmas Peppermint Pie is more than just a recipe; it’s a ticket to a less stressful, more delicious holiday. It’s proof that you don’t need complicated techniques or hours of work to create something truly special and memorable.
I hope this pie becomes a new tradition in your home, just like it is in mine. It’s a little bit of cool, creamy magic that captures the joyful spirit of the season. So from my kitchen at Feastical to yours, I’m wishing you a holiday filled with love, laughter, and absolutely fantastic food. Now, go forth and create something delicious!
If you make it (and I really hope you do!), tag me on social @feastical so I can see your beautiful creations! Happy holidays, and happy eating!
With love and a sprinkle of peppermint,