Classic Fluffy Gingerbread: Your New Go-To Holiday Cookie
Hey friends, Beau here! Can you smell it? That magical, unmistakable aroma of warm ginger, spicy cinnamon, and rich molasses wafting through the house? To me, that’s the official scent of the holidays. It’s the smell of happiness, of gathered loved ones, and of flour-dusted countertops covered in festive cookie cutters.
If you’ve ever been intimidated by the idea of making gingerbread from scratch, let me stop you right there. I’m here to pull up a stool, hand you a rolling pin, and show you just how simple and soul-satisfying it can be. This isn’t just any gingerbread recipe; this is my go-to for creating the softest, fluffiest, most perfectly spiced gingerbread cookies you’ll ever sink your teeth into. They’re sturdy enough to hold their shape as reindeer, stars, and jolly old St. Nicks, but tender enough to melt in your mouth with every single bite.
We’re talking about more than just a cookie here. We’re crafting edible memories. This recipe is your blank canvas for a afternoon of festive fun, whether you’re flying solo with a mug of hot cocoa or hosting a full-blown decorating party with the whole family. So, tie on your favorite apron, friends. We’re about to bake up a whole lot of cozy, and I can’t wait to get started with you.
The Gingerbread House That Started It All
My love affair with gingerbread started, as many great food stories do, in my Grandma Eleanor’s kitchen. Every December, she’d pull out her big, yellow mixing bowl, and the transformation would begin. She wasn’t just making cookies; she was building a world. One year, she decided we weren’t just making cookies—we were constructing a full-scale gingerbread mansion, complete with a licorice fence and gumdrop shrubbery.
I was her chief dough-roller and sprinkles distributor, a title I wore with immense pride. I’ll never forget the feeling of that warm, pliable dough under my tiny hands, or the intense concentration on her face as she carefully placed the walls. The house, in the end, was… let’s call it “structurally unsound.” The roof slid off at a dramatic angle, and one wall was visibly thicker than the others. But when we finally stood back to admire our lopsided masterpiece, beaming with pride, I understood. It wasn’t about architectural perfection. It was about the laughter, the shared focus, and the incredible smell that clung to our clothes for days. That’s the spirit I bake into every single batch of this dough. It’s a recipe built for joy, not perfection.
Gathering Your Gingerbread Dream Team
Before we dive in, let’s chat about our ingredients. Using simple, quality components is the secret to a standout cookie. Here’s what you’ll need and why each one matters.
- 3 cups All-Purpose Flour: This is the backbone of our cookie, giving it the perfect structure for rolling and cutting. For a slightly more tender cookie, you can swap in 1/2 cup of cake flour, but all-purpose works beautifully.
- 1 tsp Baking Soda: Our leavening agent! This is the little powerhouse that gives these cookies their signature fluffy lift, preventing them from being hard and dense.
- 1 tsp Ground Ginger: The star of the show! It provides that warm, peppery kick that defines a great gingerbread. Feel like being bold? Bump it up to 1 ½ teaspoons for an extra-spicy cookie.
- 1 tsp Ground Cinnamon: Ginger’s best friend. Cinnamon adds a sweet, woody warmth that rounds out the spice profile perfectly.
- ½ tsp Ground Cloves: This is our secret weapon. Cloves bring an intense, aromatic depth that makes the flavor complex and unforgettable. A little goes a long way!
- ½ tsp Salt: Never skip the salt! It’s the flavor enhancer that makes all the spices pop and balances the sweetness. It’s the difference between a flat cookie and a fantastic one.
- ½ cup Unsalted Butter, softened: This brings the rich, tender texture and that irresistible buttery flavor. I always use unsalted so I can control the salt level. Chef’s Tip: Your butter is perfectly softened when you can press your thumb into it easily and leave an indentation, but it hasn’t started to melt or look greasy.
- 1 cup Brown Sugar: I prefer brown sugar over white for its deep molasses flavor and moisture. It gives the cookies a softer chew and a beautiful color.
- ½ cup Molasses: The soul of the gingerbread! I use regular, unsulphured molasses (not blackstrap) for its robust, bittersweet flavor. This is what gives gingerbread its iconic taste and dark color.
- 1 Large Egg: Our binding agent. The egg adds structure, richness, and helps create a tender crumb.
- Optional Twist: A ¼ tsp of freshly grated nutmeg adds a lovely, warm complexity, while the zest of one orange will brighten everything up with a citrusy sparkle. Try one, or both!
Let’s Get Baking: The Step-by-Step Guide to Gingerbread Bliss
Alright, team, it’s go-time! This is where the magic happens. Follow these steps, and you’ll have a kitchen that smells like a holiday dream and a batch of cookies that’ll make you a legend.
- Combine the Dry Ingredients: In a medium bowl, grab your whisk and give the flour, baking soda, ginger, cinnamon, cloves, and salt a good, thorough mixing. Whisking these together first ensures every single cookie gets an even distribution of spice and leavening, so no one gets a bland bite or a clump of baking soda. I call this the “flavor foundation.”
- Cream the Butter and Sugar: In a large bowl, use an electric mixer (or some serious elbow grease with a wooden spoon) to beat the softened butter and brown sugar together. We’re not just mixing them; we’re creaming them. Beat on medium-high speed for 2-3 minutes until the mixture is pale, fluffy, and wonderfully smooth. This step incorporates air, which is key for that soft, fluffy texture we’re after.
- Incorporate the Wet Ingredients: Crack in the egg and pour in that glorious, dark molasses. Mix on medium speed until everything is perfectly blended, scraping down the sides of the bowl as needed. The batter will be a beautiful, shiny brown and smell absolutely incredible already.
- Bring the Dough Together: Now, with your mixer on low, gradually add the dry ingredients to the wet. I like to add it in three parts to avoid a flour cloud erupting in my kitchen! Mix just until the flour disappears and a soft dough forms. Don’t overmix! As soon as it looks cohesive, stop the mixer.
- Chill Out (The Dough, That Is): This is the most important step for easy rolling! Divide the dough in half, flatten each half into a 1-inch thick disk, and wrap them tightly in plastic wrap. Chill for at least 1 hour, and up to 2 days. This firms up the butter, making the dough less sticky and much easier to roll out without sticking to your rolling pin. It also allows the flavors to meld together beautifully.
- Roll and Cut: Preheat your oven to 350°F (175°C) and line your baking sheets with parchment paper. Lightly flour your work surface and rolling pin. Take one disk of dough out of the fridge and roll it to a consistent ¼-inch thickness. This is the sweet spot for cookies that are sturdy but still soft. Now for the fun part! Dip your cookie cutters in a little flour to prevent sticking and start cutting out your shapes. Place them about 1 inch apart on the prepared baking sheets.
- Bake to Perfection: Bake for 8-10 minutes. The cookies are done when the edges are just set and the centers appear slightly puffed. They might still look a little soft in the middle—that’s exactly what we want! They will firm up as they cool. Overbaking is the enemy of a soft gingerbread, so err on the side of caution.
- Cool Completely: Let the cookies cool on the baking sheet for 5 minutes before transferring them to a wire rack to cool completely. This is a test of your willpower, I know, but decorating warm cookies is a recipe for runny icing! Let them get fully cool to the touch.
Sharing the Joy: How to Serve Your Gingerbread Masterpieces
Okay, the cookies are baked, the house smells divine, and you’re ready to serve. Here’s how to make the moment extra special.
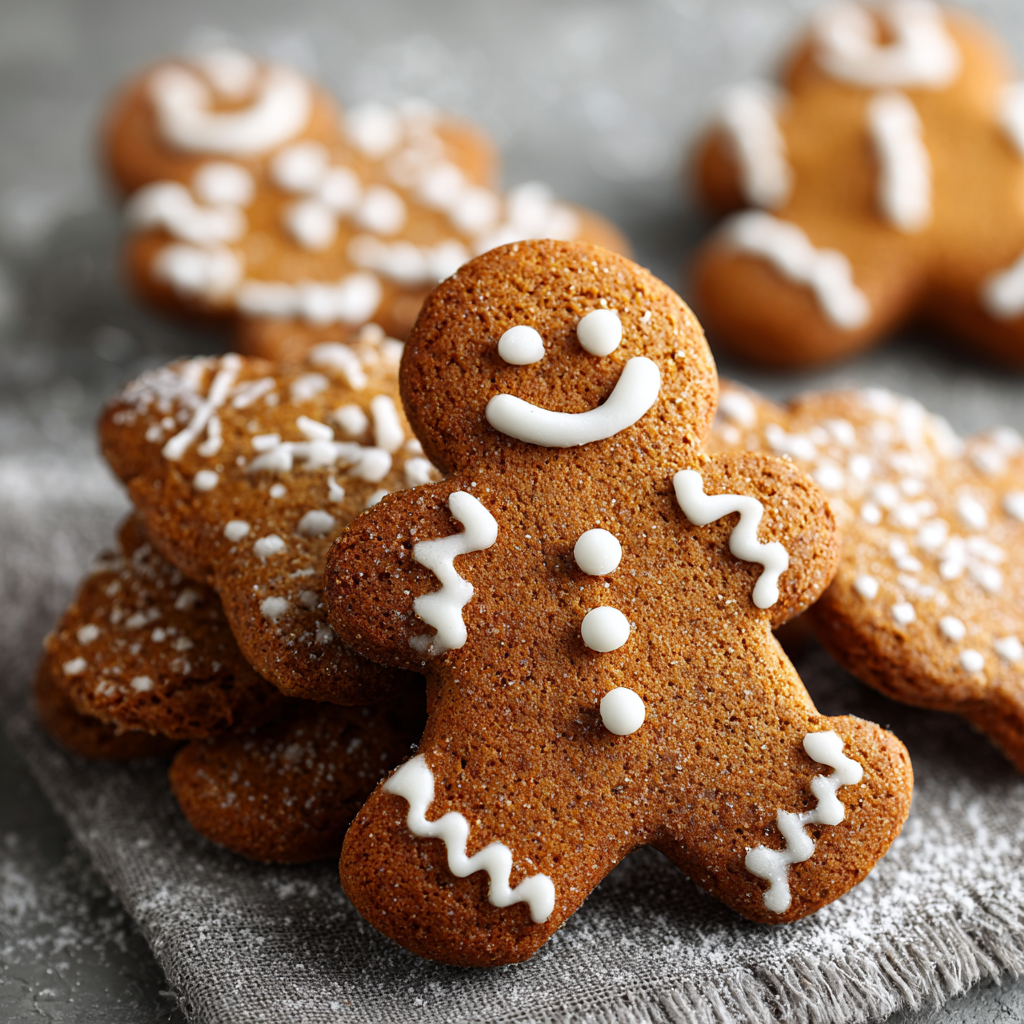
For a classic presentation, I love piling these fluffy gingerbread cookies high on a rustic wooden board or a vintage cake stand. It just feels right. Set out bowls of royal icing, buttercream, sprinkles, and candies, and let your guests go to town decorating their own. It’s an instant party activity!
These cookies are a match made in heaven with a hot beverage. Serve them alongside a steaming mug of spiced apple cider, a rich hot chocolate, or my personal favorite, a strong cup of coffee. The bitterness of the coffee cuts through the sweet spice of the cookie in the most delightful way.
And don’t forget, these make incredible edible gifts! Stack them in a cellophane bag tied with a ribbon, or package them carefully in a festive tin. A homemade gift from the kitchen is always filled with more love than anything you can buy at a store.
Mix It Up! Fun Gingerbread Variations
Once you’ve mastered the classic, feel free to get creative! This dough is a wonderful canvas. Here are a few of my favorite twists:
- Orange-Spiced Delight: Add the zest of one large orange to the dough when you’re creaming the butter and sugar. The bright citrus note cuts through the richness and makes the spices sing.
- Lemon Glazed Gems: Skip the royal icing and instead, whisk together 1 cup of powdered sugar with 2-3 tablespoons of fresh lemon juice until smooth. Drizzle this simple glaze over the cooled cookies for a zesty, sweet-tart finish.
- Chocolate-Dipped Dream: Melt 1 cup of semi-sweet or dark chocolate chips. Dip half of each cooled cookie into the chocolate, let the excess drip off, and place on parchment paper. Sprinkle with a little sea salt before the chocolate sets for a next-level treat.
- Vegan-Friendly Swap: You can easily make this vegan! Use a plant-based butter stick (not spread) and a flax egg (1 tbsp ground flaxseed mixed with 3 tbsp water, let sit for 5 mins). For the molasses, just double-check the label to ensure it’s vegan-friendly.
- Spice Explorer: Add a ¼ teaspoon of black pepper or cardamom to the dry ingredients for a subtly complex, grown-up spice kick that will keep people guessing what your secret ingredient is!
Beau’s Kitchen Confidential
Over the years, I’ve learned a few things about this recipe. First, the dough might seem a bit soft right after mixing, but trust the chilling process. It transforms it from slightly unruly to a baker’s dream. Second, this recipe is a survivor. I once left a disk of dough in the back of my fridge for three days, and it baked up perfectly. The flavor was even deeper!
And a funny story: I once tried to rush the chilling step by putting the dough in the freezer for 15 minutes. It froze the outside but left the center soft, leading to a rolling disaster that looked more like a gingerbread topographical map of the Andes than a smooth cookie. Patience, my friends, is a virtue that yields flat, beautiful cookies. Learn from my mistakes!
Your Gingerbread Questions, Answered!
I’ve gotten a lot of questions about this recipe over the years. Here are the answers to the most common ones.
Q: My dough is too sticky to roll, even after chilling. What happened?
A: Don’t panic! This usually means the dough needs a bit more flour. The humidity in your kitchen can affect the dough. Lightly flour your work surface and rolling pin, and knead in a tablespoon of flour at a time until the dough is manageable but not tough.
Q: Why are my cookies spreading and losing their shape?
A: This is almost always a temperature issue. The butter in the dough was too warm when it went into the oven. Make sure you chill the dough for the full hour, and if your kitchen is very warm, you can even pop the cut-out shapes on the baking sheet into the freezer for 5-10 minutes before baking. Also, double-check your baking soda isn’t expired!
Q: My gingerbread is too hard. What did I do wrong?
A> The two most common culprits are overmixing the dough after adding the flour (which develops too much gluten) or overbaking. Remember, you only need to mix until the flour is *just* incorporated, and you should pull the cookies out when the edges are set, even if the centers look slightly soft.
Q: Can I make the dough ahead of time?
A> Absolutely! This is a fantastic make-ahead recipe. You can wrap the dough disks tightly and refrigerate them for up to 2 days. You can also freeze them for up to 3 months. Just thaw overnight in the fridge before rolling.

Classic Fluffy Gingerbread : Soft, Spiced & Perfect for Holiday Cut-Outs
Description
The Magic of Gingerbread
Can you smell it? That unmistakable aroma of warm ginger, spicy cinnamon, and rich molasses that fills your home with holiday cheer? This recipe brings all that—and more. These cookies are soft, fluffy, and full of cozy spice. They’re sturdy enough for decorating, but tender enough to melt in your mouth.
Whether you’re baking solo with a mug of cocoa or hosting a full-blown cookie-decorating party, this recipe is your ticket to instant holiday joy.
Ingredients
Dry Ingredients
-
3 cups all-purpose flour (swap ½ cup for cake flour for extra tenderness)
-
1 tsp baking soda
-
1 tsp ground ginger (bump up to 1½ tsp for extra zing!)
-
1 tsp ground cinnamon
-
½ tsp ground cloves
-
½ tsp salt
-
Optional: ¼ tsp grated nutmeg or zest of one orange for brightness
Wet Ingredients
-
½ cup unsalted butter, softened
-
1 cup brown sugar
-
½ cup molasses (use regular unsulphured, not blackstrap)
-
1 large egg
Instructions
1. Mix the Dry Team:
In a medium bowl, whisk together flour, baking soda, ginger, cinnamon, cloves, and salt. This ensures your spices and leavening are perfectly distributed.
2. Cream the Butter & Sugar:
In a large bowl, beat softened butter and brown sugar on medium-high for 2–3 minutes until pale and fluffy.
3. Add the Wet Ingredients:
Beat in the egg and molasses until fully blended and glossy.
4. Bring It Together:
On low speed, mix in the dry ingredients a little at a time until just combined. Stop as soon as you no longer see streaks of flour—don’t overmix!
5. Chill Time:
Divide dough in half, shape into disks, wrap tightly, and chill at least 1 hour (up to 2 days). This step makes rolling easy and boosts flavor.
6. Roll & Cut:
Preheat oven to 350°F (175°C). Roll chilled dough on a lightly floured surface to ¼-inch thickness. Cut out your favorite shapes with floured cutters and place on parchment-lined baking sheets, 1 inch apart.
7. Bake to Perfection:
Bake for 8–10 minutes, until edges are just set and centers are slightly puffed. Let cool 5 minutes on the sheet, then transfer to a rack.
8. Cool Completely Before Decorating:
Resist the urge to decorate too soon—icing will slide right off warm cookies!
Notes
-
Don’t skip chilling—it’s the difference between perfect cutouts and sticky chaos.
-
If dough is too sticky after chilling, knead in 1 tbsp of flour at a time.
-
Pop shaped cookies in the freezer for 10 minutes before baking if your kitchen is warm—this helps them keep their shape.
-
For deeper flavor, chill the dough overnight (or up to 2 days).
Nutritional Information (For Your Info!)
Hey, I’m all about balance! While we should definitely enjoy our holiday treats guilt-free, I know some of you like to keep track. Here’s a rough breakdown per cookie (based on a yield of 24 cookies). Remember, these are estimates and can vary based on the specific ingredients you use and the size of your cookie cutters.
- Calories: ~140
- Fat: 4g
- Carbohydrates: 24g
- Sugar: 11g
- Protein: 2g
- Fiber: <1g
These cookies get their energy mainly from the carbohydrates in the flour and sugar, providing a little boost for all your festive activities. The molasses also adds a tiny amount of iron and calcium. So, enjoy one (or two!) as part of your holiday celebrations.
Final Thoughts from My Kitchen to Yours
Well, friends, we’ve done it. We’ve taken a handful of simple ingredients and transformed them into something truly magical. This Classic Fluffy Gingerbread recipe is more than just a list of instructions; it’s an invitation to slow down, get your hands a little messy, and create something beautiful and delicious.
I hope this recipe finds its way into your holiday traditions, just like it has in mine. I hope it fills your kitchen with warmth and your heart with the same joy I feel every time I bake a batch. Remember, the slightly lopsided gingerbread man has more character, and the cookies you decorate with your loved ones will always be the most beautiful ones in the batch.
Now, I’d love to see your creations! Tag me @FeasticalBeau and use the hashtag #FeasticalGingerbread so I can share in your baking joy.