Let’s Make Some Holiday Magic: Homemade Soft Christmas Peppermints
Hey friends, Beau here from Feastical! Can you smell it? That crisp, chilly air is starting to carry whispers of pine, cinnamon, and… peppermint. There’s just something about that cool, sweet flavor that screams holidays, isn’t there? It’s the taste of candy canes on the tree, of a warm mug of cocoa after building a snowman, of pure, unadulterated joy.
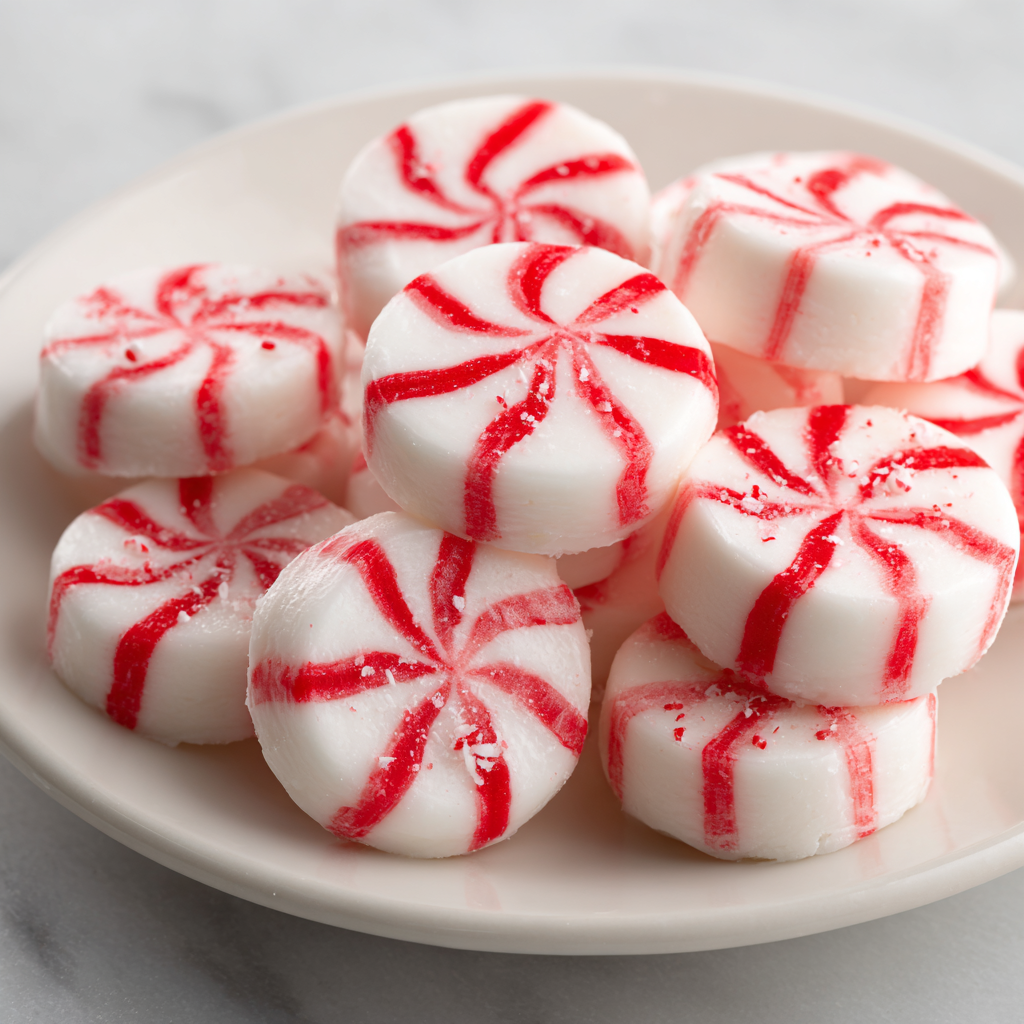
But today, we’re not just talking about any old peppermint. We’re ditching the store-bought stuff and creating something truly special: Homemade Soft Christmas Peppermints. These aren’t the rock-hard candies that threaten a dental emergency. Oh no. These are creamy, melt-in-your-mouth, little pillows of peppermint bliss. They’re sweet, they’re smooth, they have the most delightful airy texture, and they pack just the right amount of gentle peppermint kick.
I know what you might be thinking: “Beau, making candy? That sounds complicated!” Trust me on this one, friend. If you can cream butter and sugar, you can absolutely make these. This recipe is my go-to for a reason—it’s incredibly simple, deeply satisfying, and the results are downright gorgeous. They’re perfect for filling a candy dish at your holiday party, for packaging up in cute little bags as heartfelt homemade gifts, or for, ahem, “quality control” snacking while you wrap presents.
So, grab your favorite mixing bowl, put on some classic holiday tunes, and let’s roll up our sleeves. We’re about to create a treat that’s not just delicious, but one that’s woven with the cozy, comforting spirit of the season. Let’s dig in!
The Sweet Scent of Memories
This recipe always takes me right back to my Grandma Eleanor’s kitchen. Her house during the holidays was a wonderland of sights, sounds, and smells. But the best smell, the one that signaled the real start of Christmas for me, was the sharp, clean scent of peppermint wafting from her kitchen.
She’d have her big, old, yellow mixing bowl out, dusted with a fine layer of powdered sugar that looked like fresh snow. I’d pull up a chair, my legs swinging, and watch her magically transform simple ingredients into these beautiful, swirled red-and-white candies. She’d always let me have the first taste—a slightly misshapen one that didn’t make the “gift-worthy” cut. That first bite, soft and cool and sweet, is a core memory for me. It tasted like love and anticipation.
Making these peppermints now, in my own kitchen, is my way of keeping that tradition alive. It’s my little culinary hug from the past. And I love the thought of you creating your own memories with this recipe. Maybe it’ll become a new tradition for your family, too.
Gathering Your Peppermint Dream Team
One of the best things about this recipe is the short and sweet ingredient list. You probably have most of this in your pantry right now! Here’s what you’ll need and a little “chef’s insight” on each one.
- 4 cups powdered sugar, sifted: This is the base of our candy, giving it that classic smooth, melt-in-your-mouth texture. Pro-Tip: Sifting is non-negotiable here! It prevents lumps and makes for a silky-smooth dough. If you skip this, you’ll be fighting pesky sugar lumps later.
- 1/4 cup unsalted butter, softened: This is the secret weapon! The butter adds a rich creaminess that sets these apart from other hard candies. Using unsalted lets you control the flavor perfectly. Make sure it’s truly softened at room temperature for easy mixing.
- 1/4 cup heavy cream: This adds moisture and fat, creating that soft, tender texture. For a dairy-free version, full-fat coconut cream can work in a pinch, though the flavor will be slightly different.
- 1/2 tsp peppermint extract: The star of the show! I prefer pure peppermint extract over imitation for the cleanest, brightest flavor. You can adjust this up or down by 1/8 tsp based on how strong you like it.
- Optional: 1/2 tsp vanilla extract: This is my little “chef’s kiss.” The vanilla doesn’t scream “I’m here!” but it rounds out the peppermint flavor beautifully, adding a subtle warmth and depth that makes the candy taste more complex.
- Red food coloring: For that classic Christmas look! I like using gel food coloring because it’s highly concentrated and won’t water down your dough. A little goes a long way!
Crafting Your Candy: A Step-by-Step Guide
Ready to make some magic? Let’s walk through this together. It’s a simple process, but I’ve got some key tips for each step to ensure your peppermints are absolutely perfect.
Step 1: The Creamy Foundation
In a large mixing bowl, beat the softened butter, heavy cream, peppermint extract, and vanilla extract (if using) together until the mixture is completely smooth and well-combined. I like to use a hand mixer or a stand mixer with the paddle attachment for this. You want everything to be homogenous—no little bits of butter floating around! Chef’s Hack: If your butter is still a bit cold, zap it in the microwave for 5-second bursts, but be careful! You want it soft, not melted.
Step 2: The Sweet Incorporation
Now, here’s where patience pays off. With your mixer on a low speed, gradually add the sifted powdered sugar, about a cup at a time. Why slowly? If you dump it all in at once, you’ll create a powdered sugar mushroom cloud that will cover you and your entire kitchen! After each addition, let the sugar incorporate fully before adding the next. The dough will start out looking like a thick frosting and will gradually become a soft, moldable dough. It should hold together when you pinch it and not feel overly sticky. If it’s a bit too sticky, you can add another tablespoon or two of powdered sugar.
Step 3: The Colorful Divide
Turn the dough out onto a clean surface lightly dusted with powdered sugar. Divide it into two equal halves. Leave one half plain and white. Now, for the fun part! Add a few drops of red gel food coloring to the other half. Knead it in with your hands until the color is uniform. Don’t be shy here—a vibrant red makes for a stunning final product! Pro-Tip: Wearing food-safe gloves will save your hands from turning into Santa’s for a few hours.
Step 4: The Twist & Shape
This is where the signature swirl comes to life. Take each portion of dough and roll them into long, thin ropes of equal length, about 1/2 to 3/4-inch in diameter. Don’t worry if they aren’t perfect! Now, place the red and white ropes side-by-side and gently press them together at one end. Then, carefully twist them together, like a candy cane stripe. Once twisted, gently roll the entire length back and forth on the counter to smooth it out and fuse the two ropes into one beautiful, swirled log.
Step 5: The Slice & Dry
Using a sharp knife, slice the log into 1/4-inch to 1/2-inch thick discs. You’ll see the lovely swirl pattern on each piece! Place the peppermint discs on a baking sheet or tray lined with parchment or wax paper. Now, the hardest part: the wait. Let them sit uncovered at room temperature for a full 24 hours. This allows the outside to dry just enough to form a slight crust while the inside stays beautifully soft and creamy. Resist the urge to speed this up—it’s crucial for the perfect texture!
How to Serve These Peppermint Gems
Once your patience is rewarded and the mints are set, it’s time for the fun part—serving them! I love putting these out in a beautiful ceramic bowl or a vintage candy dish as the centerpiece of my holiday coffee table. They look so festive and inviting.
They also make the most thoughtful homemade gifts. Layer them in a clear cellophane bag tied with a rustic ribbon, or pack them into a small, decorative tin. Add a handwritten tag that says “Homemade with Love,” and you’ve got a present that truly comes from the heart. They’re also a wonderful addition to a holiday cookie plate, adding a different texture and flavor among all the chocolate and spice.
Get Creative! Fun Flavor Twists
Once you’ve mastered the classic, feel free to get creative! This dough is a wonderful canvas for all sorts of holiday flavors.
- Chocolate Swirl: Replace the red food coloring with 2 tablespoons of sifted unsweetened cocoa powder when you mix the second half of the dough. A chocolate-peppermint combo is a classic for a reason!
- Wintergreen Wonderland: Swap the peppermint extract for wintergreen extract for a different, slightly sweeter minty flavor that will remind you of those classic pink wintergreen lozenges.
- Sparkling Sugared Mints: Before the mints dry, you can roll the edges in or sprinkle the tops with coarse sparkling sugar for a beautiful, frosty effect.
- Peppermint Pattie Style: For a fun shape, instead of twisting, roll each color into a sheet, layer them, and use a small round cookie cutter to create perfect red-and-white circles.
- Fruity Fun: For a non-holiday version, try using different extracts like lemon or orange and matching food colorings. They’re delightful any time of year!
Beau’s Chef’s Notes
This recipe has been a living thing in my kitchen. The first time I made it, I was so impatient that I tried to speed up the drying process by putting the tray near a warm oven. Big mistake! The butter melted, and I ended up with peppermint puddles. A delicious, but very messy, lesson learned. The 24-hour wait is your friend, I promise.
I’ve also found that the texture can change slightly with the weather. On a very humid day, they might need an extra few hours to set up properly. And don’t stress if your first rope-twisting attempt isn’t magazine-perfect. The charm of homemade is in its slight imperfections! Every batch I make is a little different, and that’s part of the fun.
Your Peppermint Questions, Answered!
Q: My dough is too dry and crumbly. What happened?
A: This usually means you added a bit too much powdered sugar or the butter wasn’t soft enough. Don’t worry! Just add a teaspoon of heavy cream at a time and knead it in until the dough comes together smoothly.
Q: Can I use milk instead of heavy cream?
A: I don’t recommend it. The high fat content in heavy cream is essential for the rich, soft texture. Using milk will result in a much harder, less creamy candy.
Q: How should I store these, and how long do they last?
A: Once fully dried, store them in an airtight container at room temperature. Layering them with parchment paper is a good idea to prevent sticking. They will keep beautifully for up to 2 weeks… if they last that long!
Q: Why are my mints still sticky after 24 hours?
A: This is likely due to high humidity. Just give them a bit more time to dry. You can also very lightly dust them with a bit of powdered sugar before storing to combat stickiness.

Soft Christmas Peppermints
Description
Homemade Soft Christmas Peppermints
Ingredients
-
4 cups powdered sugar, sifted
-
1/4 cup unsalted butter, softened
-
1/4 cup heavy cream
-
1/2 tsp peppermint extract
-
1/2 tsp vanilla extract (optional)
-
Red gel food coloring
Instructions
-
Cream Base – In a large bowl, beat butter, heavy cream, peppermint extract, and vanilla until smooth.
-
Add Sugar – Gradually mix in powdered sugar, 1 cup at a time, until a soft, moldable dough forms.
-
Divide & Color – Split dough in half. Leave one half white, and knead red food coloring into the other until uniform.
-
Shape – Roll each half into ropes, twist together, and gently roll into a log. Slice into 1/4–1/2 inch discs.
-
Dry – Place on parchment-lined tray. Let sit uncovered at room temperature for 24 hours to set.
Notes
-
Store in an airtight container at room temperature for up to 2 weeks.
-
Layer with parchment to prevent sticking.
Nutrition
- Calories: 45 cal per mint, approx.
- Sugar: 0g
- Fat: • 1.3g
- Carbohydrates: 9g
- Protein: 8.5g
A Quick Nutritional Note
Let’s be real, friends—these are a treat, through and through! They’re pure holiday indulgence. Here’s a rough estimate per mint (based on a yield of 60 pieces). Remember, this is an approximation, and exact values can vary based on the specific ingredients you use.
Per Piece (approx.): Calories: 45, Fat: 1.3g, Carbohydrates: 9g, Sugars: 8.5g, Protein: 0g.
The beauty of making them yourself is that you control the size. If you want to make them smaller, you can easily get 80-90 smaller mints, which adjusts the numbers accordingly. The key, as with all good things, is to enjoy them mindfully and share them generously!
Final Thoughts from My Kitchen to Yours
Well, there you have it! My recipe for Soft Christmas Peppermints, straight from the heart. This isn’t just about making candy; it’s about creating an experience. It’s about the joy of getting your hands a little dusty with powdered sugar, the satisfaction of seeing those beautiful red and white swirls, and the warmth of sharing something you made with love.
I hope this recipe brings as much happiness to your kitchen as it has to mine. It’s a simple pleasure, a little bite of holiday magic that reminds us what the season is all about: connection, tradition, and a whole lot of sweetness.