Your New Favorite Coffee Break Is Here: Homemade Chocolate Covered Espresso Beans
Hey friends, Beau here from Feastical! Let’s talk about that 3 PM slump. You know the one. Your energy is dipping, your focus is fading, and the siren song of the nearest coffee pot is getting louder by the minute. But what if I told you there’s a better way? A more delicious, more fun, and downright addictive way to get that little jolt of joy and caffeine you’re craving? Friends, meet my not-so-secret weapon: Homemade Chocolate Covered Espresso Beans.
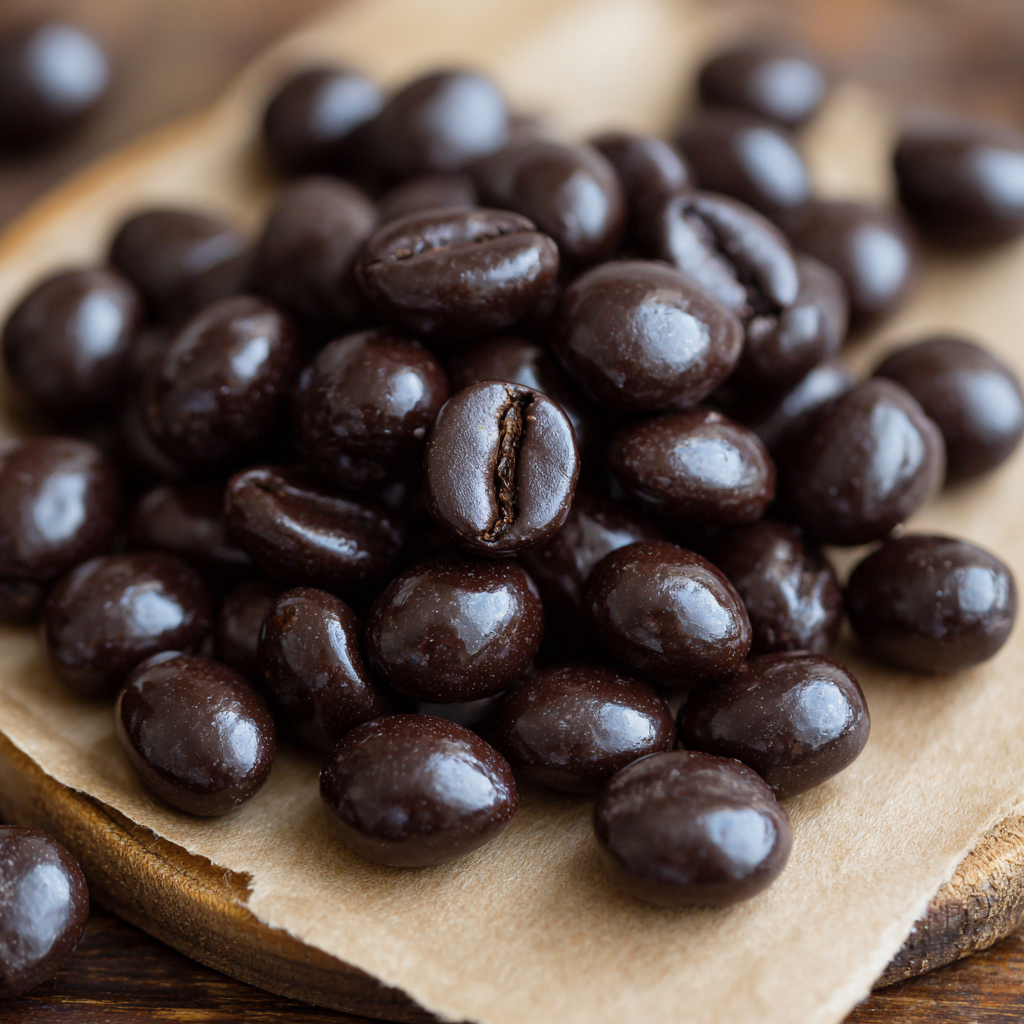
These little powerhouses are the ultimate two-in-one treat. They’re not just a snack; they’re an experience. You get the bold, aromatic crunch of a premium roasted espresso bean, instantly followed by the luxurious, melt-in-your-mouth bliss of rich, dark chocolate. It’s a sophisticated flavor bomb that feels indulgent but is surprisingly simple to whip up in your own kitchen. Forget the overpriced, often waxy versions you find at the store. When you make them yourself, you control the quality of the chocolate, the roast of the bean, and you get to infuse them with that most special ingredient of all: a little bit of your own love.
Whether you’re looking for a quick pick-me-up to stash in your desk drawer, a utterly unique homemade gift for the foodie in your life, or the perfect crunchy topping for your favorite dessert, these chocolate covered espresso beans are your answer. So, grab your favorite apron, and let’s turn your kitchen into a artisan candy shop for the afternoon. I promise, it’s easier than you think, and the results are absolutely… Feastical.
A Bean of a Tale: My First Foray into Caffeinated Confection
I’ll never forget my first encounter with a chocolate covered espresso bean. I was about sixteen, working my first real job as a barista at a quirky, independent coffee shop that smelled like heaven and old books. My manager, a wonderfully eccentric woman named Clara who wore mismatched earrings and knew everything there was to know about coffee, caught me yawning during a late shift. Without a word, she slid a small ceramic bowl across the counter. It was filled with these dark, lumpy, mysterious little nuggets.
“Try one,” she said, a knowing glint in her eye. “It’s like a coffee break without the cup.”
I was skeptical. Eating a coffee bean? But I trusted her, so I popped one in my mouth. What happened next was nothing short of a revelation. The initial snap of bitter, intense coffee was almost immediately soothed by the sweet, creamy chocolate melting around it. The flavors danced together—earthy, sweet, robust, smooth. It was complex and utterly delightful. From that moment on, I was hooked. I started making my own batches at home, gifting them in little mason jars at Christmas, and always keeping a stash handy. They’re more than just a treat; they’re a tiny, edible souvenir from a formative time in my life, a little reminder of Clara’s wisdom and the magic that happens when two simple, incredible ingredients decide to become best friends.
Gathering Your Flavor Arsenal: What You’ll Need
Part of the beauty of this recipe is its simplicity. You only need a few key players, but choosing high-quality ingredients here makes a world of difference. This is where you become the artist!
- 1 cup whole roasted espresso beans: This is your star! Look for a high-quality, freshly roasted bean. You can often find these in the bulk section of grocery stores or at your local coffee roaster. The roast level is up to you—a medium roast will be a bit brighter and more acidic, while a dark roast will give you that classic, deep, bitter coffee punch. Chef’s Insight: Avoid pre-ground coffee! You need the whole bean for that satisfying crunch. If you can’t find beans specifically labeled “espresso,” any high-quality whole coffee bean will work beautifully.
- 8 oz dark chocolate (60-70%), chopped or chips: This is your supporting actor that absolutely steals the show. I highly recommend using a chocolate bar that you enjoy eating on its own and chopping it up. It melts more evenly than chips, which contain stabilizers. The 60-70% cacao range provides the perfect balance of sweetness and bitterness to complement the coffee. Substitution Tip: You can use semi-sweet chocolate if you prefer a sweeter treat, or even milk chocolate for a gentler, creamier experience. For a dairy-free version, just ensure your chocolate is vegan-friendly!
- 1 tsp coconut oil or neutral oil (optional): This little trick is a game-changer. Adding a tiny bit of oil to your melting chocolate creates a smoother, thinner consistency that makes coating the beans much easier and gives the finished product a more professional, snappy shell. Chef’s Hack: Coconut oil adds a very subtle flavor that works wonderfully here, but a flavorless oil like vegetable or canola will work just fine if you want to avoid any coconut taste.
- Cocoa powder or powdered sugar (optional, for dusting): This is purely for aesthetics and a final flavor boost! A light dusting of cocoa powder reinforces the chocolate intensity and looks beautifully professional, while powdered sugar adds a lovely sweet contrast and prevents sticking if you’re packing them together.
Crafting Your Caffeinated Crunch: A Step-by-Step Guide
Alright, team! Let’s get our hands dirty (or, more accurately, a little chocolatey). This process is fast, fun, and incredibly satisfying. Read through all the steps once before you begin, and remember—cooking is about feeling, not just following. You’ve got this!
Step 1: Melt the Chocolate (The Foundation)
Place your chopped chocolate (or chips) and the teaspoon of coconut oil (if using) into a microwave-safe bowl. Now, the key to perfectly melted chocolate is patience. Microwave on high for 20 seconds, then stop and stir. Repeat this process—20 seconds, stir, 20 seconds, stir—until the chocolate is almost entirely melted. It should only take 2-3 intervals. Once it’s mostly liquid, stop microwaving and just keep stirring. The residual heat in the bowl will melt the last few lumps, giving you a perfectly smooth, silky, and glossy chocolate pool. Why we do this: Blasting chocolate on high heat is a one-way ticket to a scorched, grainy mess. Gentle, incremental heat protects the delicate cocoa fats and ensures a smooth dip every time.
Step 2: Coat the Beans (The Fun Part)
Pour your whole cup of espresso beans into the bowl of melted chocolate. Grab a spatula and gently fold the beans into the chocolate, ensuring every single bean is thoroughly and lovingly enveloped. You want a good, even coating, but not a comically thick one. Pro Tip: Make sure your beans are at room temperature! If they’re cold, they can cause the chocolate to seize up and become clumpy when you mix them in.
Step 3: Remove & Separate (The Finesse)
Line a baking sheet with parchment paper or a silicone baking mat. Now, using a fork or a slotted spoon, scoop up a small cluster of coated beans. Gently tap the fork against the edge of the bowl to shake off any excess chocolate. This is the secret to avoiding one giant, connected “espresso bean brittle” and ensuring you get distinct, separate beans. Carefully place the small clusters or individual beans onto your prepared baking sheet. Chef’s Hack: Have two forks handy! Using one fork to lift the beans and a second fork to help slide them onto the tray can make this process much cleaner and faster.
Step 4: Set & Dust (The Grand Finale)
Once all your beans are neatly arranged on the tray, slide the entire sheet into the refrigerator. Let them chill for at least 15-20 minutes, or until the chocolate shell is completely firm to the touch. If you’re opting for the optional dusting, now’s the time! Place your set beans in a clean bowl, add a small spoonful of cocoa powder or powdered sugar, put a lid on the bowl, and give it a few gentle shakes until they’re lightly and evenly coated. This adds that final, beautiful, professional touch.
How to Serve & Savor Your Masterpiece
You’ve done it! You’ve created a truly spectacular treat. Now, how do you enjoy them? Let me count the ways!
The most obvious way is also the best: by the handful as a straight-up, powerful snack. Keep a small jar on your desk for an afternoon energy boost that’s miles better than a sad energy drink. But don’ stop there! These beans are incredibly versatile. Crush them up and use them as a show-stopping topping for vanilla ice cream, Greek yogurt, or a luxurious chocolate mousse. The crunch and flavor they add are unbelievable.
They also make for absolutely unforgettable homemade gifts. Package them in small cellophane bags tied with a rustic piece of twine, or pile them into a elegant little jar with a custom label. Give them to your coffee-loving friends, your coworkers, your host at a dinner party—I promise, they will be remembered and requested. However you choose to enjoy them, do so with a cup of your favorite brew nearby. It’s the circle of coffee life, my friends.
Get Creative: Delicious Twists & Variations
Once you’ve mastered the classic, it’s time to play! Your kitchen is your laboratory. Here are a few of my favorite ways to mix things up:
- The Mocha Marvel: After your dark chocolate beans have set, melt a quarter cup of white chocolate and drizzle it over the top. Let it set again. The combination of dark chocolate, coffee, and sweet white chocolate is a next-level experience.
- The Spicy Kick: Feeling adventurous? Add a tiny pinch of cayenne pepper or chili powder to the melted dark chocolate and stir well before adding the beans. The subtle heat that follows the chocolate and coffee is a fantastic and sophisticated surprise.
- The Nutty Professor: Who says it has to be just beans? Mix in a handful of roasted, chopped almonds or hazelnuts with the espresso beans before coating them in chocolate. You get a fantastic variety of textures and flavors in every bite.
- The Sweet & Salty Sensation: Right after you’ve placed the coated beans on the baking sheet but before they go in the fridge, sprinkle them with a tiny bit of flaky sea salt (like Maldon). The salt makes the chocolate taste even richer and more complex.
- The Vanilla Dream: For a smoother, sweeter note, add a 1/4 teaspoon of vanilla extract or the seeds from a vanilla bean pod to your melted chocolate. It creates a beautiful aromatic background that complements the coffee perfectly.
Beau’s Chef Notes & Kitchen Stories
Over the years, this recipe has seen many iterations in my kitchen. I once, in a moment of what I thought was pure genius, decided to triple the batch for a holiday party. I got a little overzealous and tried to melt all the chocolate in one big bowl. Let’s just say I learned the hard way that melting chocolate in large quantities requires even more patience and a double boiler. I ended up with a slightly grainy texture, but you know what? Nobody at that party noticed or cared. They were too busy happily munching away.
The moral of the story? Don’t stress about perfection. Even a “mistake” with chocolate and coffee is still a pretty darn delicious thing. This recipe is forgiving and fun. Make it your own. Use your favorite chocolate. Try a new coffee roast. The best part of cooking is putting your own stamp on a dish, and these little beans are the perfect canvas for your creativity.
Your Questions, Answered: FAQs & Troubleshooting
Q: My chocolate became thick and clumpy when I melted it. What did I do wrong and can I fix it?
A: This is called “seizing,” and it usually happens when a tiny bit of moisture gets into the chocolate. Even a drop of water or steam can cause it! To prevent it, always ensure your bowl and utensils are completely dry. If it does happen, don’t panic. You can sometimes save it by immediately stirring in a teaspoon of neutral oil (like vegetable or canola) at a time until it becomes smooth again.
Q: How should I store these, and how long will they keep?
A: Store your finished chocolate covered espresso beans in an airtight container at room temperature in a cool, dry place. They’ll be at their best for about 2 weeks. You can also store them in the fridge, but let them come to room temperature for a few minutes before eating for the best texture and flavor. Avoid storing them somewhere warm, or your chocolate might get soft and melty.
Q: Are these really caffeinated? How many should I eat?
A: Yes, absolutely! You are eating whole coffee beans, so they contain caffeine. The exact amount depends on the bean, but it’s roughly similar to the caffeine in a cup of coffee per 1/4 cup of beans. I recommend enjoying them in moderation—a small tablespoon-sized serving (about 10-15 beans) is a great place to start. Listen to your body!
Q: Can I use milk chocolate or white chocolate instead?
A: You absolutely can! The recipe works exactly the same way. Just keep in mind that milk and white chocolate are sweeter and more delicate, so they will create a very different, much sweeter treat that lets more of the coffee’s bitterness shine through. It’s a delicious variation!

Chocolate Covered Espresso Beans
Description
Need a 3 PM pick-me-up that’s delicious, fun, and energizing? These chocolate covered espresso beans deliver bold coffee flavor with a crunchy bite, wrapped in smooth, rich chocolate. Perfect as a snack, dessert topping, or homemade gift!
Ingredients
-
1 cup whole roasted espresso beans
-
8 oz dark chocolate (60–70%), chopped or in chips
-
1 tsp coconut oil or neutral oil (optional, for smoother coating)
-
Cocoa powder or powdered sugar (optional, for dusting)
Tips:
-
Use high-quality beans for best flavor and crunch.
-
Choose chocolate you enjoy eating—bar chocolate melts more evenly than chips.
-
Coconut oil helps create a glossy, firm shell, but any neutral oil works.
Instructions
1. Melt the Chocolate
-
Place chocolate and oil (if using) in a microwave-safe bowl.
-
Microwave in 20-second intervals, stirring in between, until mostly melted. Stop and stir to let residual heat melt remaining chunks.
Tip: Avoid overheating—high heat can scorch chocolate and make it grainy.
2. Coat the Beans
-
Add espresso beans to the melted chocolate.
-
Gently fold to ensure each bean is fully coated.
Pro Tip: Make sure beans are at room temperature to prevent chocolate from seizing.
Notes
-
Chocolate seizes: Add a small amount of neutral oil and stir.
-
Too bitter? Use milk or semi-sweet chocolate.
-
Caffeine alert: Whole beans contain significant caffeine—1 tbsp (~10–15 beans) is a good starting serving.
Nutrition
- Calories: 85 kcal per 1 tbsp / ~10–15 beans
- Fat: 5 g
- Carbohydrates: 9 g
- Protein: 1 g
A Quick Note on Nutrition
While I’m all about indulgence and joy first, I know many of you are curious about what’s in your food. Here’s a general breakdown per tablespoon serving (roughly 10-15 beans). Remember, this is just an estimate, as it depends on the specific chocolate and beans you use.
These little guys are an energy-dense food, providing a quick source of energy from fats and carbohydrates. The dark chocolate offers antioxidants and flavonoids, while the coffee bean provides that famous caffeine kick. They’re a perfect example of a “sometimes food”—a powerful, satisfying treat that’s best enjoyed mindfully as part of a balanced diet. So go ahead, savor a few. You’ve earned it!
Final Thoughts from My Kitchen to Yours
Well, there you have it, my friends. Everything you need to know to create your own batch of incredibly delicious, homemade chocolate covered espresso beans. This recipe is a testament to the fact that the best things in life are often the simplest: two incredible ingredients, a few minutes of your time, and a whole lot of love.
I hope this recipe brings as much joy to your kitchen as it has to mine. It’s more than just a snack; it’s a conversation starter, a perfect gift, and a tiny, mighty boost of happiness. So, what are you waiting for? Get out there and make something Feastical.
And remember, if you make them, I’d love to see your creations! Tag me on social @Feastical and use the hashtag #FeasticalEats. Happy cooking!
With love and a full coffee mug,