Snowball Truffles: Your New Favorite No-Bake Winter Treat
Hey friends, Beau here from Feastical! Is there anything better than the first real snowfall of the season? That hush that falls over the neighborhood, the way everything looks so clean and magical, and the irresistible urge to cozy up inside with something warm and sweet. Well, I’ve got a recipe that captures all that winter magic in one single, blissful bite. I’m talking about my famous Snowball Truffles.
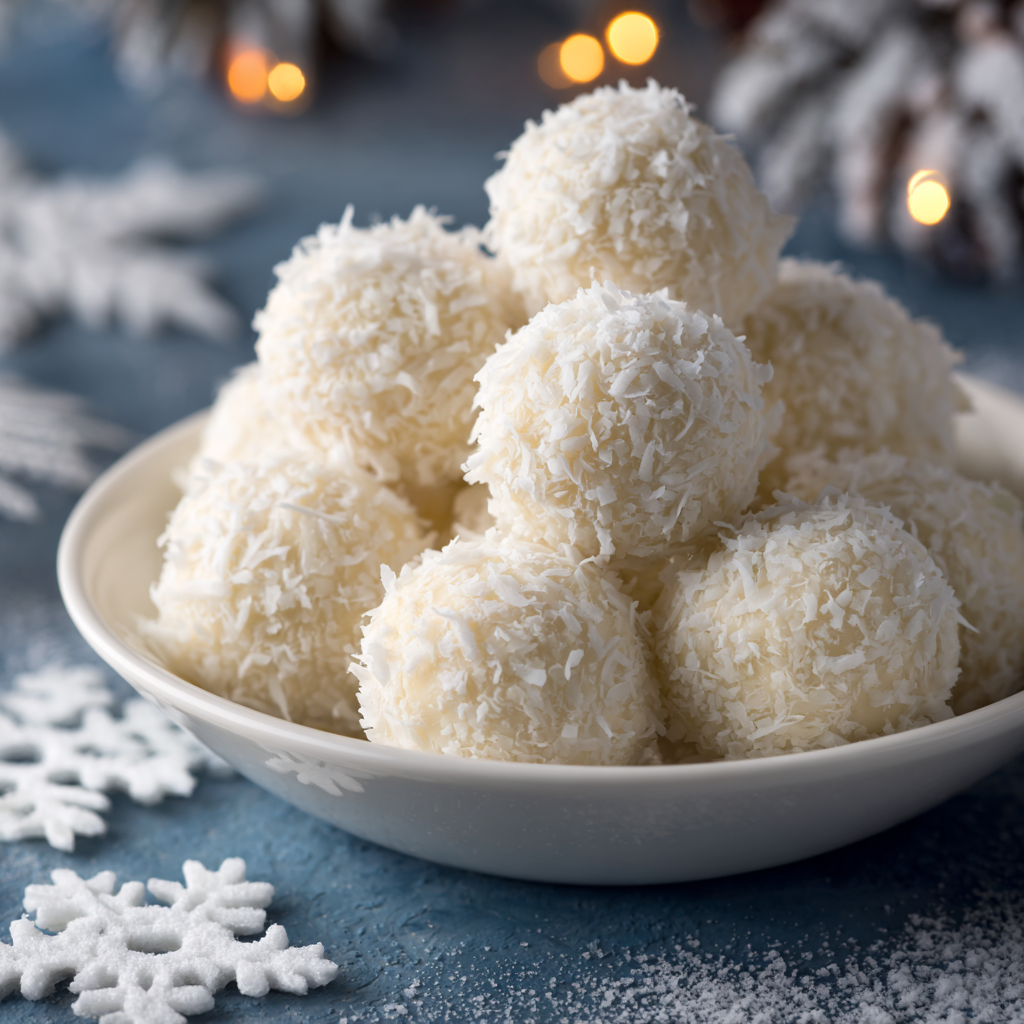
Imagine this: a luxuriously creamy, melt-in-your-mouth center of sweet white chocolate, with just the right amount of coconut flavor, all rolled up in a fluffy, snowy coat of shredded coconut. They’re elegant enough for your holiday cookie platter, easy enough for a fun weekend project with the kids, and downright irresistible for a late-night treat by the fire. The best part? You don’t even need to turn on your oven. These no-bake wonders come together in minutes, and the hardest part is waiting for them to chill. So, grab your favorite mixing bowl and let’s make a little winter magic together. Trust me, your taste buds are going to thank you.
A Blizzard of Delicious Memories
These truffles always take me right back to my grandma’s kitchen. Every Christmas Eve, without fail, a massive blizzard of powdered sugar would descend upon her countertop as she prepared her legendary snowball cookies (you know, the ones with pecans and a ton of butter). I’d sit at that counter, legs swinging, utterly mesmerized. One year, a particularly ambitious tray of cookies met its end on the linoleum floor (a story for another day!), and we were left cookie-less with guests on the way.
In a pinch, we whipped up a version of these truffles with what we had: a bag of white chocolate chips, some coconut, and a whole lot of hope. They were a smash hit! They became our little secret, our “fancy” no-bake backup plan that always stole the show. Now, every time I make them, I can still hear her laughing in that flour-dusted kitchen, reminding me that the best recipes often come from a happy accident and a willingness to get a little messy.
Gathering Your Snowball Squad: The Ingredients
Part of the beauty of this recipe is its simplicity. You only need a handful of ingredients to create something truly spectacular. Here’s your shopping list, with a few of my chef-y insights to help you out.
- 12 oz White Chocolate (chips or chopped bar): This is the star of the show, so quality matters! I prefer using a chopped-up bar of good quality baking chocolate because it melts smoother and tastes less sweet than most chips. But hey, in a pinch, a bag of high-quality white chocolate chips will work just fine. Chef’s Tip: Avoid “white baking morsels” or “candy coating” that don’t contain cocoa butter. You want real white chocolate for that creamy, authentic flavor.
- ¼ cup Heavy Cream: This is what creates that luscious, smooth ganache center. It gives the truffles their rich, melt-in-your-mouth texture. For a dairy-free version, full-fat canned coconut cream is a fantastic swap.
- 2 tbsp Unsalted Butter: A little bit of butter adds an extra layer of richness and helps the ganache set to the perfect consistency. If you only have salted butter, that’s okay! Just omit any added salt later.
- ½ tsp Vanilla or Almond Extract: This is your flavor booster! Vanilla is classic and delicious, but a splash of almond extract gives these truffles a wonderful, almost cherry-like aroma that pairs incredibly well with the coconut. Feel free to experiment!
- 1 cup Sweetened Shredded Coconut (divided): We use half inside the truffle for texture and flavor, and the other half for that iconic snowy roll at the end. Sweetened coconut gives you that perfect sweetness, but unsweetened will work if you prefer a less sweet treat. Chef’s Insight: For extra texture and toastiness, you can toast the coconut you use for rolling! Just spread it on a baking sheet and bake at 350°F for 5-7 minutes, watching closely until golden brown. Let it cool completely before using.
Let’s Build a Snowball! Your Step-by-Step Guide
Ready to create some magic? Follow these steps, and you’ll be a truffle-making pro in no time. I’ve sprinkled in all my best hacks to ensure your success.
- Prepare Your Station: Before you start, get everything ready. This is called “mise en place” (everything in its place) and it’s a game-changer. Chop your chocolate if using a bar, measure out your cream and butter, and set out a medium heatproof bowl. Line a baking sheet with parchment paper – this is where your truffle balls will chill out.
- Warm the Good Stuff: In a small saucepan, combine the heavy cream and butter. Heat it over medium heat, swirling the pan occasionally, until it’s hot and you see tiny bubbles forming around the edges. You want it just hot enough to melt the chocolate, but not boiling aggressively. Chef’s Hack: You can also do this in the microwave in a microwave-safe bowl! Heat in 30-second bursts until just steaming.
- Melt the Chocolate: Immediately pour the hot cream and butter mixture over your white chocolate in the heatproof bowl. Let it sit for a full 1-2 minutes. Don’t stir yet! Let the heat work its magic and start softening the chocolate. This patience prevents seizing.
- Stir Until Silky Smooth: Now, take a whisk or a spatula and start stirring gently from the center, working your way outwards. You’ll see it come together into a gorgeous, glossy, smooth ganache. If you still have a few stubborn lumps of chocolate, you can pop the bowl (if it’s microwave-safe) back into the microwave for 10-second bursts, stirring between each, until perfectly smooth.
- Mix in the Flavor: Stir in the vanilla (or almond) extract and ½ cup of the shredded coconut. Make sure everything is evenly distributed. You should have a thick, beautiful mixture that already smells like heaven.
- The Chill Factor: This is the most important step! Cover the bowl with plastic wrap and pop it into the refrigerator for at least 1-2 hours. You want it to be firm enough to scoop and roll without sticking to your hands. Chef’s Tip: In a hurry? You can speed this up by placing the bowl in the freezer for about 30-45 minutes. Just check it and stir every 15 minutes so it firms evenly.
- Roll ‘Em Up: Once your mixture is firm, use a small cookie scoop or a tablespoon to portion out the dough. Roll each portion quickly between your palms to form a neat 1-inch ball. If your hands are warm, the mixture might start to melt. A pro tip? Keep a bowl of cold water nearby to rinse and dry your hands every few truffles. It works wonders!
- The Snowy Coat: Place the remaining ½ cup of shredded coconut in a shallow bowl. Roll each truffle ball in the coconut, pressing gently to make sure it adheres on all sides. Place each finished snowball back on the parchment-lined tray.
- Final Set: Once all your truffles are rolled and coated, pop the whole tray back into the fridge for another 15-30 minutes to let them firm up completely. This makes them much easier to handle and package.
How to Serve These Winter Wonders
You’ve made them! Now, how to show them off? These truffles are incredibly versatile.
For a simple, elegant presentation, arrange them in a single layer in a festive holiday tin or on a beautiful platter. They look stunning all on their own. If you’re feeling fancy, you can place each one in a mini paper candy cup – it makes them look professional and keeps them from sticking together.
They are the perfect addition to a dessert charcuterie board. Pair them with some dark chocolate truffles, shortbread cookies, and fresh berries for a beautiful contrast. And of course, they are absolutely meant to be enjoyed with a hot beverage. A mug of rich hot chocolate, a peppermint mocha, or even a cup of coffee makes the perfect companion to these sweet, creamy bites.
Get Creative: Snowball Truffle Variations
Once you’ve mastered the classic, the fun really begins! Here are a few of my favorite ways to mix things up:
- Peppermint Patty: Add ¼ teaspoon of peppermint extract (not too much, it’s potent!) to the ganache instead of vanilla. For an extra crunch, roll the finished truffles in crushed candy canes or peppermint bits instead of coconut.
- Tropical Escape: Add 2-3 tablespoons of finely chopped dried pineapple or mango to the ganache along with the coconut. Roll the finished truffles in toasted coconut for an even deeper flavor.
- Cookies & Cream: Gently fold in ¼ cup of crushed Oreo cookie pieces (cream filling and all!) into the chilled ganache before rolling. Roll them in the coconut as usual, or for a real treat, roll them in additional crushed Oreos.
- Nutty Buddy: Add 2-3 tablespoons of very finely chopped toasted almonds or macadamia nuts to the ganache. The subtle nuttiness pairs beautifully with the white chocolate and coconut.
- Dairy-Free Delight: Use a high-quality dairy-free white chocolate bar, swap the heavy cream for full-fat coconut cream, and use coconut oil instead of butter. You’ve got yourself a fantastic vegan-friendly version!
Beau’s Chef Notes & Kitchen Stories
This recipe has evolved so much since that first kitchen disaster with my grandma. I’ve learned that if your ganache ever “seizes” or gets grainy (it happens if a drop of water gets in or it gets too hot), all is not lost! You can sometimes save it by whisking in a teaspoon of warm cream at a time until it smooths back out.
One of my funniest kitchen fails was the year I decided to “streamline” the process by using a melon baller to scoop the frozen-solid ganache. Let’s just say I nearly launched a few truffles across the kitchen and put a permanent dent in the bowl. Stick to a cookie scoop, folks. Trust me on this one.
Snowball Truffle FAQs: Your Questions, Answered
Q: My ganache is too soft to roll, even after chilling. What can I do?
A: No worries! This usually means it needed a bit more time. Pop it back in the fridge for another 30 minutes. If it’s still too soft, you might have had a bit too much cream or your chocolate might have had a lower cocoa butter content. You can salvage it by stirring in a handful of extra shredded coconut or even some crushed graham cracker crumbs to help it firm up.
Q: Can I freeze these truffles?
A: Absolutely! They freeze beautifully. Place them in a single layer on a parchment-lined tray until frozen solid, then transfer them to an airtight container or freezer bag. They’ll keep for up to 3 months. Thaw in the refrigerator for a few hours before serving.
Q: The coconut won’t stick to my truffles! Help!
A: This typically happens if the outside of the truffle has dried out a bit while chilling. Simply give the ball a very quick, light roll between your palms again to slightly moisten the surface, and then roll it in the coconut. It should stick like a charm.
Q: Can I use milk or dark chocolate instead?
A: You sure can, but they won’t be “snowballs” anymore! The method is the same. Just note that dark chocolate ganache sets up a bit firmer than white chocolate. They’ll be delicious, more like traditional chocolate truffles with a coconut coating.

Snowball Truffles
Description
Nothing says winter magic like these melt-in-your-mouth Snowball Truffles. Creamy white chocolate ganache with shredded coconut, rolled into perfect snowy spheres—elegant enough for a holiday platter, simple enough for a weekend project, and utterly irresistible. Best of all, they’re no-bake!
Ingredients
Makes ~24 truffles
-
12 oz white chocolate (chips or chopped bar; high-quality, real chocolate is best)
-
¼ cup heavy cream (or full-fat canned coconut cream for dairy-free)
-
2 tbsp unsalted butter (or coconut oil for dairy-free)
-
½ tsp vanilla or almond extract
-
1 cup sweetened shredded coconut, divided (½ for ganache, ½ for rolling)
Instructions
1. Prep Your Station
-
Chop chocolate if using a bar, measure cream and butter, and set out a medium heatproof bowl.
-
Line a baking sheet with parchment paper.
2. Heat Cream and Butter
-
In a small saucepan, heat cream and butter over medium heat until steaming with tiny bubbles around the edges.
-
Alternatively, microwave in 30-second bursts until hot but not boiling.
3. Melt the Chocolate
-
Pour hot cream mixture over chocolate in the bowl. Let sit 1–2 minutes without stirring.
4. Stir Until Smooth
-
Stir gently from the center outward until glossy and fully combined. If needed, microwave in 10-second bursts, stirring until smooth.
5. Flavor and Coconut
-
Stir in vanilla (or almond extract) and ½ cup shredded coconut.
6. Chill
-
Cover and refrigerate 1–2 hours, until firm enough to scoop and roll.
-
Quick chill option: Freeze 30–45 minutes, stirring every 15 minutes for even firmness.
7. Form Truffles
-
Scoop dough using a cookie scoop or tablespoon and roll into 1-inch balls.
-
Keep hands cool; rinse in cold water if mixture starts sticking.
8. Coat in Coconut
-
Roll each ball in the remaining ½ cup shredded coconut.
-
Place on parchment-lined tray and refrigerate 15–30 minutes to firm completely.
Notes
-
Ganache too soft? Chill longer, or mix in extra shredded coconut or crushed graham crackers.
-
Coconut won’t stick? Lightly moisten truffle surface by rolling between palms again.
-
Milk or dark chocolate? Method is the same; dark chocolate sets firmer.
Nutrition
- Calories: 130 Cal (per truffle
- Sugar: 11g
- Fat: 8g
- Carbohydrates: 13g
Nutritional Information (Approximate)
Okay, let’s be real—these are a treat, through and through. But it’s always good to know what you’re enjoying! This nutritional info is per truffle (assuming a yield of 24 truffles). Remember, these are estimates and can vary based on the specific brands of ingredients you use.
- Calories: 130
- Fat: 8g
- Carbohydrates: 13g
- Sugar: 11g
- Protein: 1g
While they’re not a health food, making treats at home means you control the ingredients—no unpronounceable additives or preservatives here! Enjoy them mindfully as part of your holiday celebrations.
Final Thoughts from My Kitchen to Yours
Well, there you have it, friends—my all-time favorite easy winter treat. These Snowball Truffles are more than just a recipe; they’re a little edible holiday card, a bite-sized piece of joy, and a reminder that the simplest things often bring the most happiness.
I hope you have as much fun making them as I do. I’d love to see your creations! Tag me @feastical on Instagram or Pinterest so I can share in your kitchen triumph. Now, go forth, get a little messy, and make something delicious. Until next time, happy cooking!