Your Pie Season Superpower: Homemade Canned Apple Pie Filling
Hey friends, Beau here from Feastical! Let’s talk about that feeling. You know the one. It’s a crisp Tuesday in February, the sky is that particular shade of endless gray, and out of nowhere, a powerful, undeniable craving hits you: you need a warm, spiced, bubbling-hot homemade apple pie. Right now.
But then reality sets in. Peeling all those apples. Mixing the spices. Simmering the filling. The craving slowly fades, replaced by the sigh of resignation that comes with a project that feels just a little too big for a weeknight. What if I told you there was a way to bottle the very essence of autumn? To have the heart of a perfect apple pie sitting on your pantry shelf, ready to be poured into a crust and baked into golden, flaky perfection at a moment’s notice?
That, my friends, is the magic of canning your own apple pie filling. This isn’t just about preserving fruit; it’s about preserving possibility. It’s about gifting your future self a little jar of “yes, we can have pie tonight.” This double-batch recipe is my go-to for filling the pantry with the coziest of comforts. We’re kicking the flavor up a notch with a splash of vanilla and a hint of pure maple syrup—trust me, it’s the upgrade this classic deserves. So, grab your biggest pot and your favorite apron. We’re about to make pie season absolutely stress-free.
The Scent of Memory: Why This Filling is Special
For me, the smell of apples and cinnamon simmering on the stove is a time machine. It instantly whisks me back to my grandma’s kitchen, a place of wonderful chaos and flour-dusted countertops. Every fall, she’d recruit all the grandkids for what she called “The Great Apple Peeling Marathon.” We’d sit around her old farmhouse table with those crank-operated peelers, creating mountains of spiraled apple skins while she worked her magic at the stove.
One year, I must have been about ten, I was in charge of stirring the giant pot of filling. I got distracted by the dog chasing a squirrel outside the window and let the bottom scorch just a little. I was mortified, sure I’d ruined the entire batch. Grandma just laughed her deep, warm laugh, scooped out the un-scorched part, and said, “Beau, honey, a little caramelization never hurt anybody. It’s just extra flavor!” She was right. That batch had a deeper, almost toffee-like note that was incredible. While I don’t recommend scorching your filling, that day taught me that cooking is an adventure, not a perfection contest. This recipe is that same spirit—forgiving, flavorful, and made to share with the people you love.
Gathering Your Pie-Making Arsenal
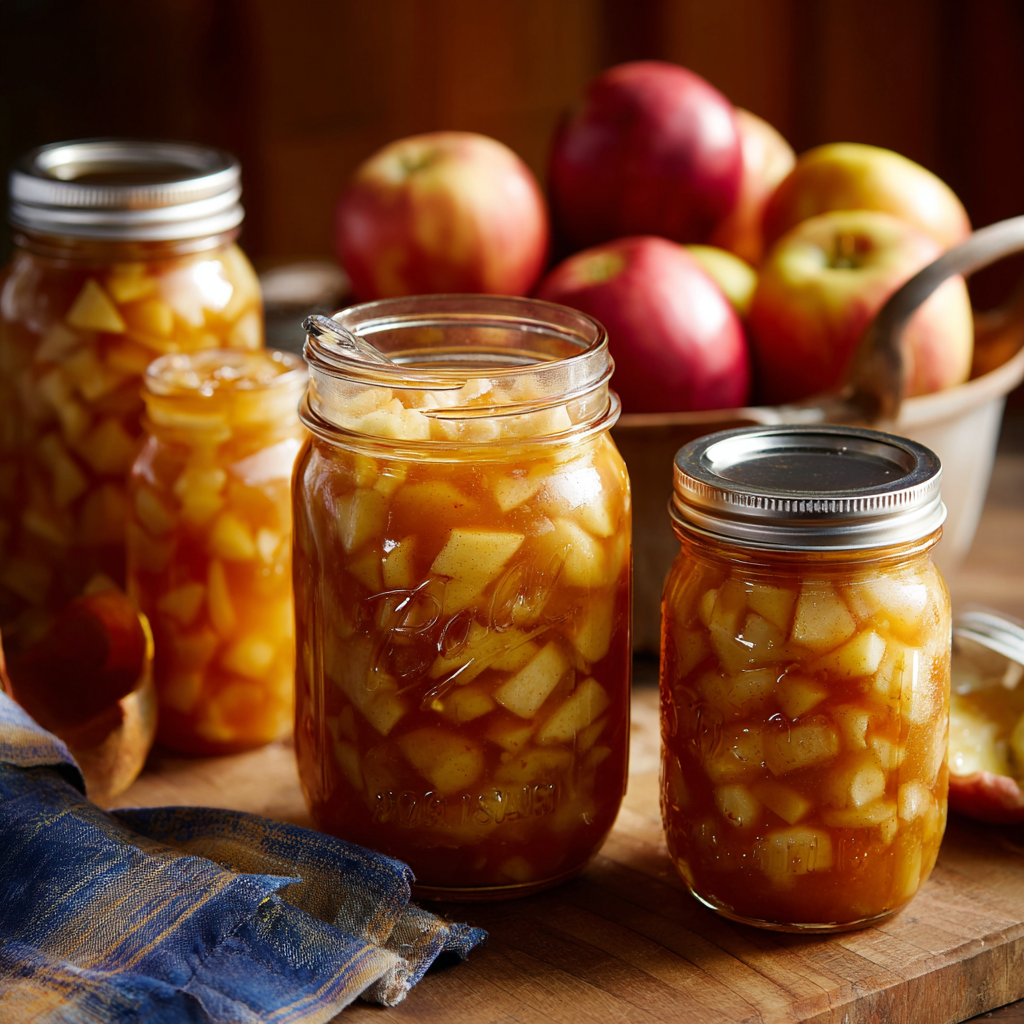
Here’s everything you’ll need for this epic double batch. This makes enough to fill 14 pint jars, which is enough for 7 or 8 pies! Talk about a return on investment.
- 24 cups sliced, peeled, cored apples (about 5–6 lbs): This is your star player! I love a mix of firm, tart apples like Granny Smith for structure and sweeter ones like Honeycrisp or Fuji for depth. Chef’s Tip: Soak them in that lemon water as you go to keep them from turning brown and sad.
- 5 ½ cups granulated sugar: It seems like a lot, but remember, this is for many pies! It sweetens and helps preserve the filling.
- 1 ½ cups ClearJel®: This is non-negotiable for safe canning! Don’t use regular cornstarch or flour; they break down and get cloudy in the jar. ClearJel is a modified cornstarch that stays stable. Find it online or in canning supply stores.
- 3 tsp ground cinnamon, 1 tsp ground nutmeg, 1 tsp ground allspice: The holy trinity of pie spice. The allspice is my “twist”—it adds a warm, complex note that makes people ask, “What is *in* this?”
- 5 cups apple juice: Using juice instead of just water gives the syrup an incredible apple-forward intensity. Use a good-quality, unfiltered juice for the best flavor.
- 2 ½ cups cold water: Helps create the liquid base for our syrup.
- 1 cup lemon juice: Crucial for acidity, which is a big part of safe canning. It also brightens all the other flavors and prevents browning.
- 2 tbsp vanilla extract (twist) & 2 tbsp pure maple syrup (twist): Here’s where we make it truly *Feastical*. The vanilla adds a warm, aromatic sweetness, and the maple syrup brings a rich, earthy depth that pairs perfectly with apples. It’s a game-changer!
- 14 Ball® or Kerr® Pint (16 oz) Jars, with new lids and bands: Always use jars designed for canning and never reuse lids—the sealing compound is one-time-use only.
Let’s Get Preserving: Your Step-by-Step Guide
Okay, team! Let’s do this. Read through all the steps first, and remember: organization is your best friend in canning. I like to get all my jars washed and my equipment laid out before I even turn on the stove.
Step 1: The Apple Prep Party
First, get a giant bowl and fill it with water mixed with a good glug of lemon juice (about 1 tbsp per cup of water). As you peel, core, and slice your apples (about 1/2-inch thick slices are perfect), toss them right into the lemon water bath. This keeps them looking fresh and prevents them from oxidizing and turning brown. Once they’re all prepped, drain them well in a colander. You want them ready to go when your syrup is hot!
Step 2: Building the Luxurious Syrup Base
In your largest, heaviest-bottomed pot (I’m talking a massive 10-12 quart capacity), whisk together the granulated sugar, ClearJel®, and all your spices (cinnamon, nutmeg, allspice). Whisking the dry ingredients first prevents the ClearJel from clumping when you add liquid. Now, slowly—and I mean slowly—pour in the apple juice and cold water while whisking constantly. You’re making a smooth slurry.
Step 3: Cook to Thicken
Place the pot over medium-high heat. Bring the mixture to a simmer, stirring constantly with a sturdy wooden spoon or heat-proof spatula. It will start to thicken and will eventually come to a full, rolling boil. Once it’s bubbling thickly, let it cook for one more minute. You’ll know it’s ready when it’s glossy and thick enough to coat the back of your spoon. Remove it from the heat.
Step 4: The Flavor Bomb Finale
Quickly stir in the 1 cup of lemon juice, the 2 tablespoons of vanilla extract, and the 2 tablespoons of maple syrup. It will bubble and sizzle a bit and smell absolutely incredible. This is the best part!
Step 5: Bring in the Apples
Immediately fold all of those drained apple slices into the hot syrup. You need to work relatively quickly here. Return the pot to the heat and cook the apple mixture for exactly 5 minutes, stirring gently but constantly. You’re not trying to cook the apples to mush—just heat them through and get them perfectly coated. The filling will be very thick. Remove from heat.
Step 6: Jar It Up!
While the filling was cooking, your canning pot with its boiling water bath should have been heating up, and your jars should be kept hot (I keep mine in a low oven or in hot water until I need them). Using a ladle and a canning funnel (a lifesaver for keeping jar rims clean!), carefully ladle the hot pie filling into the hot pint jars, leaving a full 1-inch of headspace at the top. Remove any air bubbles by sliding a small non-metallic utensil around the inside of the jar. Wipe the rims impeccably clean with a damp paper towel—this is critical for a good seal!
Step 7: Process for Safety
Place a hot, new lid on each jar and screw on the band until it’s fingertip-tight (snug, but don’t Hercules it). Using your jar lifter, carefully lower the jars into the boiling water bath, ensuring they are covered by at least 1-2 inches of water. Process the pints for 25 minutes (adjusting for altitude if necessary).
Step 8: The Hardest Part: Waiting
After processing, carefully remove the jars and place them on a towel-lined countertop. Listen for the most satisfying sound in the world: the triumphant *pop* *pop* *pop* of the jars sealing as they cool. Let them sit, undisturbed, for 12-24 hours. Then, check that each lid is sealed by pressing on the center—if it doesn’t flex, you’ve succeeded! Label your beautiful jars with the date and store them in a cool, dark place.
How to Use Your Liquid Gold
When that pie craving strikes, it’s showtime! Let your canned filling come to room temperature, or give it a quick warm-up in a saucepan if you’re in a hurry. Pour it into your favorite homemade or store-bought pie crust, add a top crust, crimp the edges, vent the top, and bake at 375°F (190°C) for about 45-55 minutes, or until the crust is golden brown and the filling is bubbly. That’s it! You’ve just made a “from-scratch” pie on a random Wednesday. You’re a legend.
Make It Your Own: Delicious Variations
The beauty of this base recipe is how adaptable it is! Here are a few ways to play with the flavors:
- Bourbon-Spiced: Replace 1/2 cup of the apple juice with 1/2 cup of good bourbon for a rich, grown-up twist.
- Cardamom & Ginger: Swap the nutmeg and allspice for 1 tsp ground cardamom and 1 tbsp of finely grated fresh ginger for a bright, exotic flavor profile.
- Sugar-Free Option: Use a sugar-free apple juice and replace the granulated sugar with a canning-safe sweetener like erythritol, following the manufacturer’s conversion chart.
- Pear-Apple Medley: Replace half of the apples with firm, peeled and sliced pears (like Bosc) for a more complex fruit flavor.
- cranberry-Apple Crush: Stir in 2 cups of fresh or frozen cranberries with the apples for a gorgeous pink hue and a delicious tart kick—perfect for the holidays!
Beau’s Kitchen Confidential
This recipe has evolved in my kitchen over the years. The first time I made it, I was so nervous about food safety that I undercooked the syrup. Let’s just say my first pie was a bit…soupy. Live and learn! The ClearJel step is crucial for that perfect sliceable consistency. I also learned that a podcast or a great playlist is essential for the apple-peeling phase—it turns a chore into a party.
My other big tip? Enlist a friend or your kids! Turn it into a canning party. You handle the hot stuff, and they can be on apple prep or lid-wiping duty. It makes the work fly by and you end up with not just a pantry full of pie, but a heart full of great memories, too. That’s what Feastical is all about.
Your Apple Pie Filling Questions, Answered!
Q: Can I use cornstarch instead of ClearJel?
A: I really, really don’t recommend it for canning. Cornstarch breaks down under high heat and over time, leading to a thin, runny filling in the jar and a cloudy appearance. ClearJel is formulated to stay stable and thick through the canning process and storage. For food safety and quality, it’s worth seeking out.
Q: My filling is super thick right out of the jar, is that normal?
A: Absolutely! It’s supposed to be very thick. This is a concentrated pie filling. As it bakes in the pie, the juices from the apples will release and it will thin out to the perfect pie consistency. If it seems too thick to spread in the crust, just let it sit for 10 minutes after opening the jar—it will loosen up a bit.
Q: Why did my liquid separate in the jar after canning?
A: A little separation is totally normal, especially with fruit. It’s often just natural fruit juice. Simply give the jar a good stir when you open it before adding it to your pie crust. To minimize it, make sure you’re using the correct amount of ClearJel and not overcooking the apples when you add them to the syrup.
Q: How long do processed jars last?
A: For the best quality and flavor, enjoy your canned pie filling within 12-18 months. The acidity and sugar mean it’s safe much longer, but the color and texture are at their peak within the first year. Always store your jars in a cool, dark, dry place.

Classic Apple Pie Filling for Canning
- Total Time: 14–16 hours including cooling
Description
Skip the peeling-and-simmering panic on a weeknight—this homemade apple pie filling lets you bottle the essence of autumn. With tender, spiced apples, a touch of vanilla and maple syrup, and a perfectly thick syrup base, you’ll have ready-to-bake pies at a moment’s notice. This double batch fills 14 pint jars—enough for 7–8 pies!
Ingredients
-
24 cups sliced, peeled, cored apples (~5–6 lbs; mix firm and sweet varieties)
-
5 ½ cups granulated sugar
-
1 ½ cups ClearJel® (not cornstarch)
-
3 tsp ground cinnamon
-
1 tsp ground nutmeg
-
1 tsp ground allspice
-
5 cups apple juice
-
2 ½ cups cold water
-
1 cup lemon juice
-
2 tbsp vanilla extract
-
2 tbsp pure maple syrup
-
14 pint jars with new lids and bands
Instructions
Prep: Wash jars, keep them hot. Preheat water bath to boiling.
-
Apple Prep: Peel, core, and slice apples. Place in lemon water to prevent browning, then drain.
-
Syrup Base: In a large pot, whisk sugar, ClearJel®, cinnamon, nutmeg, and allspice. Slowly whisk in apple juice and water to make a smooth slurry.
-
Cook Syrup: Bring to a simmer over medium-high heat, stirring constantly. Boil 1 minute until thick and glossy. Remove from heat.
-
Flavor Finish: Stir in lemon juice, vanilla, and maple syrup.
-
Add Apples: Fold in drained apple slices, cook 5 minutes gently, just to coat apples without softening too much.
-
Jar Filling: Ladle hot filling into hot jars, leaving 1-inch headspace. Remove air bubbles, wipe rims clean. Seal with lids and bands fingertip-tight.
-
Process: Boiling water bath for 25 minutes (adjust for altitude). Cool 12–24 hours, check seals.
Notes
-
ClearJel® is essential for thick, shelf-stable filling.
-
Do not overcook apples—they should be tender, not mushy.
-
Keep jars hot to prevent breakage.
-
Let jars sit undisturbed during cooling for proper sealing.
- Prep Time: 45–60 min
Nutrition
- Calories: 180 Cal per 1 cup of filling, approximate
- Fat: 0g
- Carbohydrates: 45g
- Protein: 0.5g
Nutritional Information*
*This is an approximate estimate for the entire filling per 1-pint jar, prepared as written. Actual values will vary based on specific ingredients used.
Per 1 Pint Jar (Approx.): Calories: ~320 | Carbohydrates: 83g | Sugars: 62g | Protein: 0.5g | Fat: 0.2g | Fiber: 4g | Sodium: 5mg
Final Thoughts
Embarking on the project of canning your own apple pie filling is about more than just stocking a pantry. It’s an act of foresight, a gesture of kindness to your future self. It’s about reclaiming the ability to create something profoundly comforting and celebratory on your own terms, on your own timeline. The initial investment of time—the peeling, the stirring, the waiting—pays dividends for months to come in the form of effortless desserts, impromptu gatherings, and the deep satisfaction of self-reliance.
This jar represents more than apples and spice. It holds the potential for a weeknight treat that feels like a holiday, a last-minute dessert that wows a crowd, and the unmistakable aroma of warmth and love wafting from your oven on the darkest of days. It’s a taste of autumn, preserved at its peak, ready to bring light to the grayest winter afternoon. So, here’s to less sighing and more pie. Here’s to preserving possibility, one jar at a time. Now, go forth and can