Spooky, Soft & Irresistible: My Pudding Halloween Cookies Are Here to Haunt Your Cookie Jar!
Hey friends! Beau here from Feastical, waving a flour-dusted spatula at ya. Can you feel it? That crisp autumn air, the rustle of fallen leaves, and the giddy anticipation of Halloween creeping closer? It’s officially baking season, and today I’m sharing a recipe that’s become the MVP of my Halloween spread – my **ultra-soft, secretly fluffy Pudding Halloween Cookies**! 🎃👻
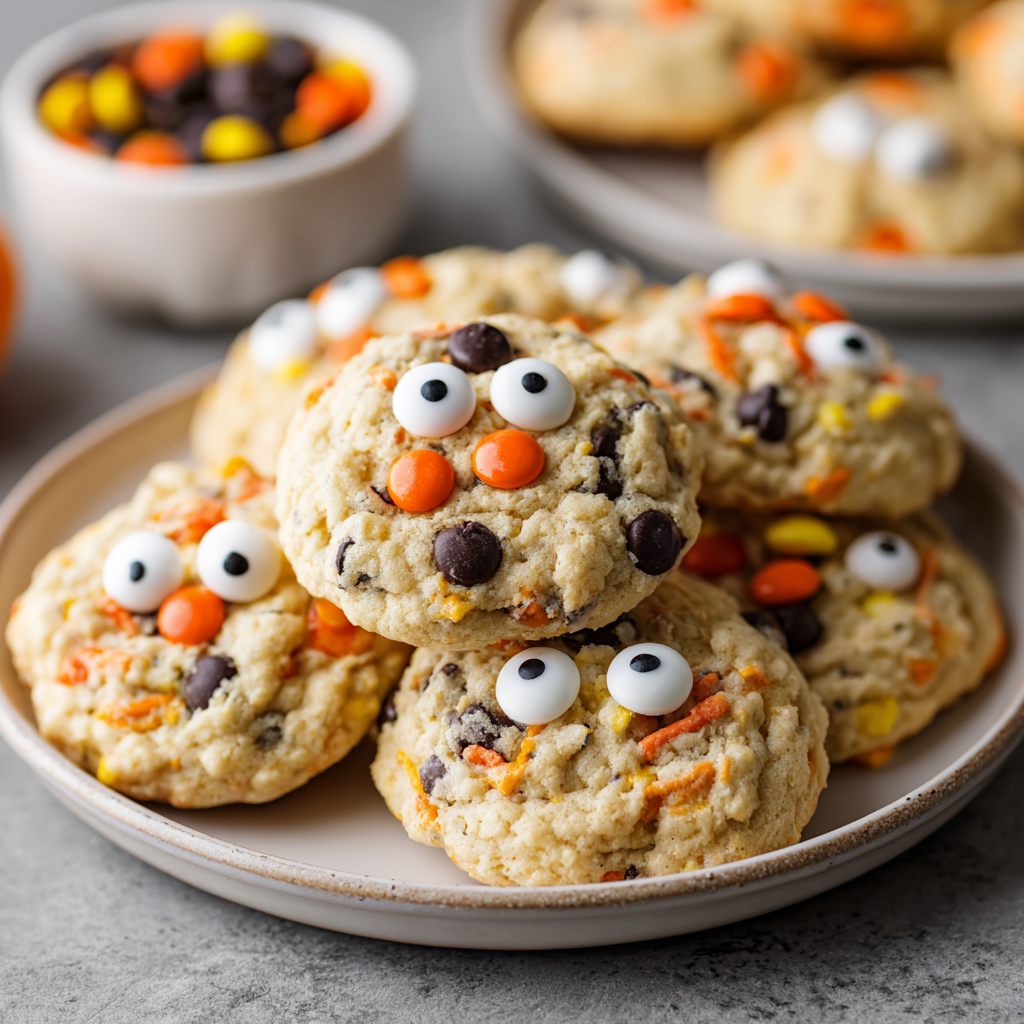
Picture this: cookies so tender they practically melt in your mouth, packed with crunchy Halloween M&M’s, glittery sprinkles, and those gloriously goofy candy eyes peering up at you. They’re like a party in cookie form! And here’s my not-so-spooky secret weapon: a box of **instant vanilla pudding mix**. Yep, that humble pantry staple is the magic dust that gives these cookies their legendary chew and cloud-like softness. It locks in moisture like a champ, so even days later (if they last that long!), they taste fresh-baked.
Whether you’re hosting a monster mash, prepping for trick-or-treaters (these beat store-bought candy any day!), or just craving a festive kitchen project with the kiddos, these cookies are your golden ticket. They’re simple enough for baking newbies but impressive enough to make you look like a pastry wizard. So grab your favorite mixing bowl, put on that “Monster Mash” playlist, and let’s bake up some edible Halloween joy together!
Why These Cookies Spark Serious Halloween Nostalgia
These cookies? Oh, they’ve got history. Picture little 8-year-old Beau, absolutely vibrating with excitement the week before Halloween. My mom, the OG kitchen hero, would always declare one afternoon “Monster Cookie Day.” We’d blast spooky sound effects CDs (remember those?!), tie on our most ridiculous aprons, and turn the kitchen into a sprinkle-covered war zone. Her original recipe was good… but kinda basic. Think standard chocolate chip cookies with orange M&M’s tossed in.
Fast forward to my early Feastical days. I was obsessed with creating the *perfect* soft cookie. One rainy October afternoon, experimenting with pudding mix (inspired by an old bakery trick!), I tossed in a handful of leftover Halloween candy and those wiggly eyes my niece adored. The result? Pure magic! That first bite transported me straight back to Mom’s kitchen – the laughter, the fake spider webs draped over the cabinets, the sheer joy of creating something silly and sweet together. Now, baking these isn’t just about the cookies; it’s about stirring up that warm, fuzzy, sugar-rush feeling of childhood Halloweens. It’s my edible hug to you and your own spooky memories.
Gathering Your Ghoulish Goods
Here’s your Halloween baking loot list! Don’t stress about exact brands – baking should be fun, not fussy. Makes about 30 perfectly portioned cookies.
- ¾ cup (170g) unsalted butter, softened – This is your flavor foundation! Unsalted lets YOU control the salt. SOFTENED is key! Leave it out for 1-2 hours, or microwave 5-second bursts until it yields gently to a finger press. Too melty? Your cookies will spread flat. Too cold? They won’t cream properly.
- ¾ cup (150g) brown sugar, packed – Packed = press it firmly into your measuring cup. Brown sugar brings deep molasses notes and chewiness. Dark brown works for extra richness!
- ¼ cup (50g) granulated sugar – The crisp-edge creator! Balances the brown sugar’s moisture.
- 1 large egg – Your binder! Room temp blends smoother. Pop a cold egg in warm water for 5 mins if you forgot.
- 1 (3.4 oz) box instant vanilla pudding mix – THE SECRET WEAPON! Not “cook-and-serve,” just “instant.” This adds incredible softness, moisture, and a subtle vanilla depth. It’s non-negotiable for that signature texture!
- 1 tsp vanilla extract – Boosts the vanilla goodness. Use pure extract if you can – the flavor sings!
- ½ tsp baking soda – Our leavening buddy! Gives just the right lift. Check it’s not expired for best results.
- ¼ tsp salt – Enhances ALL the flavors. Don’t skip it, even if you use salted butter!
- 1 ¼ cups (155g) all-purpose flour – The structure! Spoon and level it into your cup – don’t scoop straight from the bag or you’ll pack in too much.
- ¾ cup Halloween M&M’s – The classic orange, black, purple, and green! Feel free to smash a few for extra color bursts.
- ¼ cup Halloween sprinkles – Bats, pumpkins, ghosts – go wild! Long jimmies hold up better than tiny nonpareils during mixing.
- Optional: candy eyes – The personality! Press 2-3 onto each dough ball before baking. They’re hilarious and kids adore them.
Let’s Bake Some Cookie Monsters! (Step-by-Step)
Ready to create cookie magic? Follow these steps, and I’ll whisper my best kitchen hacks along the way. Remember, baking is a vibe, not a race!
- Preheat & Prep: Crank that oven to 350°F (175°C). Line your baking sheets with parchment paper – seriously, this prevents sticking and makes cleanup a dream. Don’t use wax paper! It can smoke.
- Cream the Good Stuff: In a large bowl, beat the softened butter, brown sugar, and granulated sugar together with an electric mixer (or serious elbow grease!) for 2-3 minutes. HACK: You want it light, fluffy, and pale. This incorporates air, making cookies tender. Scrape the bowl sides halfway!
- Wet Team Assemble: Beat in the egg, vanilla extract, and that magical box of instant pudding mix. Mix until it’s smooth and looks like a lovely, thick paste. HACK: The pudding mix will make it thicken significantly – that’s perfect! It means moisture magic is happening.
- Dry Team Unite: In a separate bowl, whisk together the flour, baking soda, and salt. HACK: Whisking = no baking soda lumps and even distribution. Gradually add this dry mix to your wet ingredients, mixing on low speed just until no flour streaks remain. CRUCIAL: Overmixing now = tough cookies! Stop as soon as it’s combined.
- Fold in the Fun: Time for the Halloween party! Gently fold in the M&M’s, sprinkles, and candy eyes (if using) with a spatula. HACK: Reserve a small handful of M&M’s and eyes for pressing on top of the dough balls later – makes them look extra festive!
- Scoop & Shape: Use a medium cookie scoop (about 1.5 tablespoons) or a spoon to portion the dough. Roll into balls. HACK: Roll them taller than wide (like little domes) – this helps them bake up thicker. Place them at least 2 inches apart on your prepared sheets – they need breathing room! Press a few extra M&M’s and candy eyes onto the tops if you reserved some.
- Bake to Perfection: Slide those sheets into your preheated oven. Bake for 9-11 minutes. HACK: They’re DONE when the edges look set and are lightly golden, but the centers still look soft, puffy, and slightly underbaked. They firm up as they cool! Don’t wait for brown centers, or you’ll lose the chew.
- Cool Like a Pro: Let the cookies cool on the baking sheet for 5 minutes. This is non-negotiable! They’re still setting up. Then, carefully transfer them to a wire rack to cool completely. Resist the urge to eat one piping hot… okay, maybe just one. But they truly shine once fully cooled!
Showtime! Serving Your Spooky Sensations
Presentation is part of the Halloween fun! Pile these cookies high on a creepy cake stand or a rustic wooden board. For extra drama, add fake spider webs, plastic spiders, or mini pumpkins around the platter. They’re perfect with a cold glass of milk (maybe dyed green for fun?), a mug of hot apple cider, or even crumbled over vanilla ice cream for a next-level “Monster Mash” sundae. These cookies are social butterflies – they love being the star of potlucks, classroom parties, or your Netflix-and-chill Halloween movie marathon. Just watch those candy eyes disappear first!
Mix It Up! Spooky & Delicious Twists
Got an idea? Run with it! Here are some fun spins:
- Chocolate Monster Mash: Swap the vanilla pudding for chocolate instant pudding and use chocolate chips instead of some M&M’s. Deep, dark, decadent monsters!
- Peanut Butter Boo-ters: Use peanut butter M&M’s and add ½ cup creamy peanut butter to the wet ingredients (reduce butter to ½ cup). Peanut butter pudding mix is amazing here too!
- Gluten-Free Ghouls: Substitute the all-purpose flour with a 1:1 gluten-free baking blend. Ensure your pudding mix and candies are GF too.
- Salty-Sweet Skeletons: Fold in ½ cup crushed pretzel pieces along with the candy. The salty crunch is addictive!
- Candy Corn Crazy: Swap Halloween M&M’s for candy corn and yellow/orange sprinkles. Pure nostalgic Halloween!
Beau’s Behind-the-Scenes Cookie Chronicles
Confession time: My first batch of these years ago was a near-disaster! I got overzealous with the sprinkles (think: ½ cup instead of ¼ cup). The dough turned into a sticky, colorful sludge, and the cookies spread like pancake ghosts in the oven. Lesson learned: sprinkles add fun, but too many add liquid and chaos! Now I stick to the ¼ cup sweet spot. Another evolution? The candy eyes. I used to mix them all in, but they’d often melt or flip upside down during baking. Pressing them firmly on top *after* shaping the dough balls was a game-changer – now every cookie gets a perfectly creepy stare. Over the years, this recipe has become my edible Halloween card to friends and readers. It’s evolved, had a few funny fails, but ultimately, it’s about sharing joy (and sugar!). One reader even told me she bakes them year-round, swapping the candy for seasonal colors – now THAT’S the spirit!
Your Spooky Cookie Questions, Answered!
Let’s tackle those common cookie conundrums:
Q: My cookies spread too much and got flat! What happened?
A: Ah, the dreaded flat cookie! Likely culprits: 1) Butter was too warm/melty. It MUST be softened but still cool. 2) Over-creaming the butter/sugar (creates too much air that collapses). Cream just until fluffy, not super pale. 3) Hot baking sheets. Always let sheets cool completely between batches or use multiple sheets. 4) Dough was too warm. If your kitchen is hot, chill the dough balls for 15-20 mins before baking.
Q: Can I make the dough ahead?
A: Absolutely! Scoop the dough balls onto a parchment-lined plate or sheet, cover tightly, and refrigerate for up to 3 days. Let them sit at room temp for 20 mins before baking. You can also freeze the balls on a sheet, then transfer to a freezer bag for up to 2 months. Bake from frozen, adding 1-2 extra minutes.
Q: Why is the pudding mix so important? Can I skip it?
A: The pudding mix is the MVP! It contains starches and gelatin that absorb moisture during baking and keep it locked in, creating that signature soft, tender, almost cakey-but-chewy texture that stays amazing for days. Skipping it will give you a standard (still tasty!) sugar cookie, but you’ll lose that magical melt-in-your-mouth quality. Don’t skip the magic dust!
Q: My candy eyes melted/disappeared! Help!
A: Some candy eyes are more heat-sensitive than others. Press them firmly INTO the dough ball (not just sitting on top) *after* shaping, just before baking. Avoid placing them where dough might spread over them. If they still melt, try adding them immediately AFTER baking, while the cookies are still hot and soft – they’ll stick as the cookie cools!

“Pudding” Halloween Cookies
- Total Time: 40 mins
Description
These ultra-soft cookies are Halloween magic in every bite—chewy, fluffy, and bursting with festive M&M’s, sprinkles, and candy eyes. The secret ingredient? Instant vanilla pudding mix! It locks in moisture for that melt-in-your-mouth texture that stays fresh for days. Perfect for trick-or-treat swaps, parties, or cozy nights in with a spooky movie.
Ingredients
-
¾ cup (170g) unsalted butter, softened
-
¾ cup (150g) brown sugar, packed
-
¼ cup (50g) granulated sugar
-
1 large egg (room temp)
-
1 (3.4 oz) box instant vanilla pudding mix
-
1 tsp vanilla extract
-
½ tsp baking soda
-
¼ tsp salt
-
1 ¼ cups (155g) all-purpose flour
-
¾ cup Halloween M&M’s
-
¼ cup Halloween sprinkles
-
Optional: candy eyes
Instructions
-
Preheat oven to 350°F (175°C). Line baking sheets with parchment.
-
Cream butter + sugars until fluffy (2–3 mins).
-
Beat in egg, vanilla, and pudding mix until smooth.
-
Whisk & add flour, baking soda, and salt. Mix just until combined.
-
Fold in M&M’s, sprinkles, and candy eyes (reserve some for topping).
-
Scoop 1.5 tbsp dough, roll into balls, and place 2″ apart. Top with extra M&M’s/eyes.
-
Bake 9–11 mins, until edges are set and centers soft.
-
Cool 5 mins on tray, then transfer to a rack.
Notes
-
Chill dough balls 15 mins if your kitchen is warm—prevents spreading.
-
Swap vanilla pudding for chocolate for a darker, richer “monster” cookie.
-
Freeze dough balls up to 2 months; bake straight from frozen (+1–2 mins).
- Prep Time: 15 mins
- Cook Time: 10 mins/batch
Nutrition
- Calories: 160Cal per cookie, approx
- Fat: 8g
- Carbohydrates: 20g
Nutritional Nibbles (Approximate per Cookie)
Calories: ~160 | Fat: 8g | Carbs: 20g | Protein: 2g | Sugar: 12g
Remember, these are estimates and can vary based on specific ingredients and cookie size. They’re a treat – enjoy them mindfully and savor every spooky bite!
Final Thoughts: Why These Cookies Are a Halloween Must-Bake
There’s something truly magical about baking during Halloween. It’s not just about the sugar rush—it’s about the nostalgia, the creativity, and the joy of sharing something whimsical with the people you love. These Pudding Halloween Cookies are more than just a recipe; they’re a tradition in the making.
Whether you’re baking them with kids, gifting them to neighbors, or sneaking one (or three) for yourself with a cup of coffee, these cookies bring a little bit of spooky sweetness to any October day. The pudding mix ensures they stay impossibly soft, the candy eyes make them irresistibly fun, and the sprinkles? Well, they’re just pure happiness in edible form.