The Ultimate Moist Chocolate Cake: Your New Go-To Recipe for Pure Joy
Hey friends, Beau here! Let’s talk about magic. Not the rabbit-out-of-a-hat kind, but the kind that happens when flour, sugar, cocoa, and a whole lot of heart come together in a warm oven. I’m talking about that moment you slide a cake tester into a deeply bronzed chocolate cake and it comes out clean. That’s the magic I live for, and it’s the magic I want to share with you today.
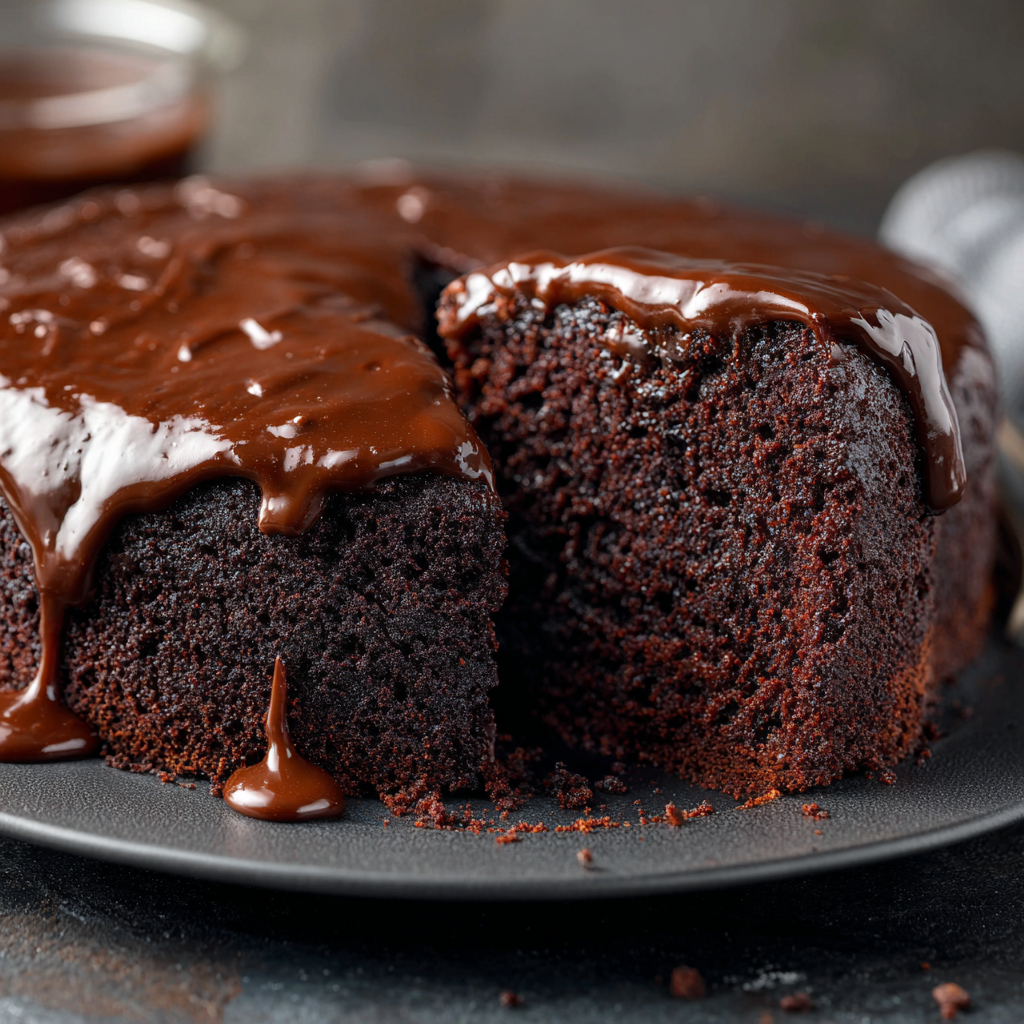
This isn’t just *any* chocolate cake recipe. This is the Ultimate Moist Chocolate Cake—the one I’ve tweaked, tested, and triumphantly served for years. It’s the cake that gets requested for birthdays, potlucks, and “just because it’s Tuesday” nights. It’s deeply chocolatey without being bitter, incredibly tender without being dense, and sweet in the most satisfying way. The secret? A combination of rich cocoa, tangy buttermilk, and yes, a generous pour of hot coffee that amplifies the chocolate flavor to superstar levels. Don’t worry, it won’t taste like coffee—it just tastes like more and better chocolate. So, tie on your favorite apron, clear your counter, and let’s bake a memory. This cake is about to become your kitchen’s new best friend.
Why This Cake? A Slice of Memory
Every great recipe has a story, and this one starts in my Grandma Mo’s kitchen. She was a woman who believed chocolate was a primary food group and that a cake’s worth was measured by the silence that fell after the first bite. Her version was legendary, always dusted with a snowdrift of powdered sugar and served with a glass of cold milk. My job, as her official “batter-licker,” was to scrape the bowl. I remember the shock of the thin, almost soupy batter. “Grandma,” I’d whisper, “is it supposed to be like this?” She’d just wink and say, “That’s where the magic hides, Beau.”
And she was right. That loose batter baked up into the most impossibly moist, cloud-soft cake I’d ever eaten. This recipe is my homage to hers—updated with a touch more cocoa and a dash of vanilla, but holding true to her fundamental wizardry. When I pull this cake out of the oven, the smell alone transports me right back to her linoleum-floored kitchen. It’s more than dessert; it’s a warm, chocolatey hug from the past. Now, let’s make some new memories with it.
Gathering Your Chocolate Dream Team
Here’s everything you’ll need. I’ve included my chef-y notes next to each one because knowing your ingredients is the first step to kitchen confidence!
- 3 ½ cups all-purpose flour: The sturdy foundation. For a slightly lighter crumb, you can swap in cake flour, but all-purpose works beautifully here.
- 4 cups granulated white sugar: Yes, it’s a lot! This balances the intense cocoa and creates that tender, moist texture. For a deeper flavor, you can use 2 cups white and 2 cups light brown sugar.
- 1 ½ cups unsweetened cocoa powder: The star! Use a good-quality natural or Dutch-process cocoa. Dutch-processed will give you a darker, slightly mellower cake. This is where the deep, rich flavor lives.
- 3 teaspoons baking soda: Our leavening agent. It reacts with the acidic buttermilk and coffee to give the cake its magnificent rise. Make sure it’s fresh!
- 1 ½ teaspoons salt: The flavor enhancer. It makes the chocolate taste more like chocolate. Never skip it.
- 4 large eggs: They provide structure and richness. Bring them to room temperature for a smoother, more cohesive batter.
- 2 cups buttermilk: The secret weapon for tenderness and a subtle tang. Chef’s Hack: No buttermilk? No panic. Add 2 tablespoons of white vinegar or lemon juice to a measuring cup, then top with regular milk to make 2 cups. Let it sit for 5 minutes until it curdles slightly. Works like a charm!
- 1 cup melted butter: For luxurious moisture and flavor. I use unsalted. You can also use an equal amount of neutral oil (like vegetable or canola) for an even more moist crumb.
- 2 tablespoons vanilla extract: That’s right, tablespoons! Vanilla is the supporting actor that makes the chocolate star shine brighter.
- 2 cups hot coffee: The magic potion. It blooms the cocoa powder, deepening its flavor. The cake will NOT taste like coffee—I promise. If you’re avoiding caffeine, use hot decaf or even just hot water in a pinch.
- Optional: 1 teaspoon cinnamon or ½ teaspoon espresso powder: My pro-tips for extra depth. A pinch of cinnamon adds warmth, while a bit of instant espresso powder punches up the chocolate flavor even more.
Let’s Bake: Step-by-Step to Chocolate Heaven
Ready? Let’s do this. Read through all the steps first, then let’s get mixing. Remember, baking is a vibe—put on some tunes and enjoy the process.
- Preheat & Prep: Fire up your oven to 350°F (175°C). This gives it time to reach the perfect, steady temperature. Now, grab your pans. For two 9-inch round cake pans or one 9×13-inch pan, give them a good coat of butter or non-stick spray, then dust with flour or a spoonful of cocoa powder (to avoid white specks!). Tap out the excess. Lining the bottoms with parchment paper is my foolproof insurance policy for easy release.
- Mix the Dry Team: In a large bowl—trust me, you’ll need the space—whisk together the flour, sugar, cocoa powder, baking soda, salt, and any optional add-ins like cinnamon. Whisking does two things: it combines everything evenly and aerates the mixture, which is a great head start for a tender cake.
- Meet the Wet Team: In another bowl, crack in your room-temp eggs and give them a light beat. Then, whisk in the buttermilk, melted (but slightly cooled) butter, and that glorious vanilla. It’ll look a bit lumpy and separated at first, but just whisk until it’s a smooth, homogenous mixture.
- The Big Merge: Pour the wet ingredients into the dry ingredients. Now, here’s a crucial tip: mix until just combined. A few streaks of flour are okay! Overmixing is the enemy of tenderness, as it develops the gluten in the flour and can lead to a tough cake. Use a spatula and fold gently.
- The Magic Pour: Slowly and carefully, stir in the hot coffee. The batter will be very thin—this is normal and exactly what you want! Don’t freak out. This liquid batter is what steams in the oven, creating that unbelievable, melt-in-your-mouth moisture. Grandma Mo knew her stuff.
- Pan & Bake: Carefully divide the batter evenly between your prepared pans. Slide them into the center of your preheated oven. Resist the urge to open the oven door for at least 30 minutes! Let the heat work its magic. Bake for 35-40 minutes, or until a toothpick or cake tester inserted into the center comes out with a few moist crumbs (not wet batter).
- The Patience Test: This is the hard part. Let the cakes cool in their pans on a wire rack for about 15-20 minutes. Then, run a knife around the edges and invert them onto the rack to cool completely. Frosting a warm cake is a recipe for a delicious but sloppy mess. Let’s avoid the heartbreak.
Serving It Up: The Grand Finale
Once your cakes are completely cool, the fun begins! This cake is a blank canvas for your favorite frosting. A rich chocolate ganache poured over the top is pure decadence. A fluffy cream cheese frosting offers a lovely tangy contrast. For a classic birthday vibe, you can’t beat a thick layer of chocolate buttercream. If you’re keeping it simple, a dusting of powdered sugar or a pile of fresh berries and a dollop of whipped cream is absolute perfection.
Slice with a sharp knife dipped in hot water for clean cuts. Serve it on your prettiest plate, maybe with a scoop of vanilla bean ice cream on the side. Watch as the first slice disappears, followed by happy, chocolate-smeared smiles. That’s the whole point, isn’t it?
Make It Your Own: Recipe Variations
One great recipe should inspire many. Here are a few ways to play with this chocolate cake base:
- Mexican Chocolate Twist: Add 1 ½ teaspoons of cinnamon and a tiny pinch of cayenne pepper to the dry ingredients. Frost with a cinnamon-spiced buttercream.
- Chocolate Peanut Butter Paradise: Swirl 1 cup of creamy peanut butter into your chosen frosting, or spread a layer between the cake layers. Garnish with chopped salted peanuts.
- Black Forest Style: Poke small holes in the baked and cooled cake layers and brush with a bit of cherry liqueur or syrup. Fill and top with whipped cream and dark sweet cherries.
- Dairy-Free Delight: Use your favorite plant-based milk for the buttermilk hack, substitute the butter with an equal amount of coconut oil or vegan butter, and ensure your chocolate is dairy-free.
- Cupcake Craze: This batter makes fantastic cupcakes! Line muffin tins and fill cups ⅔ full. Bake for 18-22 minutes. You’ll get about 36 decadent cupcakes perfect for parties.
Beau’s Chef Notes & Kitchen Stories
Over the years, I’ve learned a few things about this cake. First, it’s virtually foolproof—it has forgiven me for distracted baking more than once. Second, it tastes even better the next day. The flavors meld and the crumb becomes even more tender. I often bake it a day ahead of an event.
One time, I was filming a tutorial for the blog and, in my chatty excitement, I accidentally added the coffee before combining the wet and dry ingredients. I had a momentary panic, then just mixed it all together anyway. You know what? It baked up exactly the same. This recipe is resilient and wants to be delicious. So don’t stress. Have fun with it. That’s the real secret ingredient.
FAQs & Troubleshooting: Your Questions, Answered
- Q: Can I really taste the coffee?
A: Nope! The coffee simply intensifies the rich, dark chocolate flavor. If you’re serving someone who is sensitive to the taste, they’ll never know it’s there. It’s a chef’s trick for maximum chocolate impact. - Q: My batter was so thin I thought I messed up. Did I?
A: You did everything perfectly! This is a hallmark of this recipe. That thin, pourable batter is the key to the cake’s legendary moist texture. Have faith! - Q: Can I make this cake ahead of time?
A: Absolutely. Bake the layers, let them cool completely, wrap them tightly in plastic wrap, and freeze for up to a month. Thaw at room temperature before frosting. You can also store the frosted cake, covered, at room temperature for a day or in the fridge for up to 3 days. - Q: The center of my cake sank a little. What happened?
A: This usually means it needed just a few more minutes in the oven, or your baking soda might be old. Next time, test for doneness in a couple of spots, and make sure your leavener is fresh.

Ultimate Moist Chocolate Cake : Deep, Rich & Unforgettable
Description
Ultimate Moist Chocolate Cake
Why You’ll Love It
Rich, deeply chocolatey, and incredibly moist—this cake uses cocoa, buttermilk, and a splash of hot coffee to amplify flavor. Perfect for birthdays, potlucks, or “just because.”
Ingredients
Dry Ingredients:
-
3 ½ cups all-purpose flour
-
4 cups granulated sugar (or 2 cups sugar + 2 cups light brown sugar)
-
1 ½ cups unsweetened cocoa powder
-
3 tsp baking soda
-
1 ½ tsp salt
-
Optional: 1 tsp cinnamon or ½ tsp instant espresso powder
Wet Ingredients:
-
4 large eggs, room temperature
-
2 cups buttermilk (or 2 cups milk + 2 tbsp vinegar, sit 5 min)
-
1 cup melted butter (or neutral oil)
-
2 tbsp vanilla extract
-
2 cups hot coffee (or hot water/decaf)
Instructions
1. Prep
Preheat oven to 350°F (175°C).
Grease and flour 2×9-inch round pans or 1x9x13-inch pan. Line with parchment for easy release.
2. Mix Dry Ingredients
In a large bowl, whisk together flour, sugar, cocoa, baking soda, salt, and optional add-ins.
3. Mix Wet Ingredients
In another bowl, beat eggs lightly. Whisk in buttermilk, melted butter, and vanilla until smooth.
4. Combine
Pour wet into dry ingredients. Fold gently until just combined. Batter will be slightly lumpy—do not overmix.
5. Add Coffee
Stir in hot coffee slowly. Batter will be thin—this is normal and key to a moist cake.
6. Bake
Divide batter into prepared pans. Bake 35-40 minutes (9×13-inch pan may take slightly longer).
Toothpick should come out with a few moist crumbs.
7. Cool
Cool 15-20 minutes in pans, then remove to a wire rack. Let cool completely before frosting.
Notes
-
Thin batter is normal—key to moistness.
-
Coffee intensifies chocolate without tasting like coffee.
-
To avoid sinking centers, ensure fresh baking soda and check doneness in multiple spots.
-
Cake can be baked ahead: wrap cooled layers, freeze up to a month, thaw before frosting.
Nutritional Information (Per Serving)
Please note: This is an approximate estimate for 1 of 20 slices, calculated without frosting. It’s a treat, meant to be savored and shared!
- Calories: ~340
- Total Fat: 15g
- Saturated Fat: 9g
- Carbohydrates: 48g
- Fiber: 3g
- Sugars: 30g
- Protein: 4g
Prep Time: 15 mins | Bake Time: 40 mins | Total Time: 55 mins | Servings: 20
Final Thoughts: Share the Love
And there you have it, friends—my heart, in chocolate cake form. This recipe is more than a list of instructions; it’s an invitation to create something wonderful, to fill your home with an incredible aroma, and to gather people you love around the table.
I’d love to hear how your baking adventure goes! Did you add a twist? Did it become an instant family favorite? Tag me @Feastical or use #FeasticalRecipe so I can see your beautiful creations. Remember, in this kitchen and in life, the sweetest moments are the ones we share. Now, go preheat that oven and bake some joy.
With a full heart and an empty mixing bowl,
Beau