The Magical, Crispy Cure for Your Sourdough Discard Blues
Hey friend, Beau here. Can we have a quick, totally judgment-free heart-to-heart about that jar lurking in the back of your fridge? You know the one. It’s got that familiar, tangy scent, and it’s filled with the sourdough starter discard you just couldn’t bear to toss. You promised yourself you’d make pancakes or a coffee cake, but here we are. Again. I feel you. We’ve all been there, staring at the discard, feeling a twinge of guilt mixed with culinary indecision.
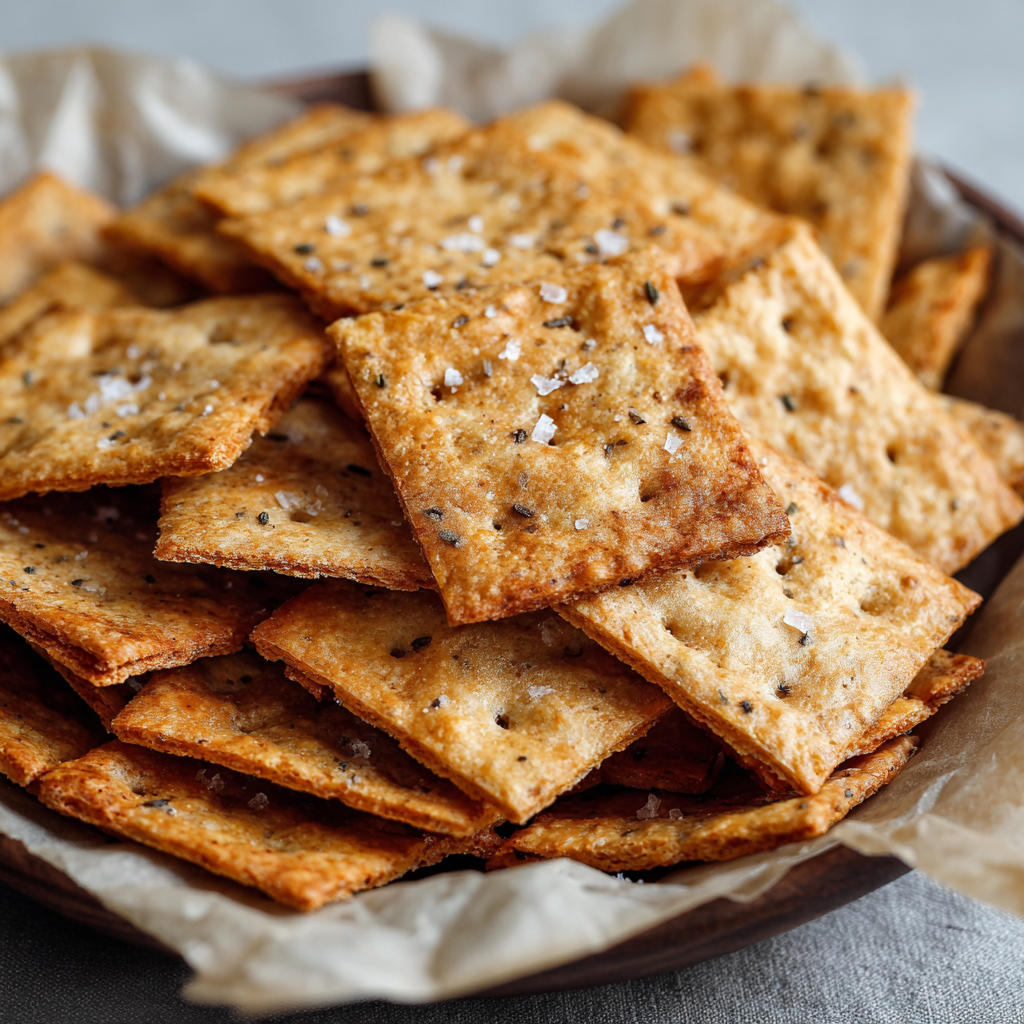
But what if I told you that in about five minutes of active effort, you could transform that humble discard into the most addictive, satisfying, and seriously impressive homemade crackers you’ve ever tasted? Crackers so crisp they sing when you break them, with a rich, buttery flavor and that subtle tang that makes sourdough so irresistible. And the best part? We’re talking three ingredients. That’s it. No kneading, no fancy rolling pins, no chilling for hours. This is the ultimate low-effort, high-reward kitchen magic, and I’m so excited to guide you through it.
At Feastical, I live for recipes that feel like a warm hug but don’t turn your kitchen into a war zone. These sourdough discard crackers are exactly that. They’re the perfect vehicle for your favorite cheese, a swoop of creamy hummus, or even just enjoyed solo as you walk past the cookie jar (we don’t judge here). They’re a fantastic way to reduce food waste, impress your friends, and finally feel like a sourdough wizard. So, let’s grab that jar, preheat the oven, and turn what felt like a chore into your new favorite snack. Trust me, once you make these, you’ll start hoarding your discard on purpose!
More Than a Snack: A Taste of Grandma’s Kitchen
This recipe always takes me back to my Grandma Lou’s kitchen. She wasn’t a fancy “sourdough baker,” but she was a queen of “waste not, want not.” Her counter was a perpetual buffet of simple, incredible food made from bits and bobs. I remember one summer afternoon, she saw me about to scrape the last of some old, thin pancake batter down the sink. “Hold on there, Beau,” she said, her eyes twinkling. She poured it onto a hot, greased sheet pan, slid it in the oven, and twenty minutes later, we were breaking apart the most delicious, crispy, savory “chip” I’d ever had. It was a revelation!
Making these sourdough crackers feels like that same magic. It’s taking something seemingly past its prime and, with a little heat and love, creating pure gold. Whenever my kitchen fills with the toasty, buttery aroma of these crackers baking, I’m eight years old again in Grandma Lou’s kitchen, learning that the best food often comes from the simplest, most resourceful ideas. It’s a tradition of flavor and frugality I’m so happy to carry on and share with you.
Your Tiny, Mighty Ingredient List
See? I told you it was simple. The beauty here is in the quality and your little tweaks. Let’s break down this powerhouse trio.
- 1 Cup Sourdough Discard (Unfed): This is your star player! The hydration of your starter (how thick or thin it is) can vary. Don’t sweat it. A thicker discard will make a slightly sturdier cracker, a thinner one will spread more easily and be extra crisp. Chef’s Insight: This is the perfect use for discard that’s been in the fridge for a few days, developing even more complex, tangy flavor. No starter? A mix of 1/2 cup flour + 1/2 cup water with a big splash of plain yogurt or vinegar can mimic the tang in a pinch, but the real sourdough flavor is irreplaceable.
- 2 Tablespoons Melted Butter (or Olive Oil): Butter gives an incomparable rich, savory flavor and helps the crackers achieve that perfect golden hue and snap. Substitution Tip: For a dairy-free version, extra-virgin olive oil is fantastic, lending a fruity, rustic note. Avocado oil or melted coconut oil (refined for neutral taste) work great too. This is your chance to play with flavor!
- 1/2 Teaspoon Fine Sea Salt (Plus Extra for Topping): Salt is the conductor of this flavor orchestra. It enhances the tang of the sourdough and the richness of the fat. I prefer fine sea salt in the batter for even distribution. Chef’s Insight: The sprinkle of salt on top before baking isn’t just for taste—it creates those delightful salty crystals that make each bite pop. Try using flaky sea salt like Maldon for the topping for an extra special texture and burst of flavor.
Let’s Make Some Noise: The Step-by-Step Crack
Ready? This is where the fun begins. Preheat your oven to a cozy 325°F (160°C). This lower temperature is key—it dries the crackers out slowly for maximum crispiness without burning. Line a standard half-sheet baking pan (about 18″x13″) with parchment paper. No parchment? A silicone baking mat is your best friend here.
- The Simple Stir: In a medium bowl, combine your sourdough discard, melted butter (or oil), and the 1/2 teaspoon of salt. Grab a whisk or a fork and give it a good, vigorous stir for about 30 seconds. You want it completely smooth, with no streaks of fat or dry pockets. It will be a loose, pourable batter. That’s perfect! Chef Hack: If your discard is super thick, you can add a teaspoon of water to help it loosen up and incorporate with the butter smoothly.
- The Art of the Spread: Pour your batter directly onto the center of your prepared parchment paper. Now, take an offset spatula or the back of a large spoon. Your mission is to spread the batter as thinly and evenly as humanly possible. We’re talking nearly translucent in spots. This is the most important step for getting crackers, not a flatbread. Work from the center out, using gentle, sweeping motions. Don’t worry about covering the entire pan; focus on a thin, even layer. Chef Hack: Tilt and gently shake the pan to help the batter flow into a thin sheet.
- The Salty Finish: Once you’re happy with your spread, give the top a light, even sprinkle of your chosen salt (flaky is amazing here!). You can also add cracked black pepper, everything bagel seasoning, or dried herbs at this stage. Press them in gently with your palm.
- The First Bake: Slide the pan into your preheated oven. Set a timer for 10 minutes. This initial bake sets the structure.
- The Score & Return: After 10 minutes, the batter will be set and may just be starting to pull away from the edges. Carefully pull it out. Now, take a pizza cutter, sharp knife, or even a bench scraper and score the entire sheet into your desired cracker size. I like 1-inch squares, but rectangles or diamonds are fun too! Don’t skip this step. Scoring now makes breaking them apart later a clean, satisfying snap instead of a messy shatter.
- The Crispening: Return the pan to the oven. Now, we play the waiting game. Bake for another 30 to 40 minutes. Start checking at 30 minutes. You’re looking for a deep, golden brown color across the entire sheet, especially in the center. The edges will be darker—that’s good! They should feel completely dry and firm to the touch.
- The Cool Down: This is the final test of your patience! Remove the pan and let the giant cracker sheet cool completely on the pan. I mean it. As it cools, it continues to crisp up. Trying to break them warm leads to bending, not snapping.
- The Grand Finale: Once totally cool, use your hands to break the sheet apart along the scored lines. Listen to that beautiful crackle! That’s the sound of success.
How to Serve Your Homemade Masterpiece
Congratulations, you’ve just made legit artisan crackers! Now, let’s do them justice. For the ultimate cheese board, pair these tangy crackers with a creamy, mild brie or goat cheese to complement the sourdough flavor, or a sharp aged cheddar for a powerful contrast. A dollop of fig jam on top? Divine.
For a quick snack, a bowl of these next to a container of hummus, olive tapenade, or a simple white bean dip will disappear frighteningly fast. Crumble them over a creamy soup instead of croutons for an incredible texture contrast. Or, my personal favorite: pack a handful in a small zip-top bag for an afternoon pick-me-up that’s miles better than anything from a vending machine. They’re sturdy, so they travel well!
Make It Your Own: 5 Flavor Twists to Try
The basic recipe is a perfect canvas. Once you’ve mastered it, let your creativity run wild with these easy variations:
- Everything Bagel Magic: After spreading the batter, sprinkle generously with everything bagel seasoning. The garlic, onion, sesame, and poppy seeds toast beautifully and create an instant favorite.
- Herb & Garlic Delight: Whisk 1 teaspoon of dried rosemary (crushed), 1/2 teaspoon of garlic powder, and 1/4 teaspoon of onion powder right into the batter. Finish with a sprinkle of flaky salt.
- Cheesy Parmesan Crisps: Fold 1/4 cup of finely grated Parmesan or Pecorino Romano cheese into the batter. The cheese adds a salty, umami punch and helps create an even crispier texture.
- Seeded & Wholesome: Add 2 tablespoons of mixed seeds (sesame, flax, sunflower, pumpkin) to the batter for extra crunch, fiber, and a lovely speckled look.
- Spicy Sriracha Kick: Replace 1 tablespoon of the melted butter with 1 tablespoon of Sriracha or your favorite hot sauce. You’ll get a gorgeous rosy color and a slow, building heat that’s seriously addictive.
A Few Notes from My Kitchen to Yours
I’ve made these crackers more times than I can count, and they’ve become a Feastical staple. The recipe has evolved from a “let’s try this” experiment to a non-negotiable weekly bake. One funny fail early on? I got impatient and broke them while still warm. Let’s just say I ended up with a bowl of “cracker bites” and “cracker dust”—still tasty, but not the elegant snap I was after. Patience is truly a virtue here!
Also, don’t be afraid if your batter looks too thin in the pan. It’s supposed to! A thicker layer just means a chewier, more flatbread-like result, which is also delicious in its own right. But for that classic cracker crisp, thin is in. Finally, these keep surprisingly well. If they last more than two days (a big if), store them in an airtight container at room temperature. If they lose a little snap, a quick 5-minute warm-up in a 300°F oven will revive them perfectly.
Your Questions, Answered
Q: My crackers are chewy, not crispy. What happened?
A: The most common culprit is under-baking or spreading the batter too thick. Next time, spread it even thinner and bake until the *entire* sheet, especially the center, is a uniform golden brown. They should feel completely dry. Also, ensure they cool completely on the pan.
Q: Can I use active, bubbly starter instead of discard?
A: Absolutely! The result will be slightly less tangy and may have a tiny bit more “lift,” but it works perfectly fine. The recipe is wonderfully forgiving.
Q: How long do they stay fresh, and how should I store them?
A: In an airtight container at room temperature, they stay perfectly crisp for up to a week. You can also freeze the cooled crackers in a freezer bag for up to 2 months. They thaw almost instantly.
Q: My crackers burnt on the edges but are soft in the middle.
A: This usually means your oven runs hot or has hotspots. Try reducing the temperature to 300°F next time and rotating the pan halfway through the second bake. Using a light-colored aluminum pan instead of a dark sheet can also help prevent over-browning.

3-Ingredient Sourdough Crackers : Easy, Crispy & Perfect for Snacking
Description
These sourdough discard crackers are the fastest, crunchiest way to use up leftover starter—no kneading, no rolling, no stress. With just three ingredients and a low, slow bake, you’ll get deeply golden, snappy crackers with that irresistible sourdough tang. Perfect for cheese boards, dips, or straight-from-the-jar snacking.
Ingredients
-
1 cup sourdough discard (unfed)
-
2 tablespoons melted butter or olive oil
-
½ teaspoon fine sea salt (plus extra for topping)
Instructions
-
Preheat & Prep:
Heat oven to 325°F (160°C). Line a baking sheet with parchment paper or a silicone mat. -
Mix:
In a bowl, whisk together the discard, melted butter (or oil), and salt until smooth and pourable. -
Spread Thin:
Pour onto the prepared pan and spread as thinly and evenly as possible with a spatula. Thin = crispy. -
Season:
Sprinkle lightly with extra salt (optional add-ins below). -
Bake & Score:
Bake for 10 minutes, remove, then score into cracker-sized pieces with a knife or pizza cutter. -
Crisp:
Return to the oven and bake 30–40 minutes, until uniformly golden and dry (edges will be darker). -
Cool Completely:
Let cool on the pan; crackers crisp as they cool. Break along score lines.
Notes
-
Go thinner than you think: Thick batter = chewy. Ultra-thin = crackly crisp.
-
Rotate if needed: If edges brown too fast, rotate the pan halfway through.
-
Revive snap: If they soften, warm at 300°F for 5 minutes.
-
Storage: Airtight container at room temp for up to 1 week; freeze up to 2 months.
Nutritional Snapshot
Let’s be real—we’re eating crackers for joy and crunch, not as a diet food! But it’s good to know what’s in your snack. This nutritional info is an estimate for approximately 8 small crackers (about a 1-ounce serving), based on using butter. Remember, ingredients and serving sizes can vary.
Per Serving: Calories: ~120 | Total Fat: 7g | Saturated Fat: 4g (with butter) | Carbohydrates: 12g | Dietary Fiber: <1g | Sugars: 0g | Protein: 2g | Sodium: 200mg
These crackers are a source of energy from carbohydrates and fats. Using olive oil increases heart-healthy monounsaturated fats. The sourdough fermentation process may help pre-digest some of the grains, making them potentially easier on the stomach for some people, though the discard in this recipe hasn’t undergone a long ferment. Most importantly, they’re a homemade, whole-ingredient alternative to store-bought crackers, which often contain added preservatives and oils.
The Final, Delicious Thought
And there you have it! What started as a jar of forgotten sourdough discard is now a beautiful batch of homemade, deeply satisfying crackers. This recipe embodies everything I love about cooking: simplicity, resourcefulness, and the pure joy of creating something delicious from scratch. It’s a little kitchen win that feels huge.
I hope these crackers become a regular in your home, a secret weapon for your cheese boards, and a source of pride when you casually say, “Oh these? I just whipped them up from my sourdough discard.” Remember, the best meals and snacks are the ones shared. So make a double batch, pack some for a friend, and spread the crispy, tangy love.
Happy baking, and as always, thanks for hanging out in my kitchen!
– Beau